This article will give you a basic overview of the NextAgency platform.
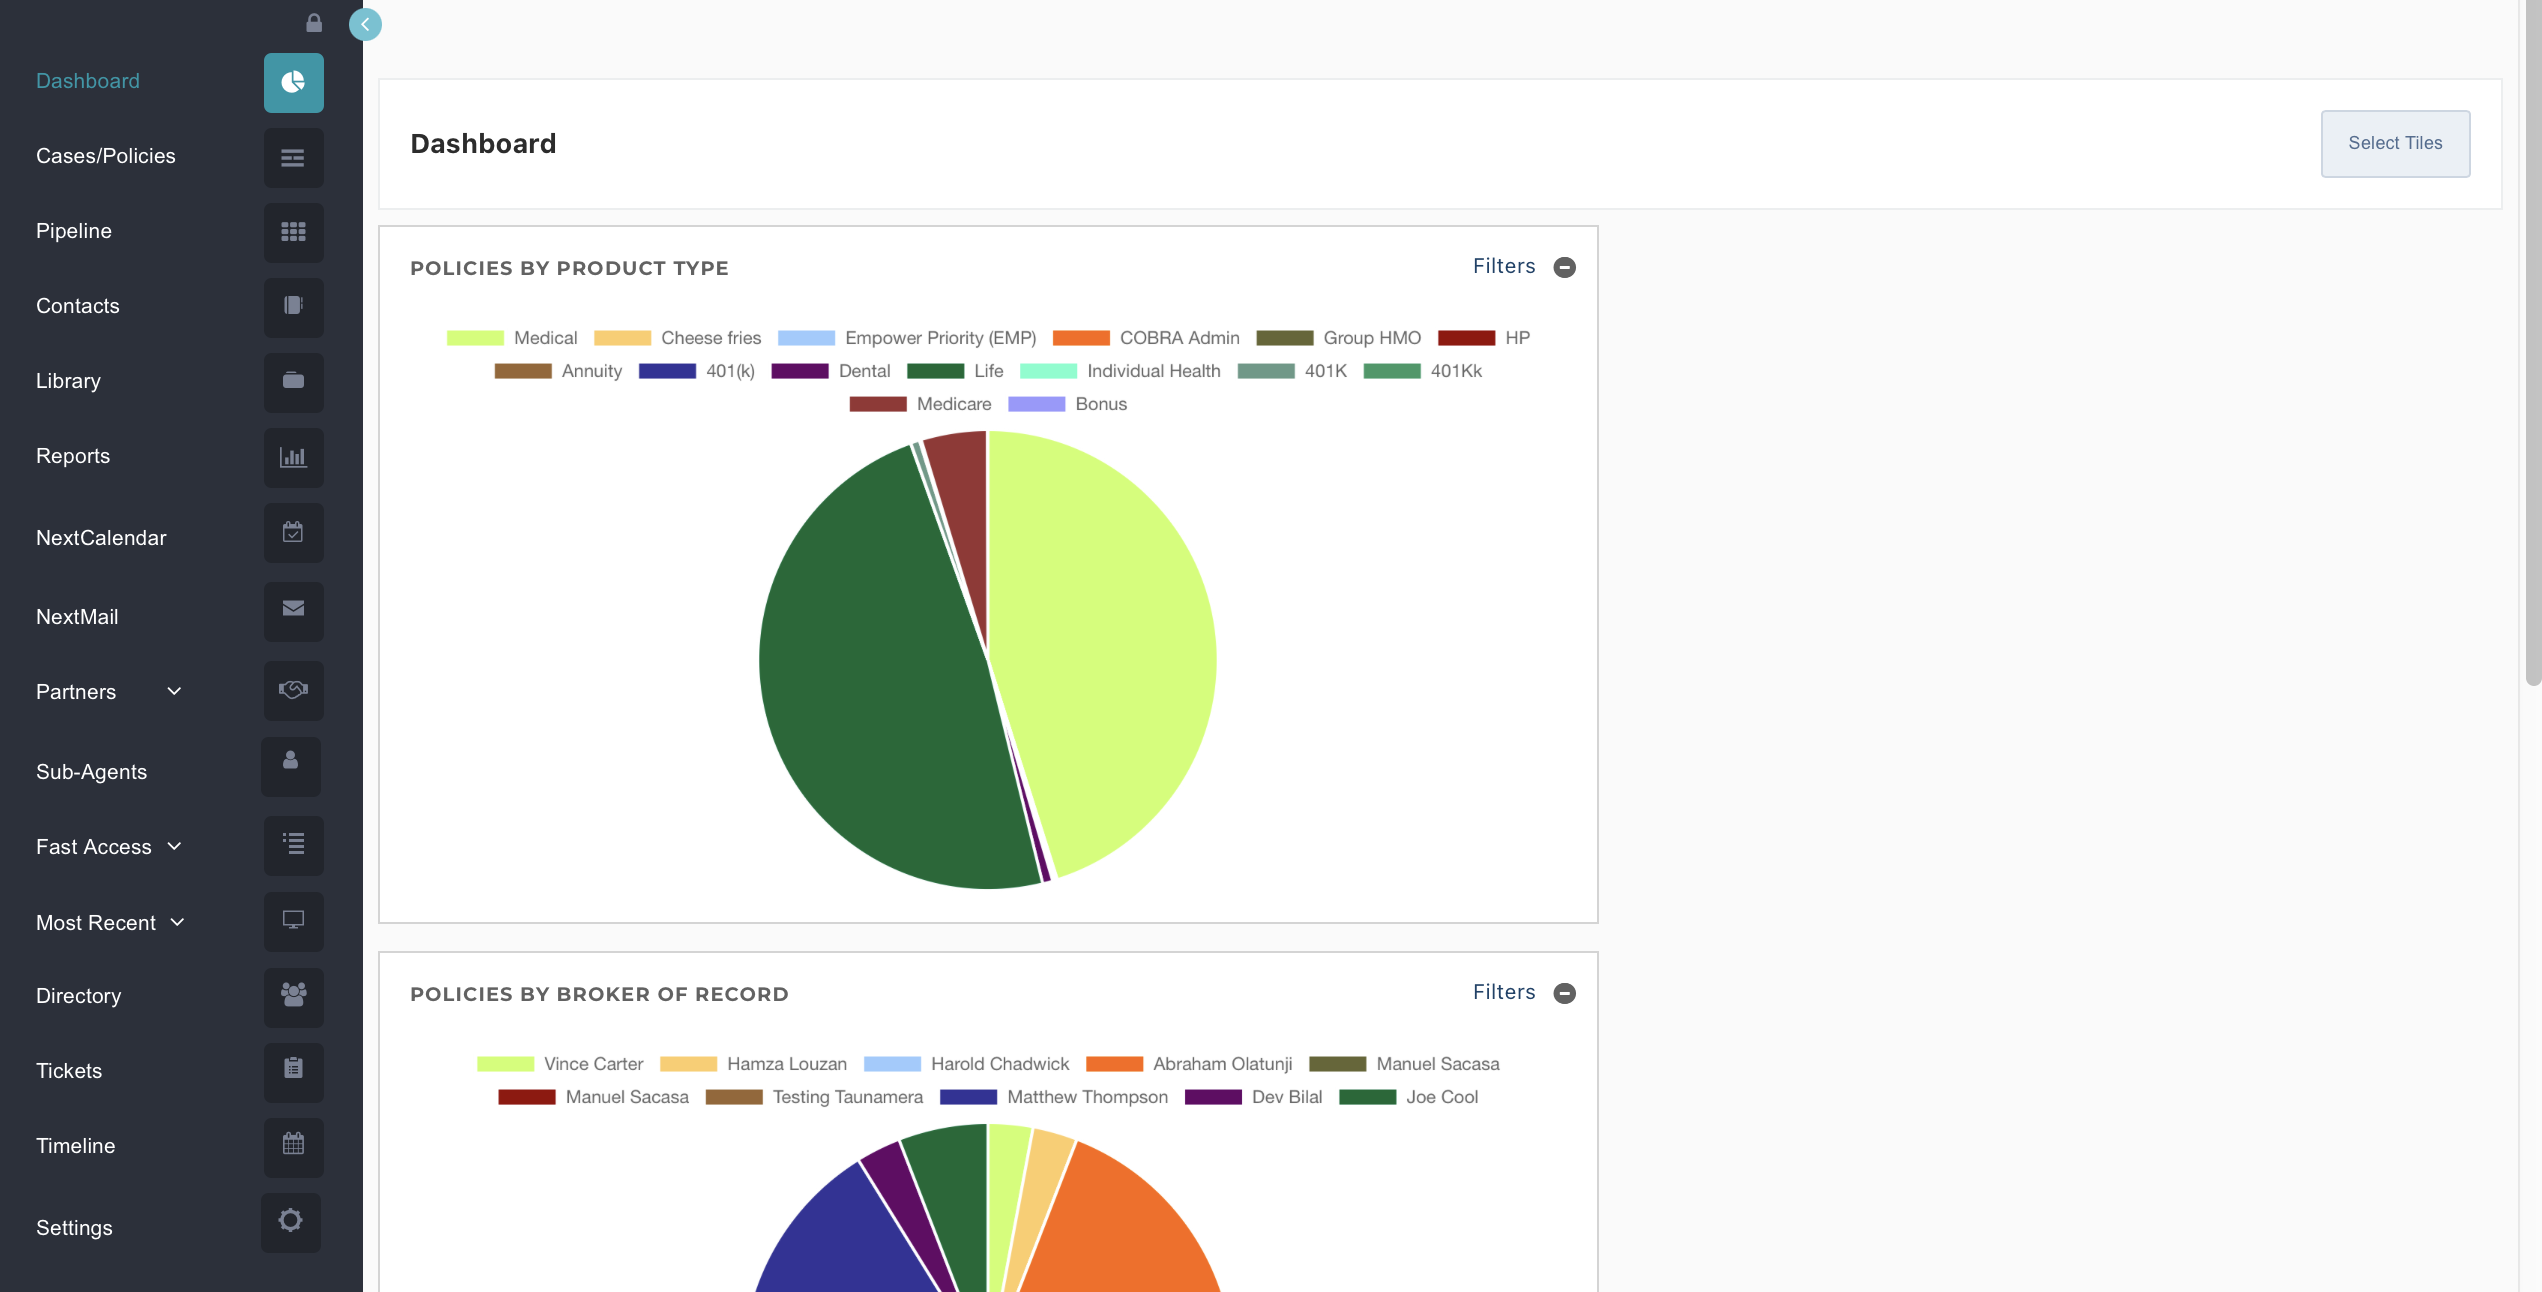
Once you've logged into the application, you will see each page is made up of the header (top), navigation menu (left), and main content section.

Header
In this section, you'll find access to the latest agency notifications, a global search field, announcements (recent updates to the application), text messages, help, user profile, and agency settings.

Navigation
The navigation sidebar provides access to the following:
- Dashboard
- Cases/Policies
- Pipeline
- Contacts
- Library
- Reports
- NextCalendar
- NextMail
- Partners
- Sub-Agents
- Fast Access
- Most Recent
- Directory
- Tickets
- Timeline
- Settings
- Form Responses
Let’s explore these features one by one.
Dashboard
The dashboard in NextAgency offers a highly flexible and tailored experience. It accomplishes this by employing an array of "tiles," each of which corresponds to distinct datasets within the NextAgency platform. These tiles can be handpicked to cater to the unique requirements and priorities of your agency and business. This adaptability ensures that you can effortlessly fine-tune your dashboard to showcase the most pertinent information for your daily operations.
Cases/Policies
This is where you'll manage your agency's case records. Clients/prospects, policies, and all of the related data will be contained or linked within these cases. The initial view for this page, by default, displays all cases. You may also choose to display a listing of all policies, rather than cases. NextAgency provides many options for sorting, filtering, searching, and viewing your data.

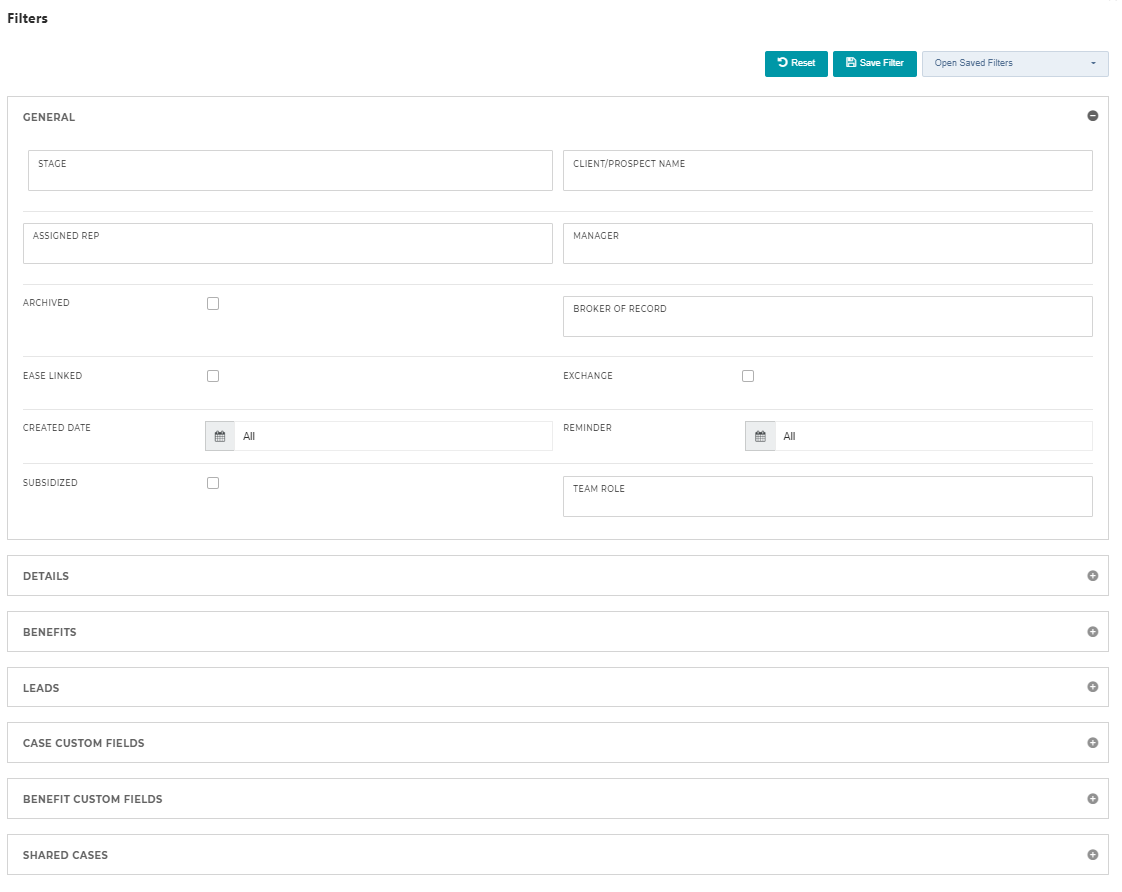
Filters & Search
There are many options for filtering, sorting, and viewing your cases and policies:
- Sales Status: Filter based on the current sales status. (Sales Status' are customizable from within your Agency settings.)
- Market Segment: Display records for specific market segments.
- Search: Find a record by typing in a partial or complete name.
If you click on "Filters", on the top right of the Cases/Policies page, you will find even more options to filter your results. Frequently used filters can be saved for later use.
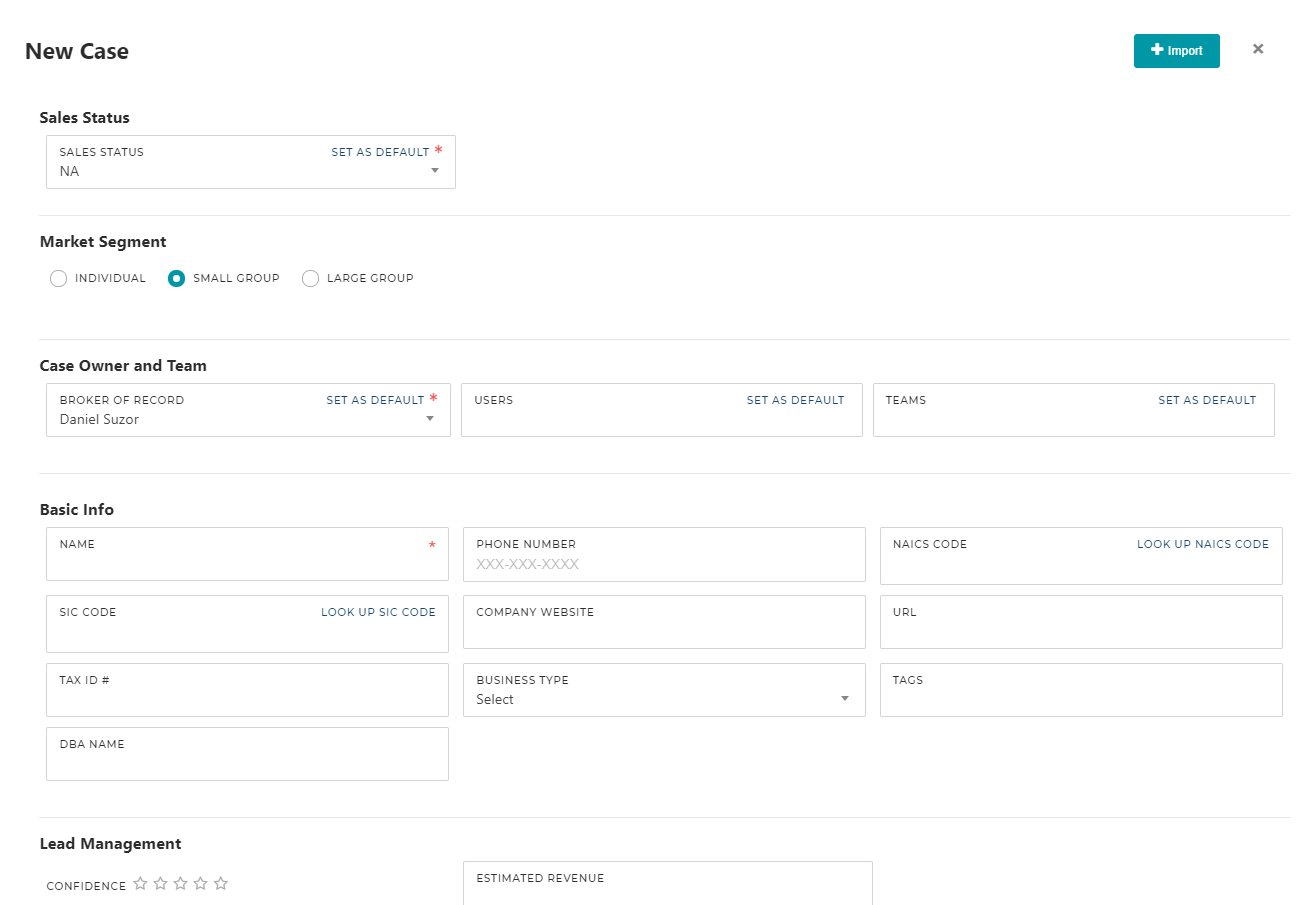
Adding New Cases
To add a new case record, click the New button next to the Import button and fill in the necessary data. The fields that are shown will depend on the market segment selected. Individual cases will have different fields than Group cases. Custom fields may also be defined from your Agency settings menu.
Importing Cases (Bulk)
To save time on adding each case record manually, you can bulk import an Excel spreadsheet with the case record details. To do this, click the Import button next to the search box and follow the instructions.
Viewing and editing a Specific Case
Once you've opened a case, you'll be presented with the details for that case. Multiple tabs across the top of the case record help to organize the various types of related data. The available tabs and data will depend on whether the Case is defined as an Individual or Group market segment. Now let's take a look at each of these tabs.
- Summary (All Market Segments) - Snapshot of the case record, including detail from each of the tabs, as well as Broker of Record and Team members that are assigned.
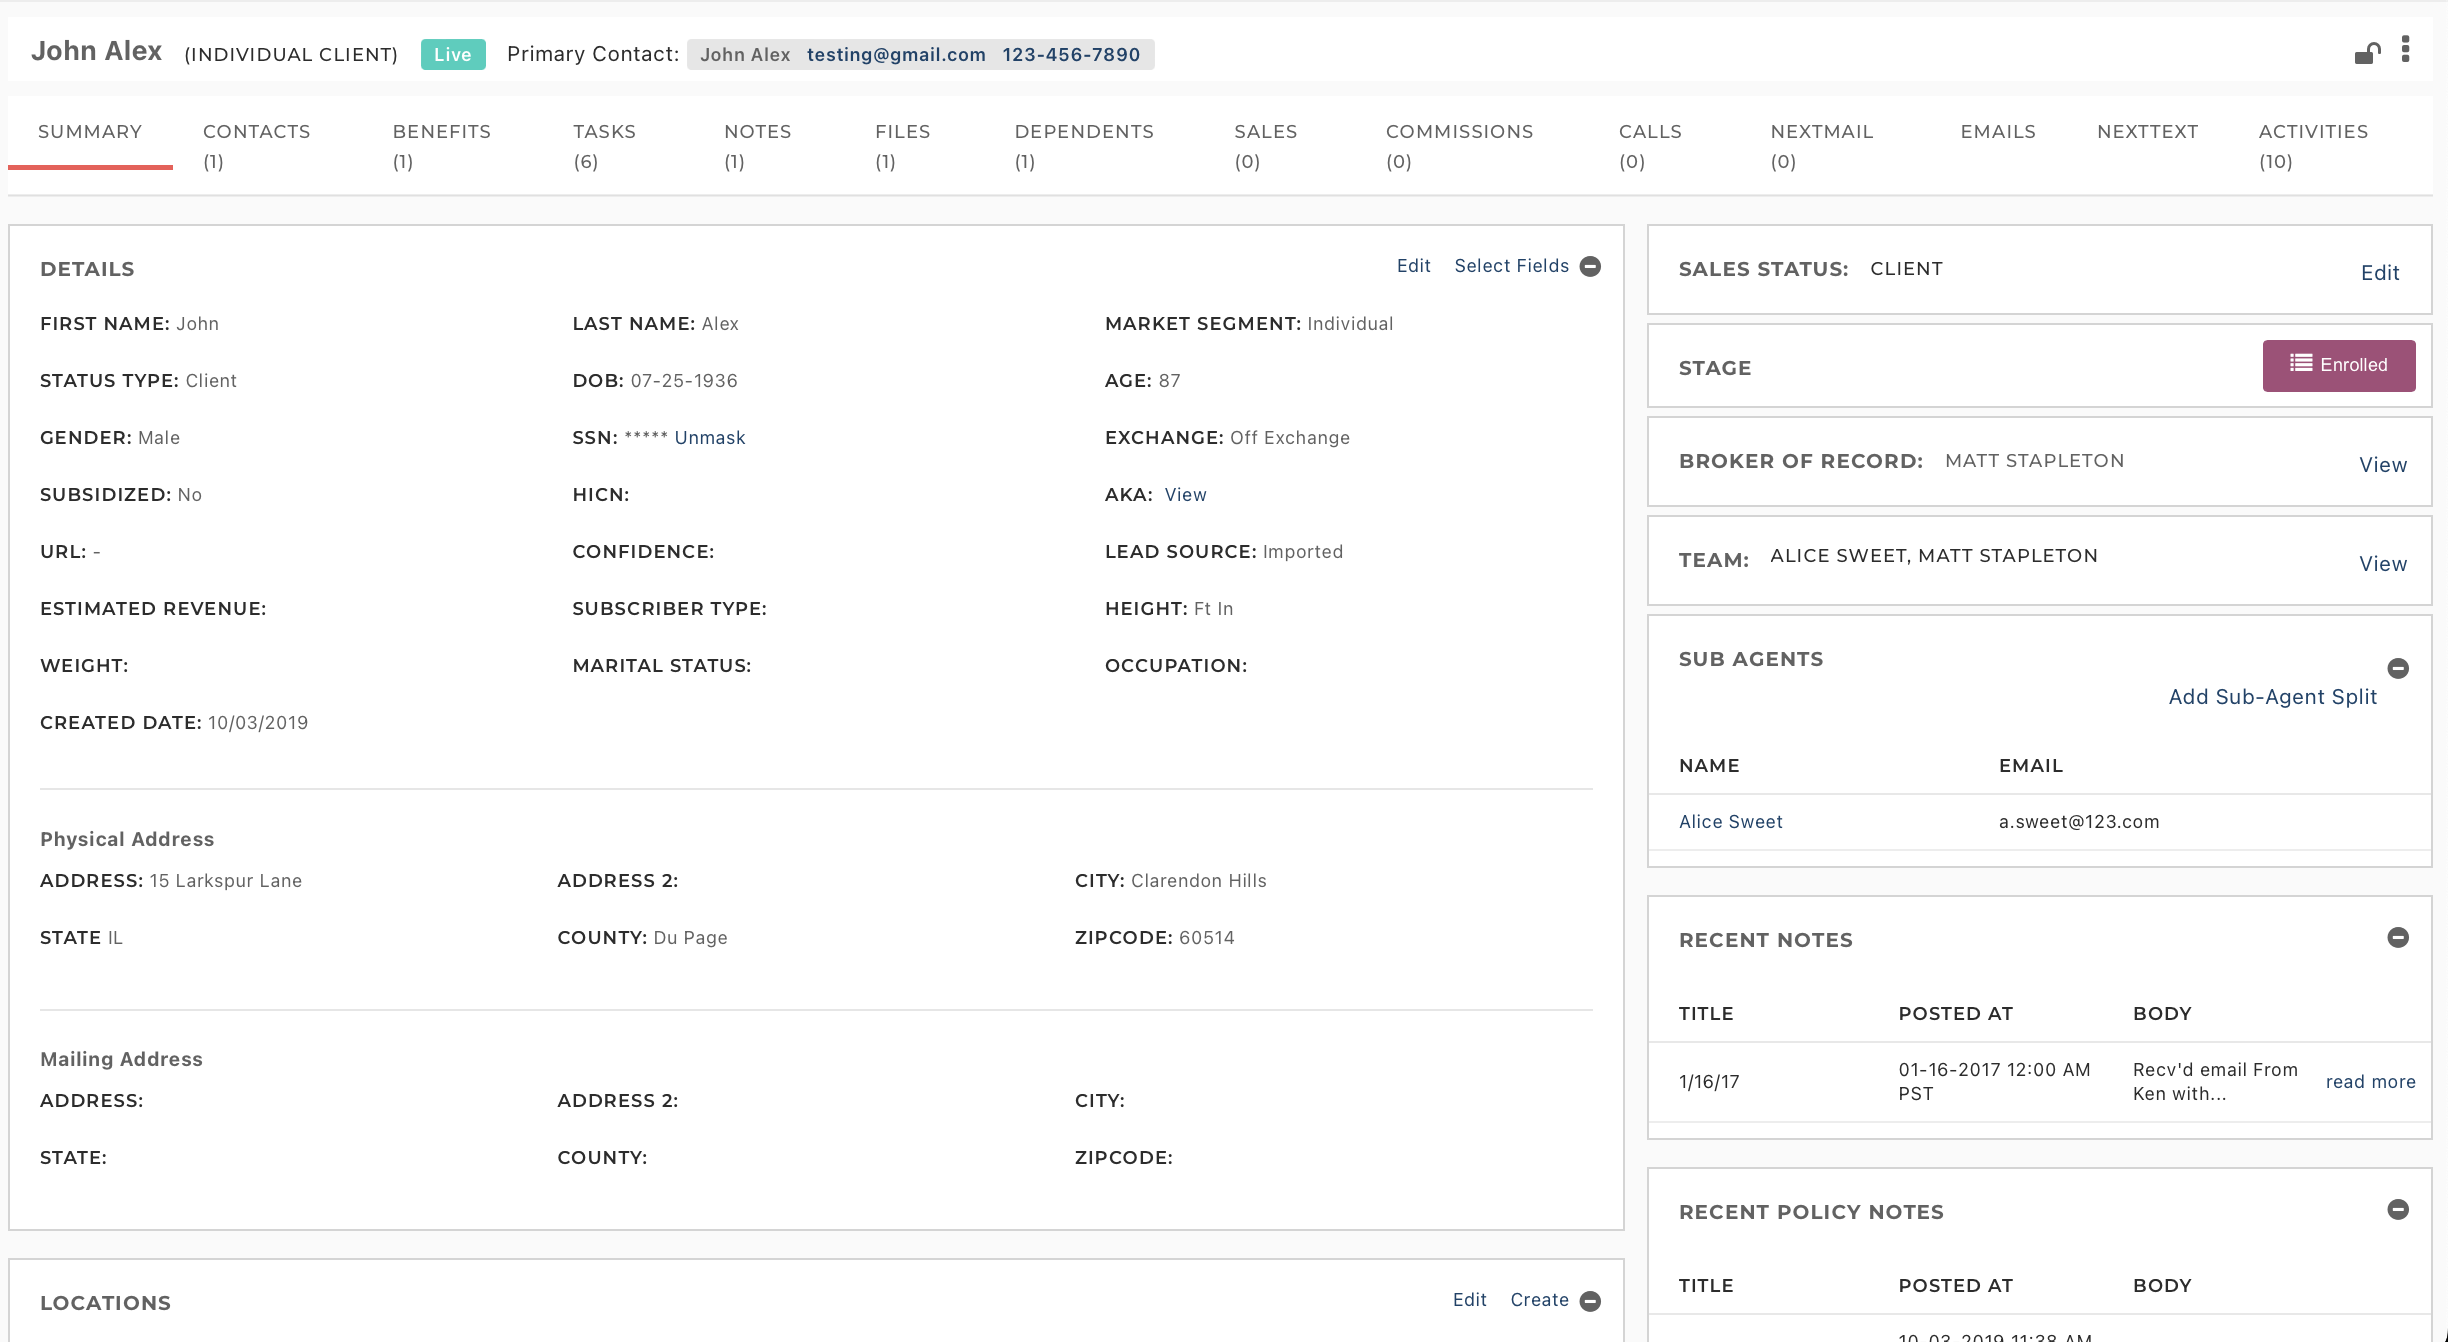
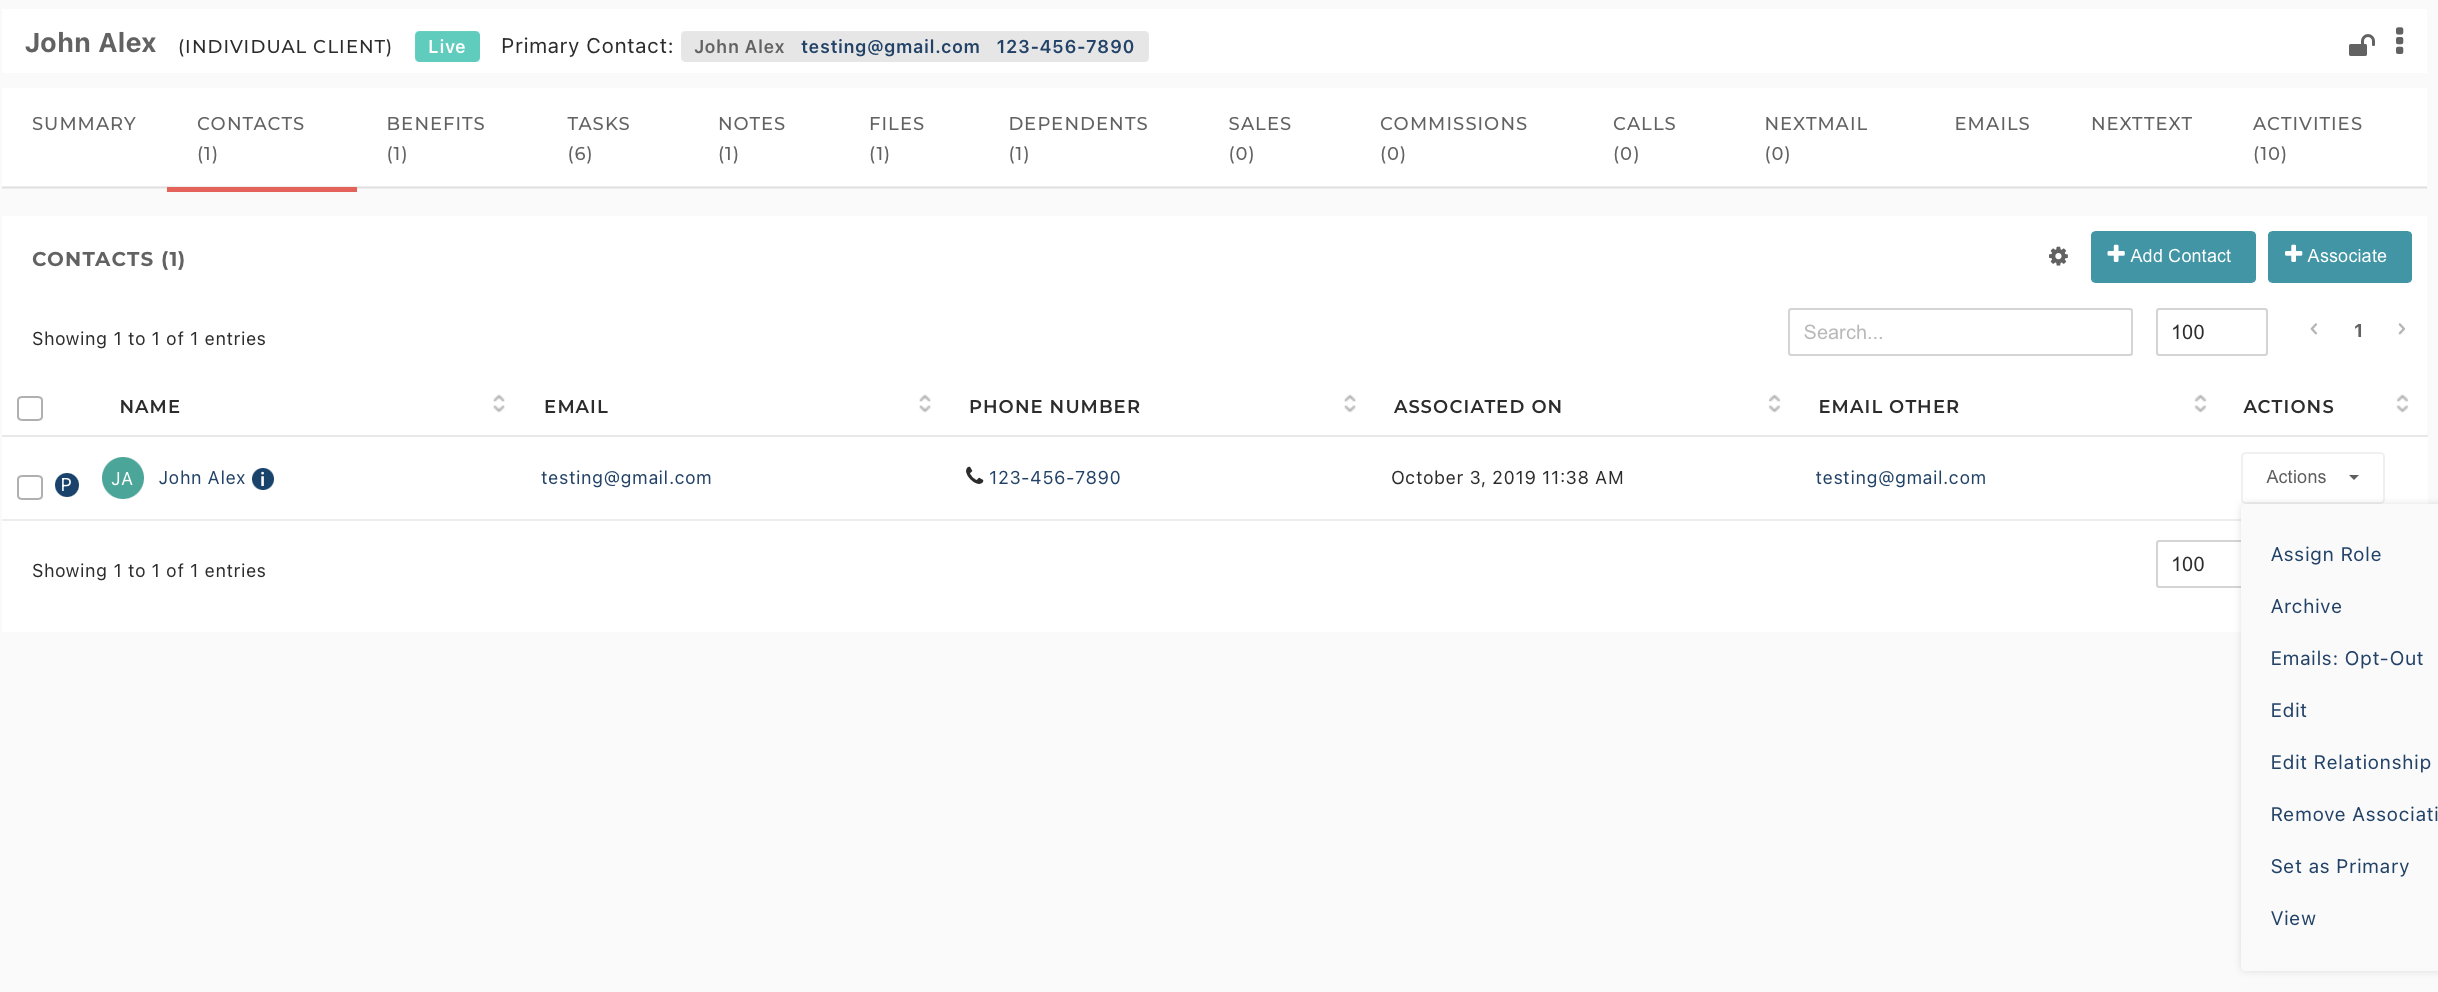
- Contacts (All Market Segments) - Contacts associated with a case. "Primary" contact will be shown with the blue (P) icon, and this contact will also be listed on the summary page. New contacts can be added here, and existing contacts in NextAgency can be associated with this case.
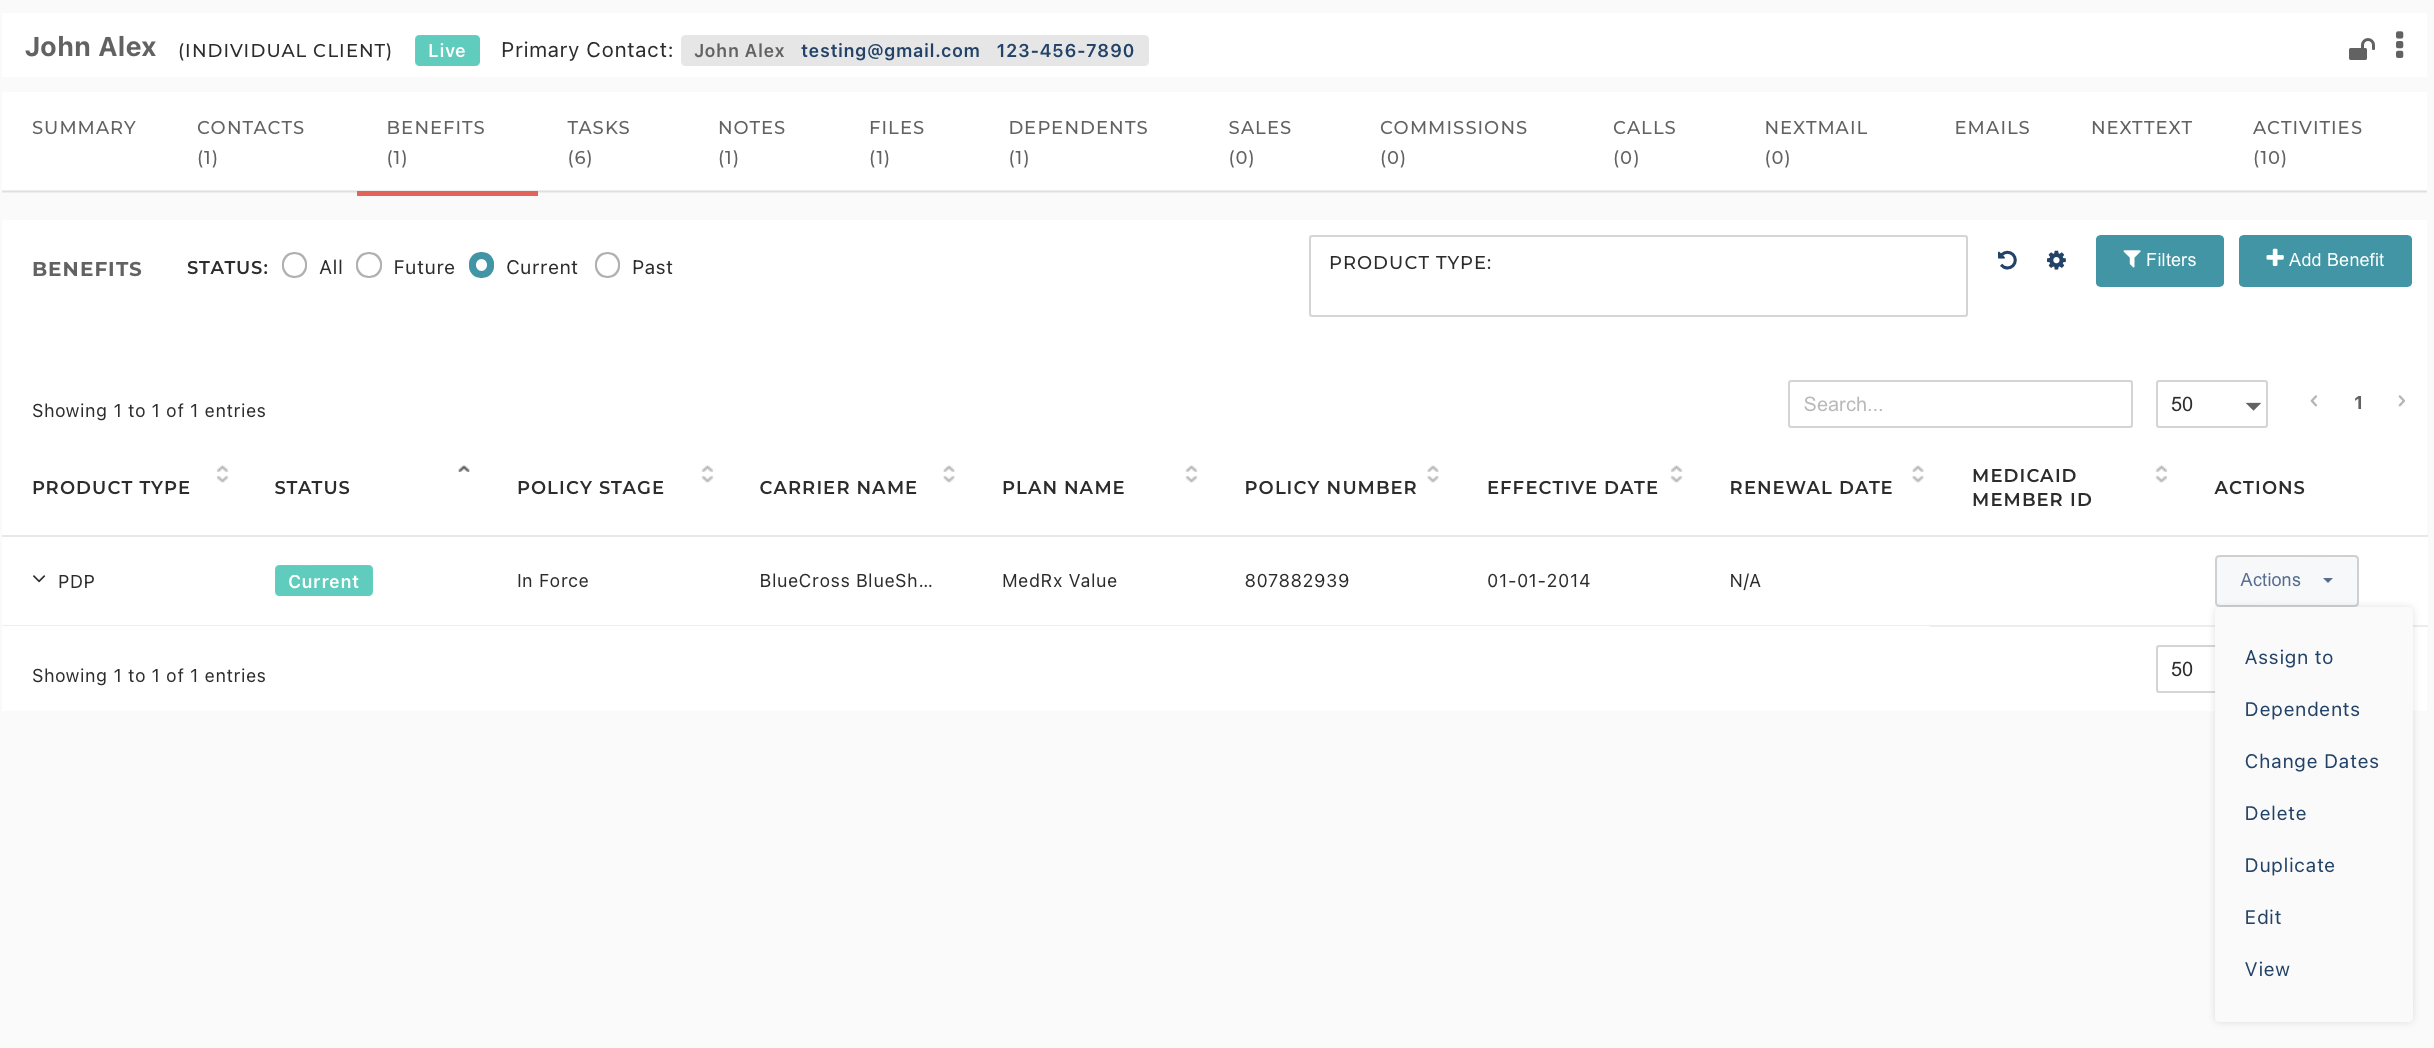
- Benefits (All Market Segments) - Policies (benefits), including Current, Past, and Future. Add new and modify existing benefits.
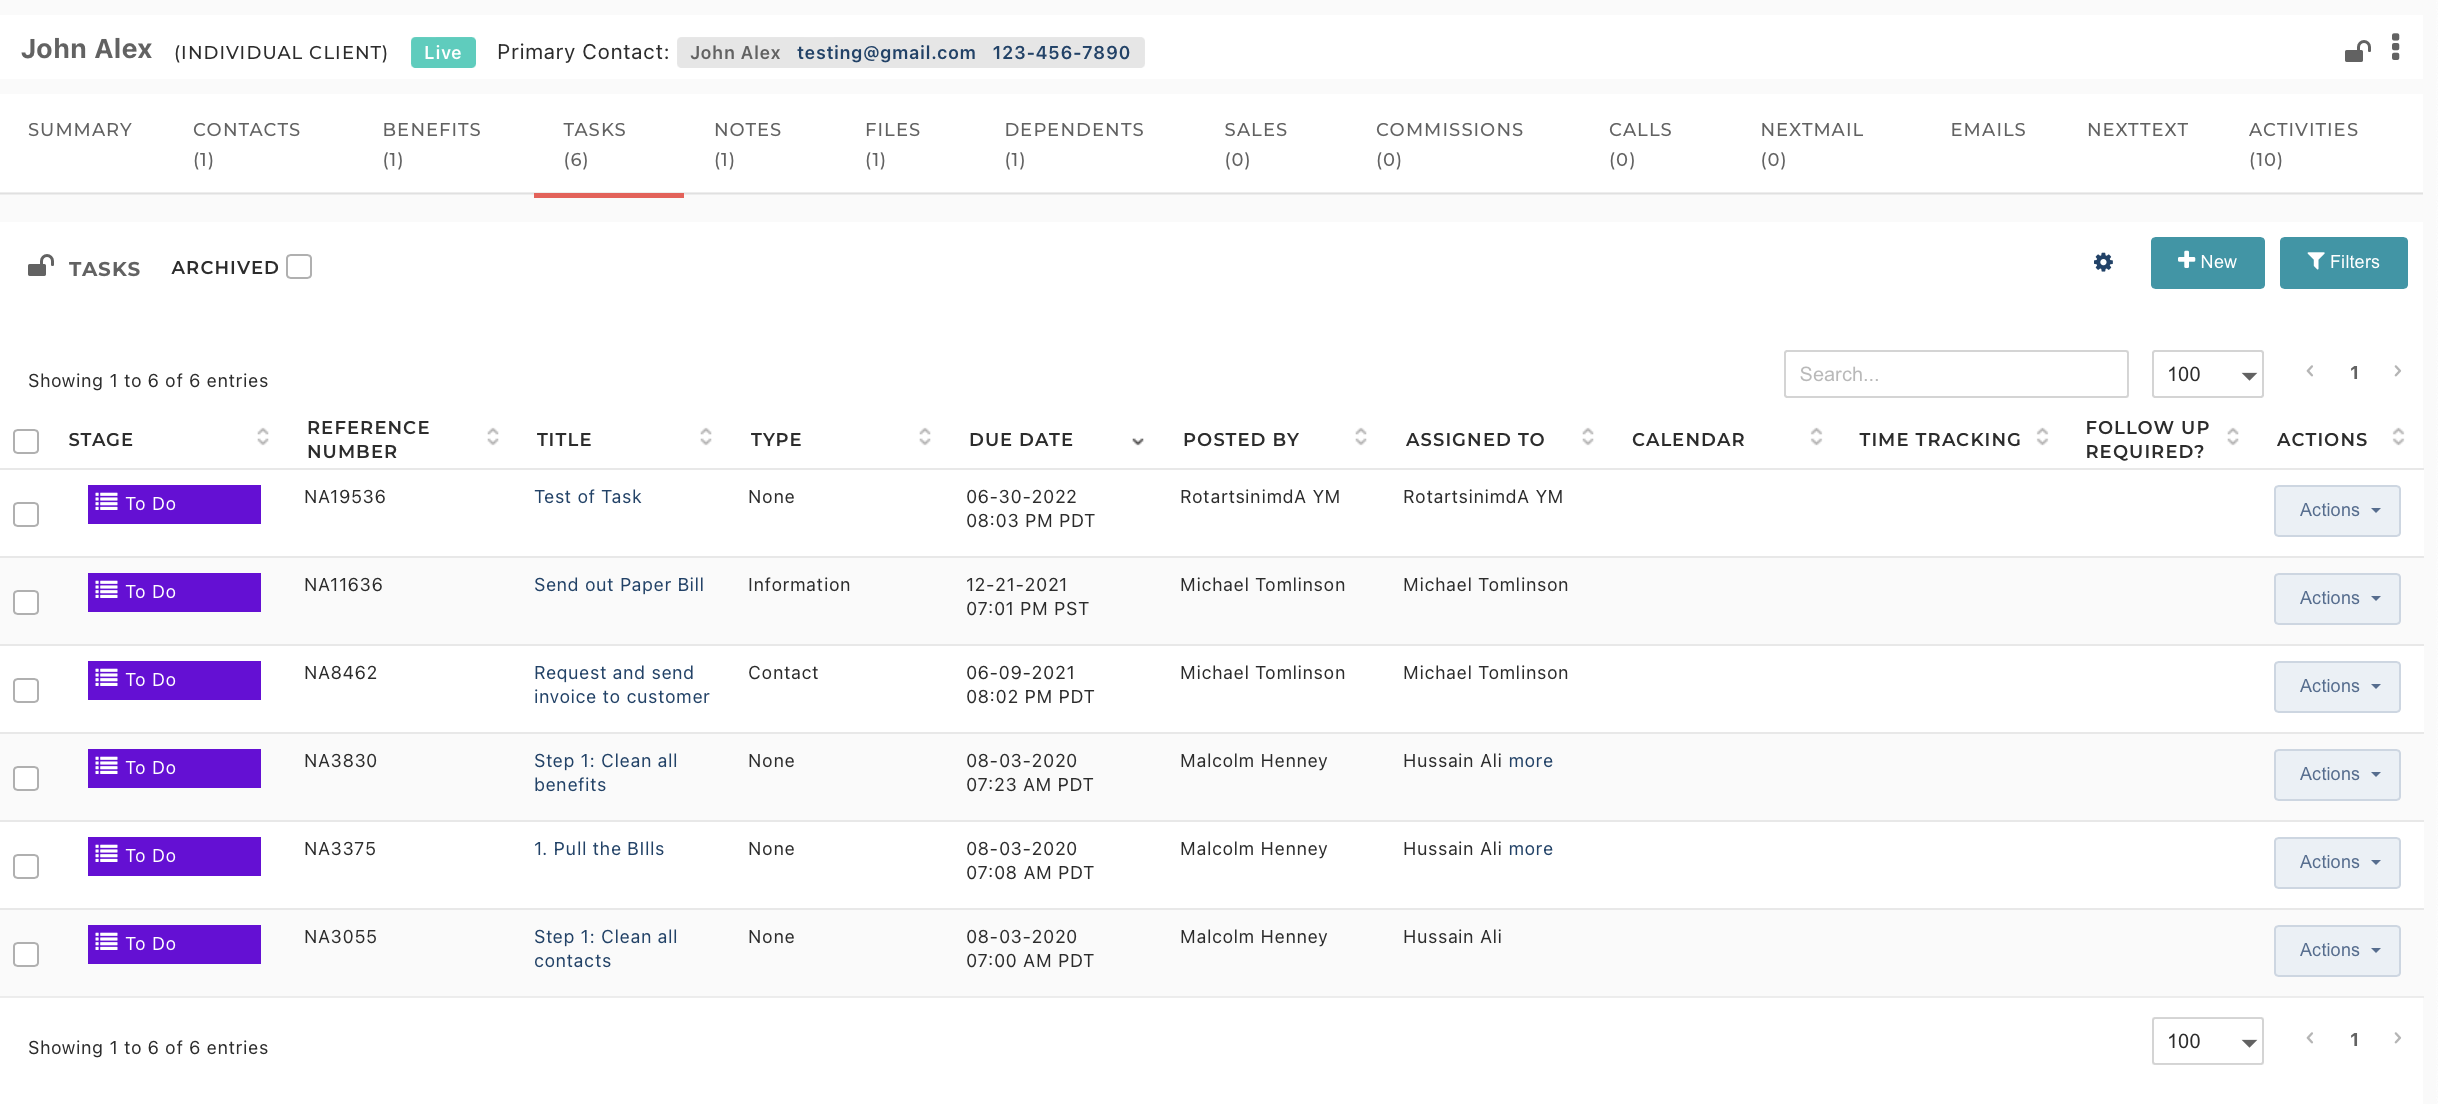
- Tasks (All Market Segments) - Create and modify tasks (action items) related to this policy. Tasks can be assigned to NextAgency users. Due dates and reminder notifications can also be defined.
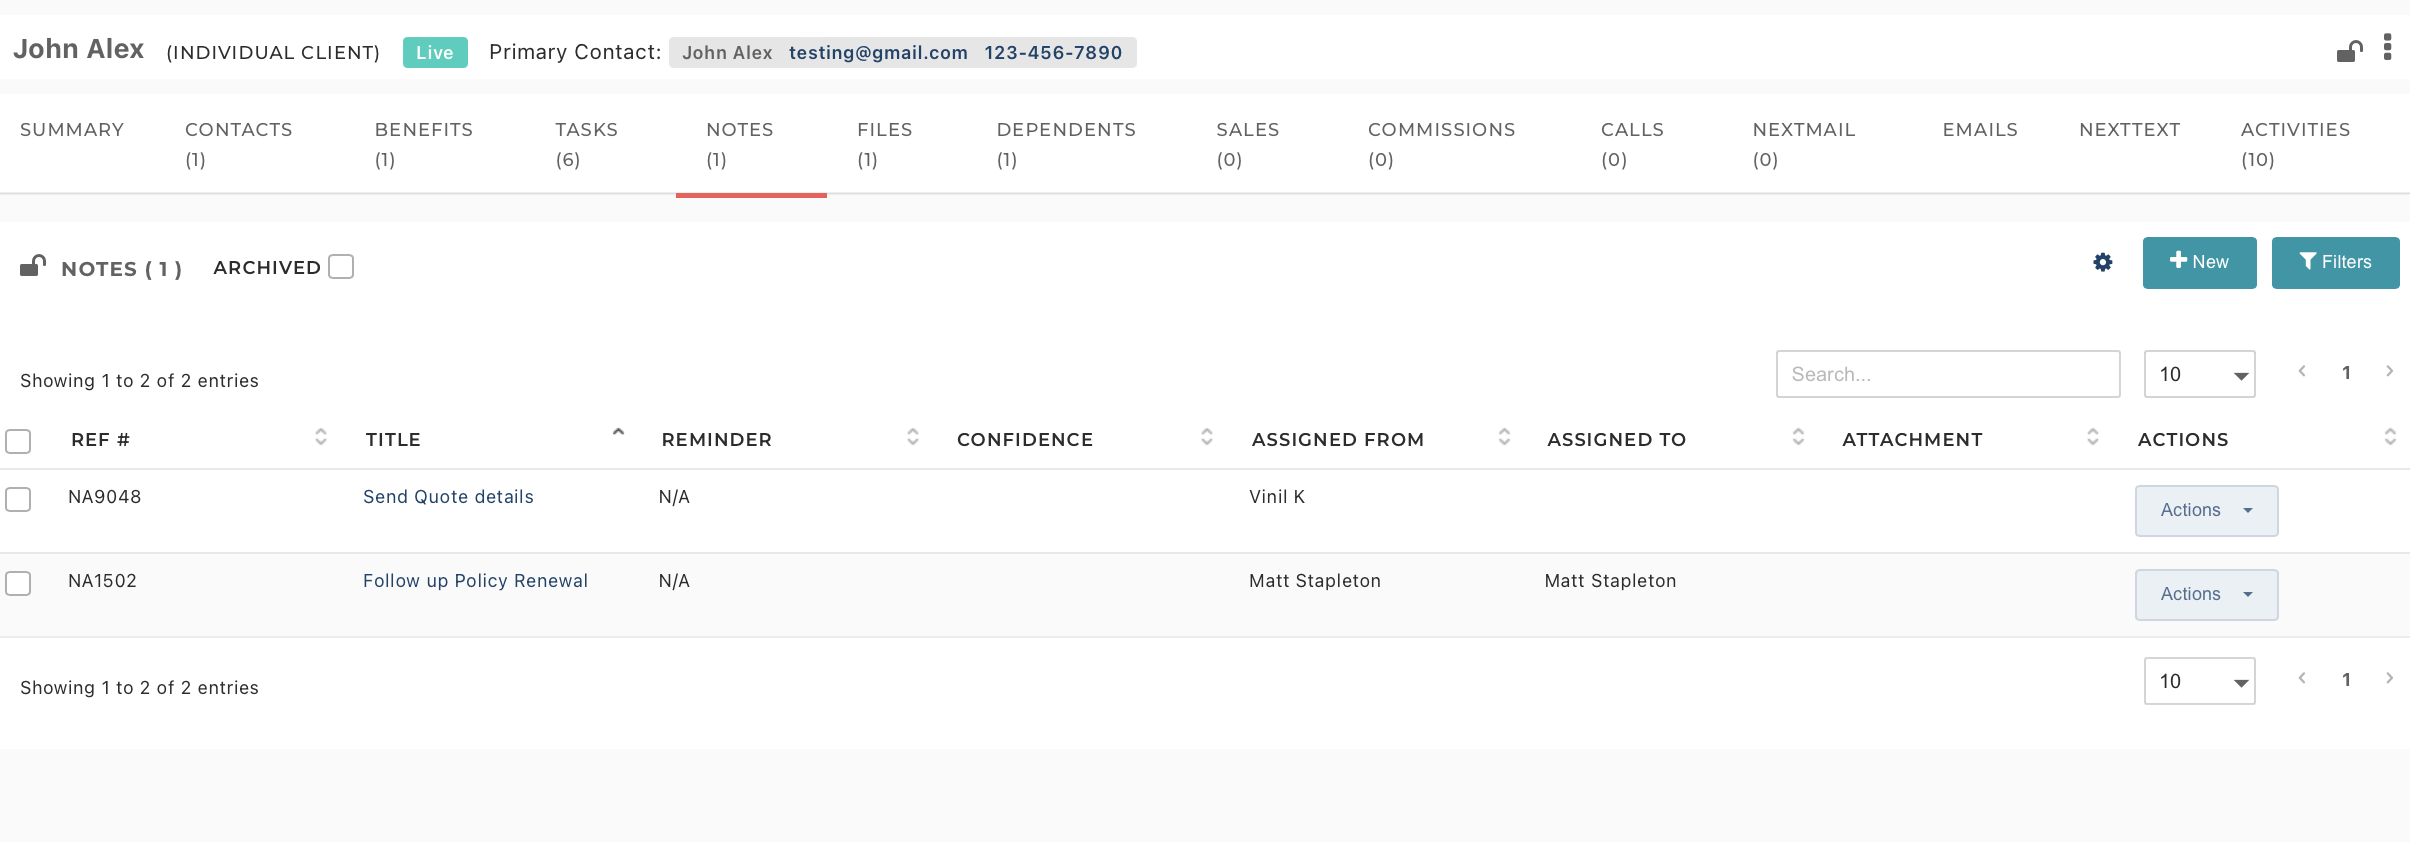
- Notes (All Market Segments) - View and create notes related to this case. Notes can be assigned to NextAgency users. Important notes can also be "Pinned to Summary", so they show up on the Summary page of the Case record.
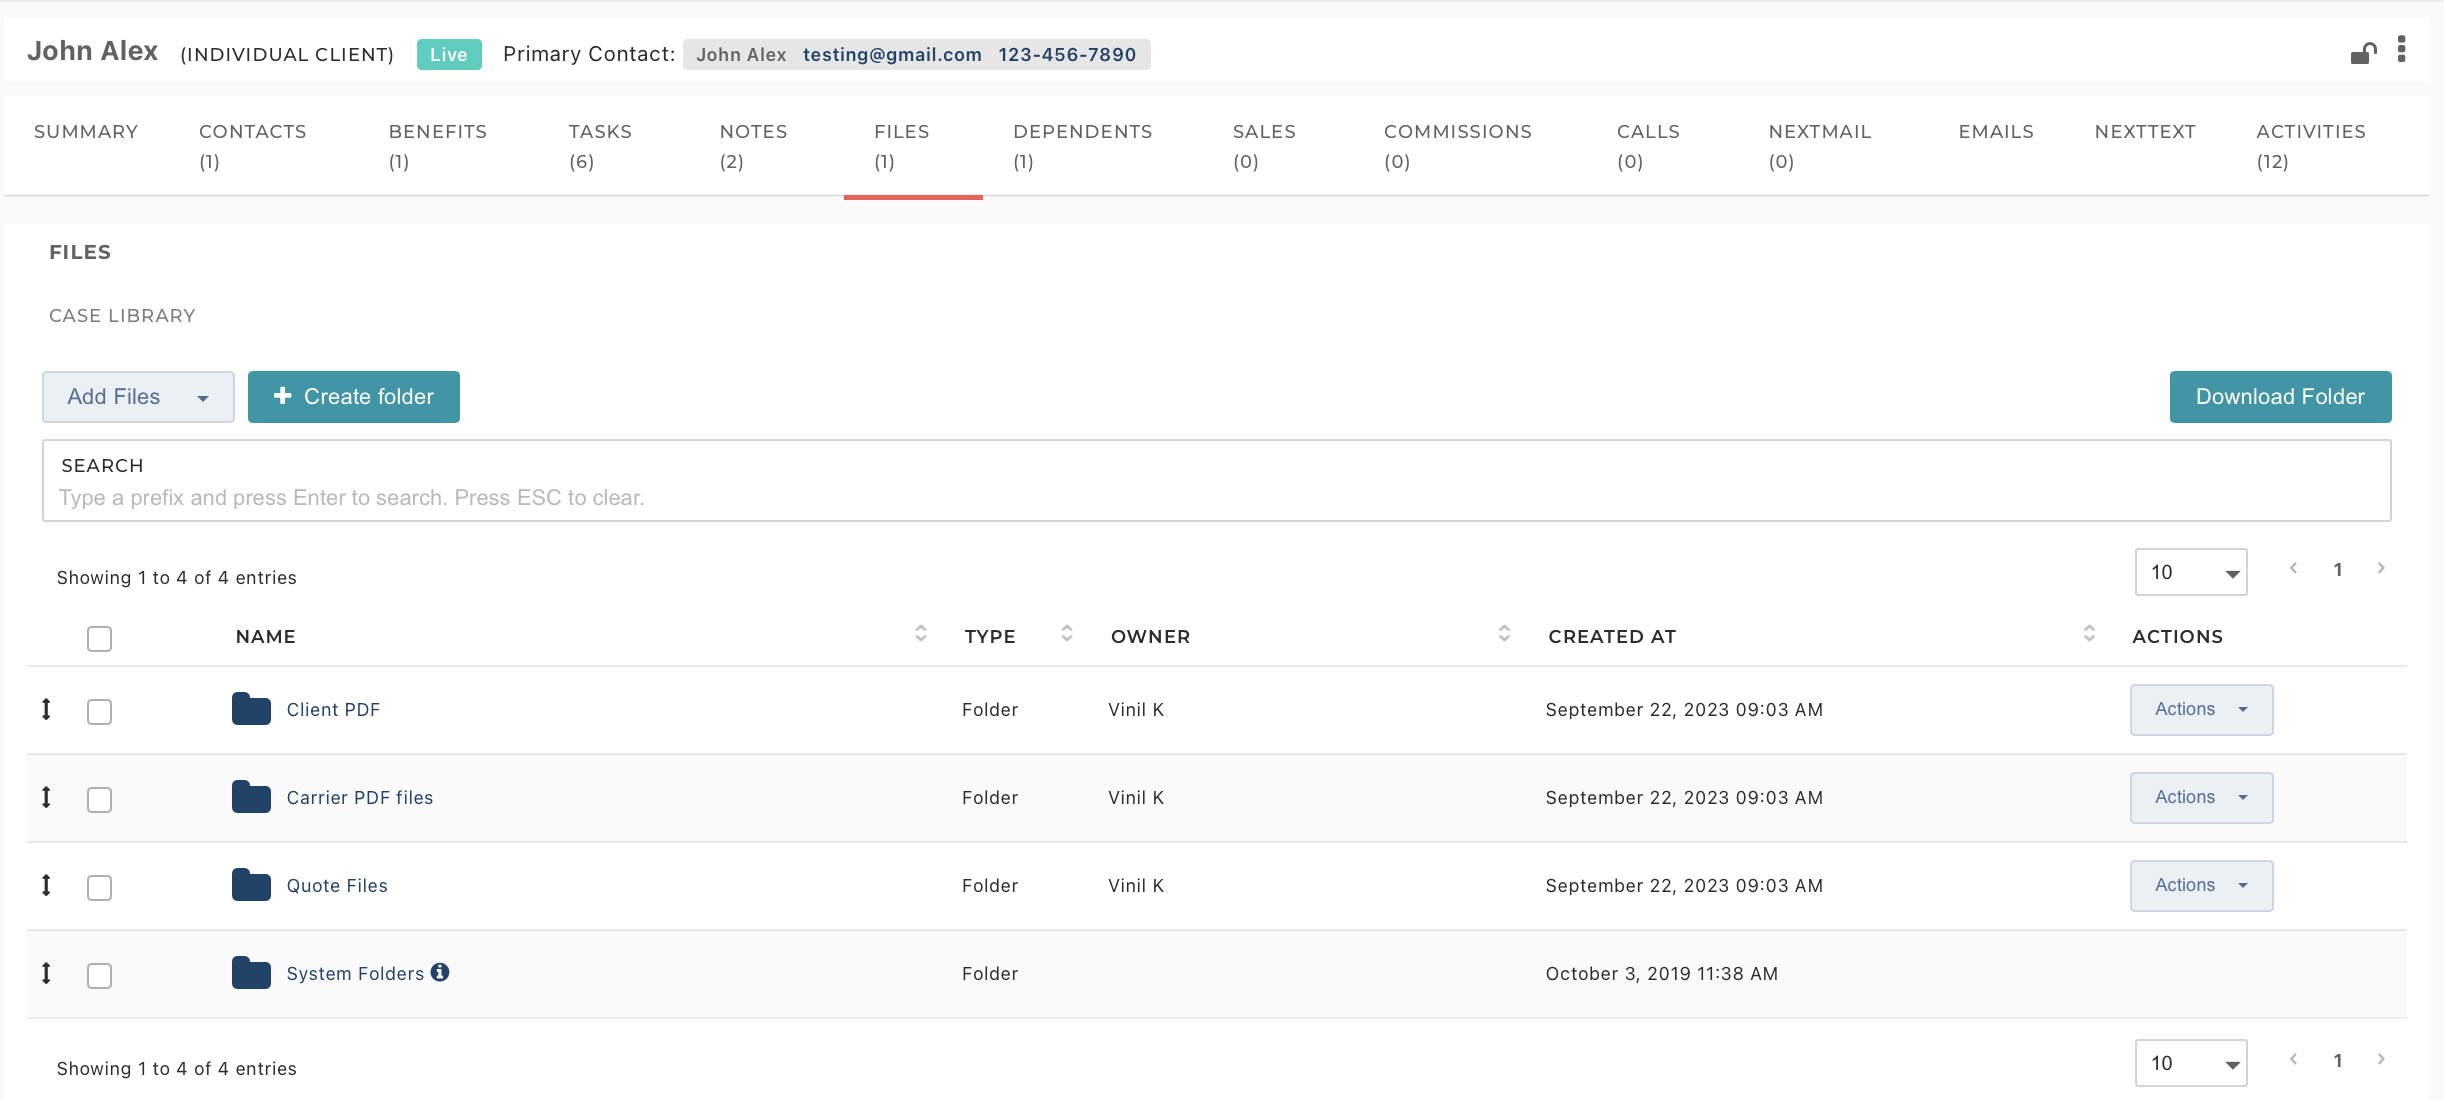
- Files (All Market Segments) - Attach files to the case. These could be completed insurance applications and other related documents. Folder structures can be used to help organize if needed.
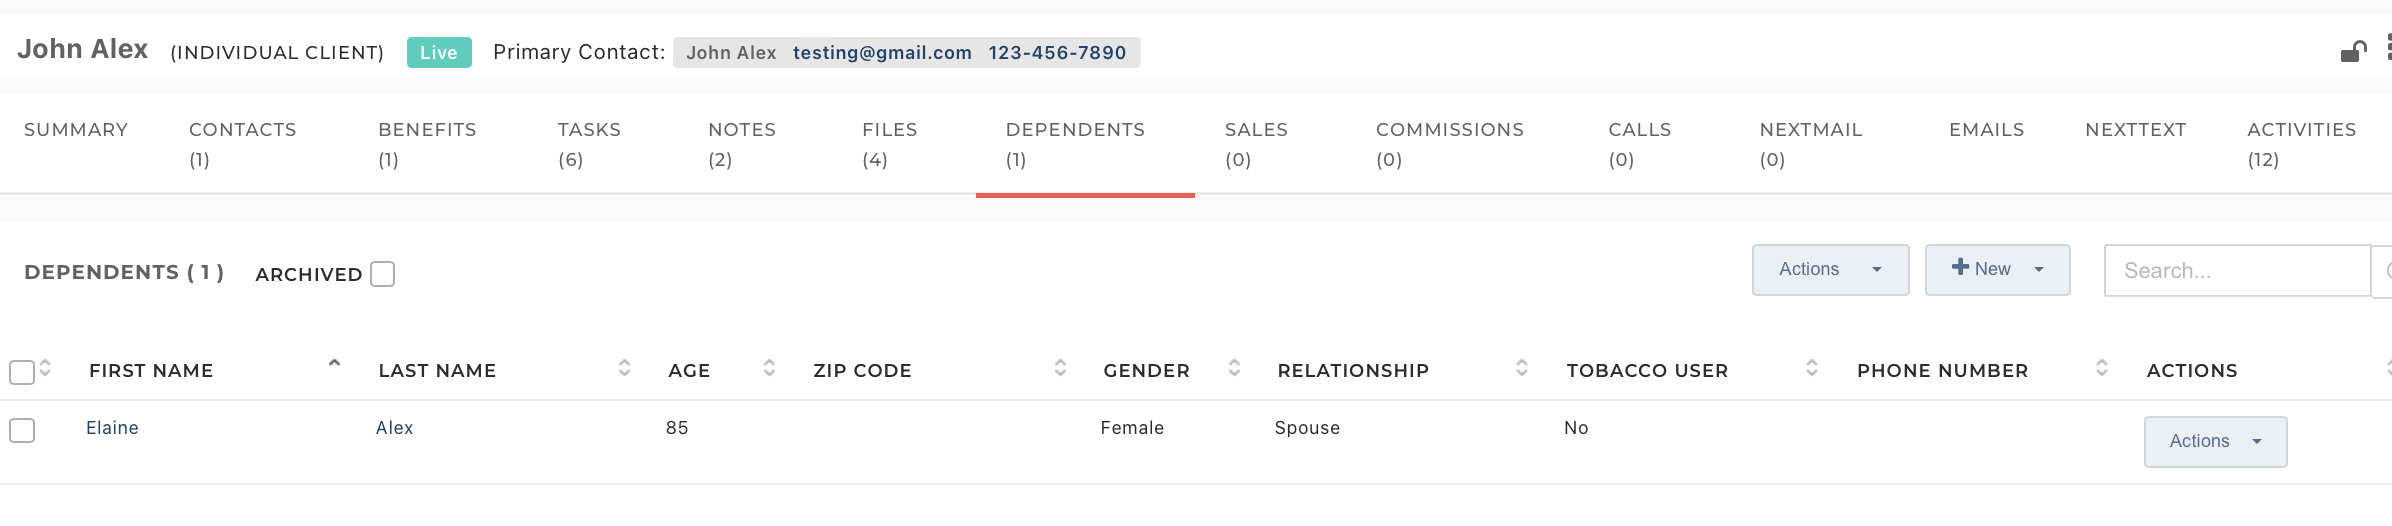
- Dependents (Individual Market Segment Only) - Manage an individual's dependents. Existing individuals can be added as dependents or new dependents can be created.
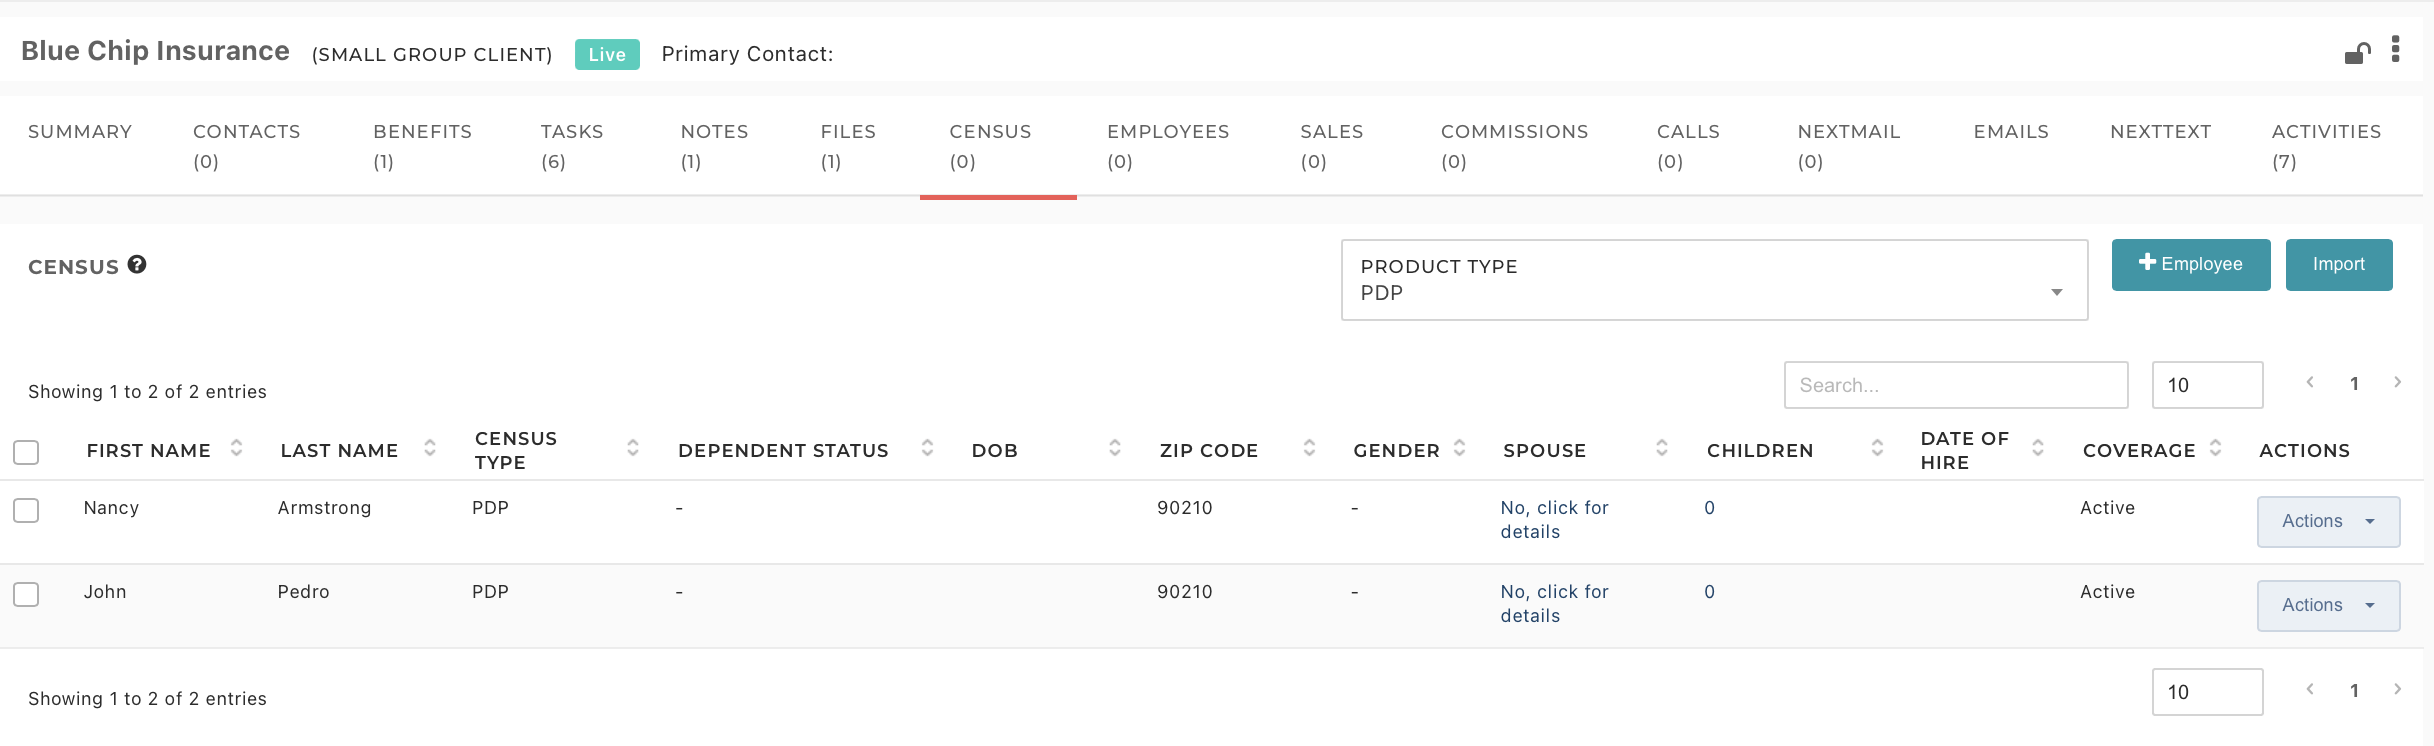
- Census (Group Market Segment Only) - Manage Census data for a Small or Large Group case.
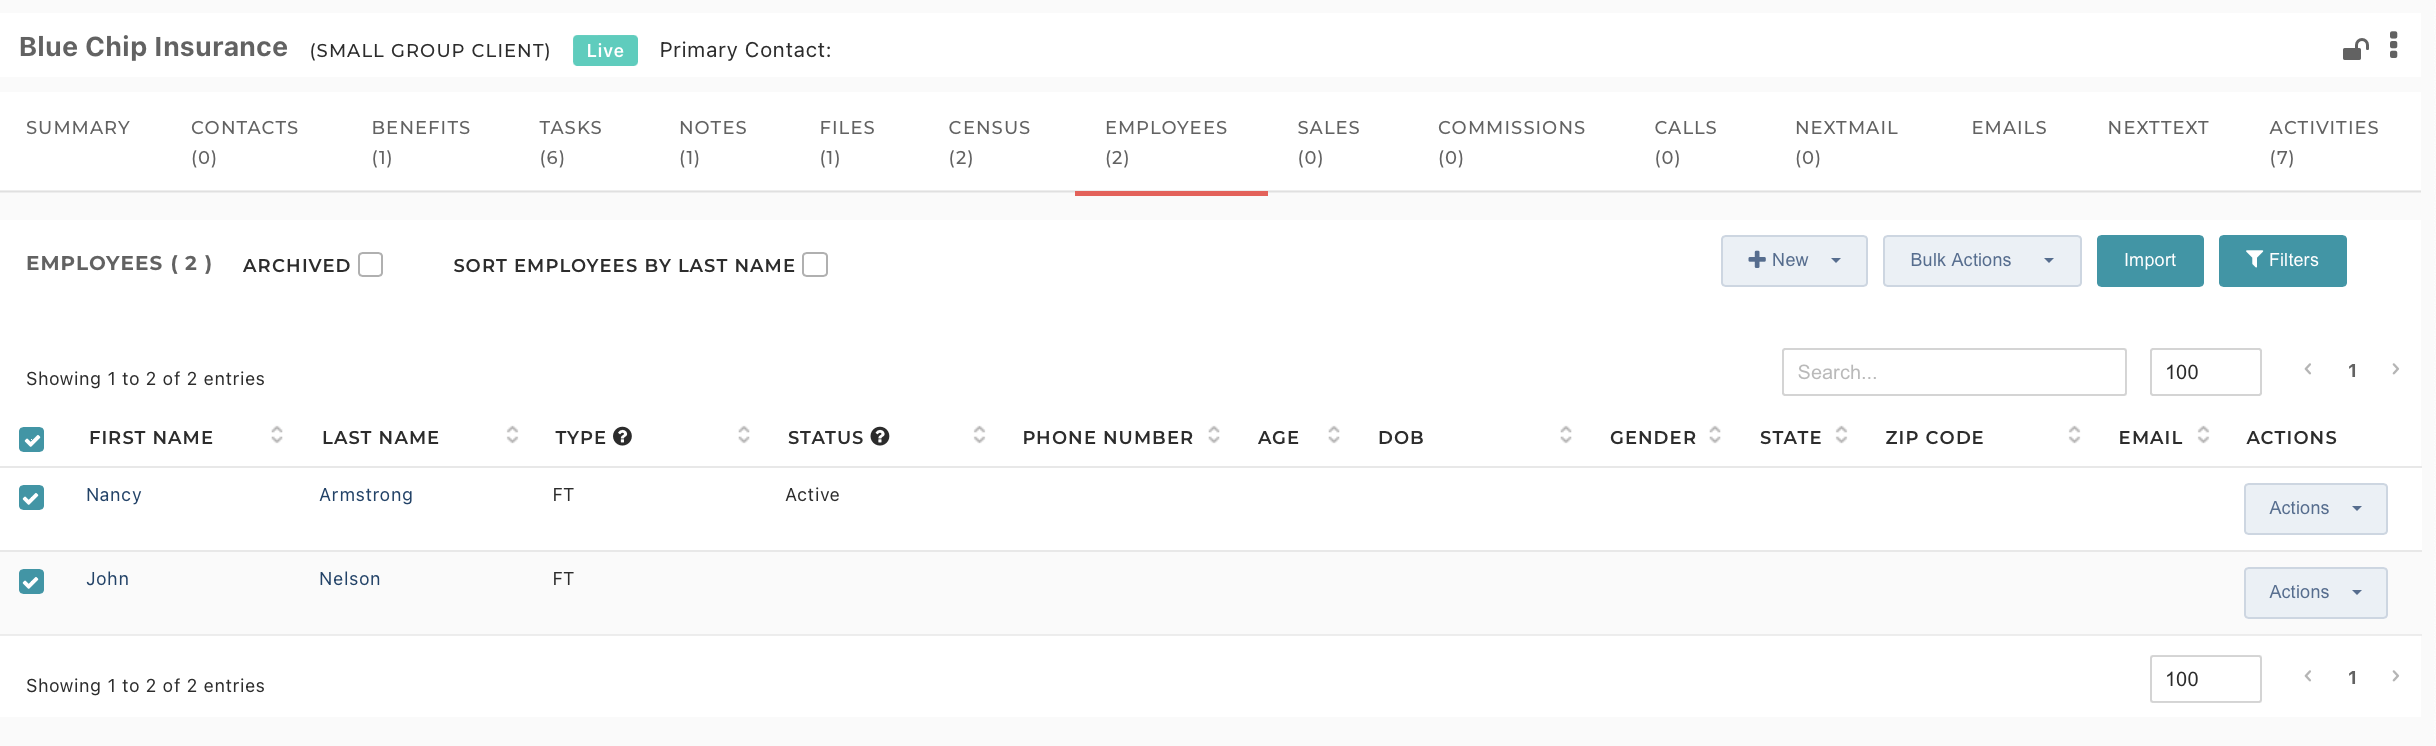
- Employees (Group Market Segment Only) - Add, edit, or remove employees associated with a Small or Large Group case.
- Sales (All Market Segments) - Manage quotes, proposals, and enrollment kits.

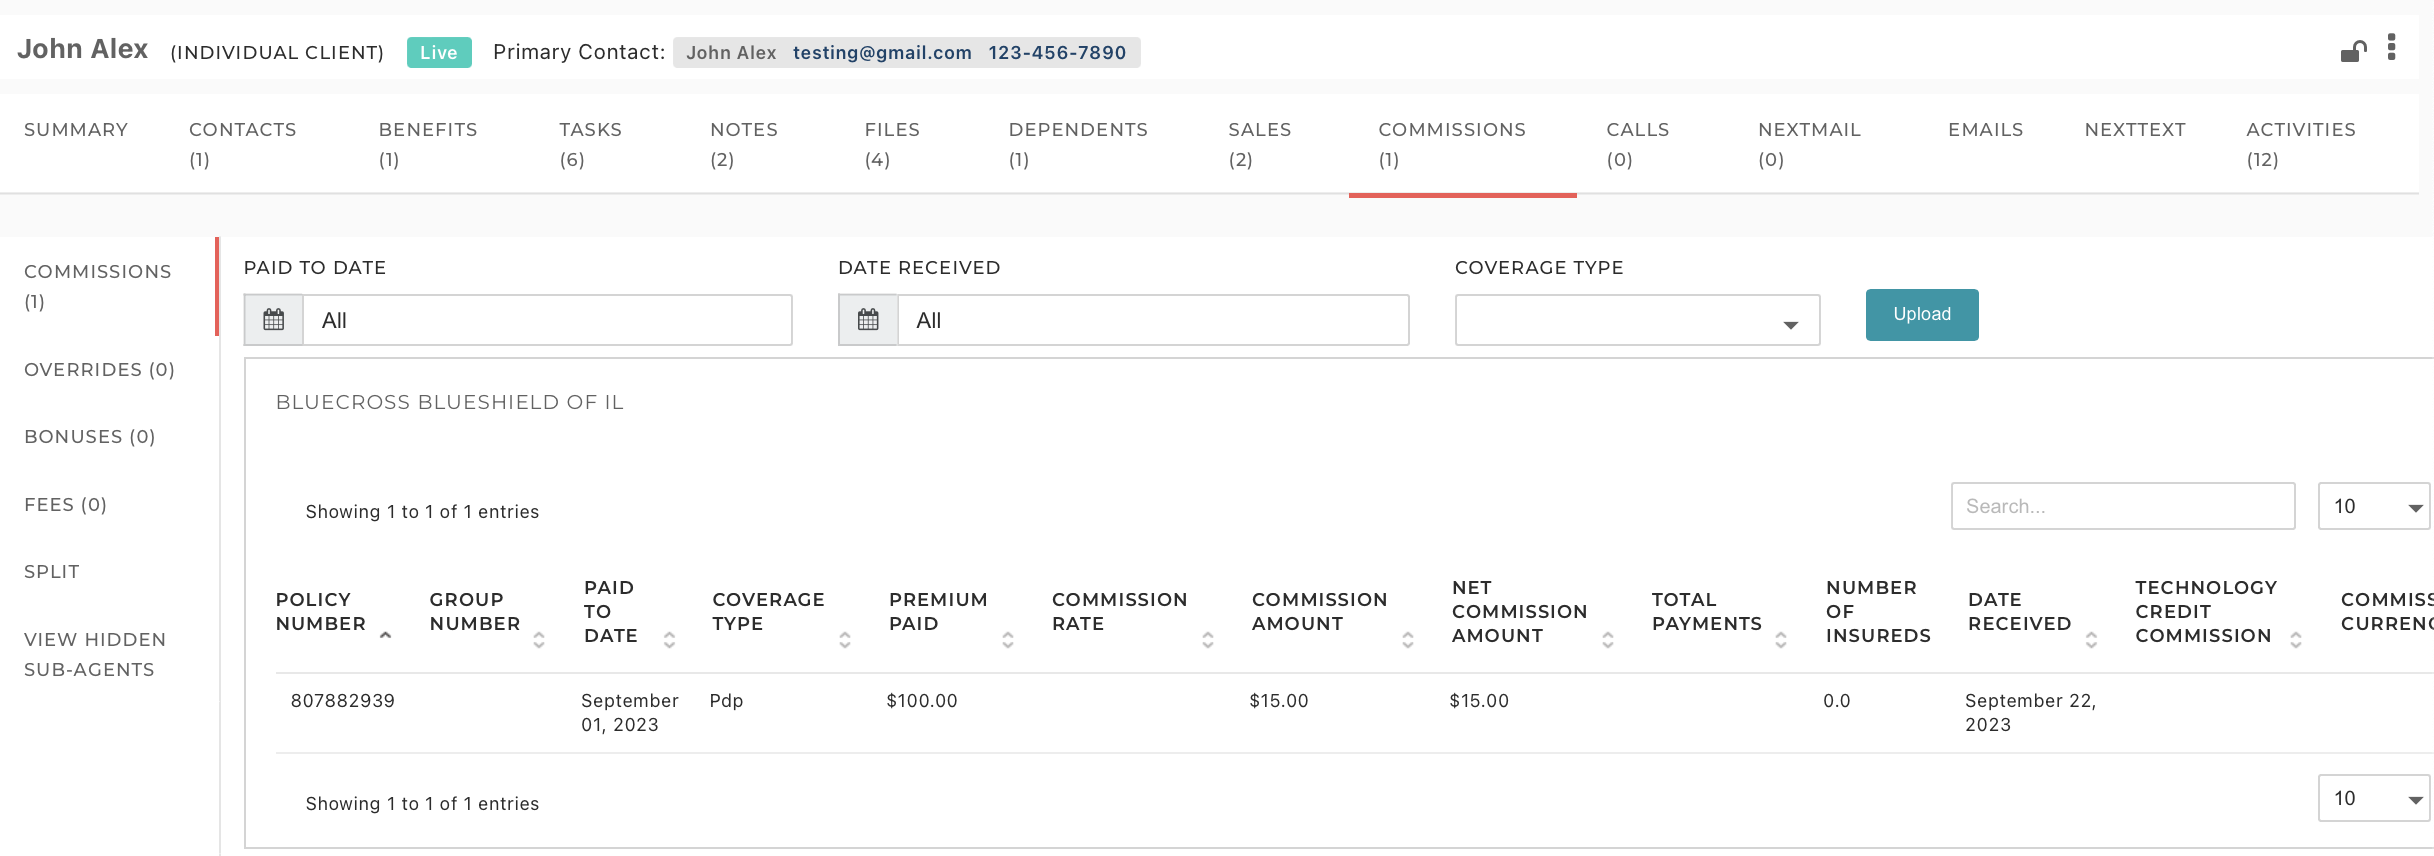
- Commissions (All Market Segments) - Edit, create, or import commission statements. Define commission splits, per policy/Carrier. NOTE: Commissions module is billed separately from the Core NextAgency product subscription.
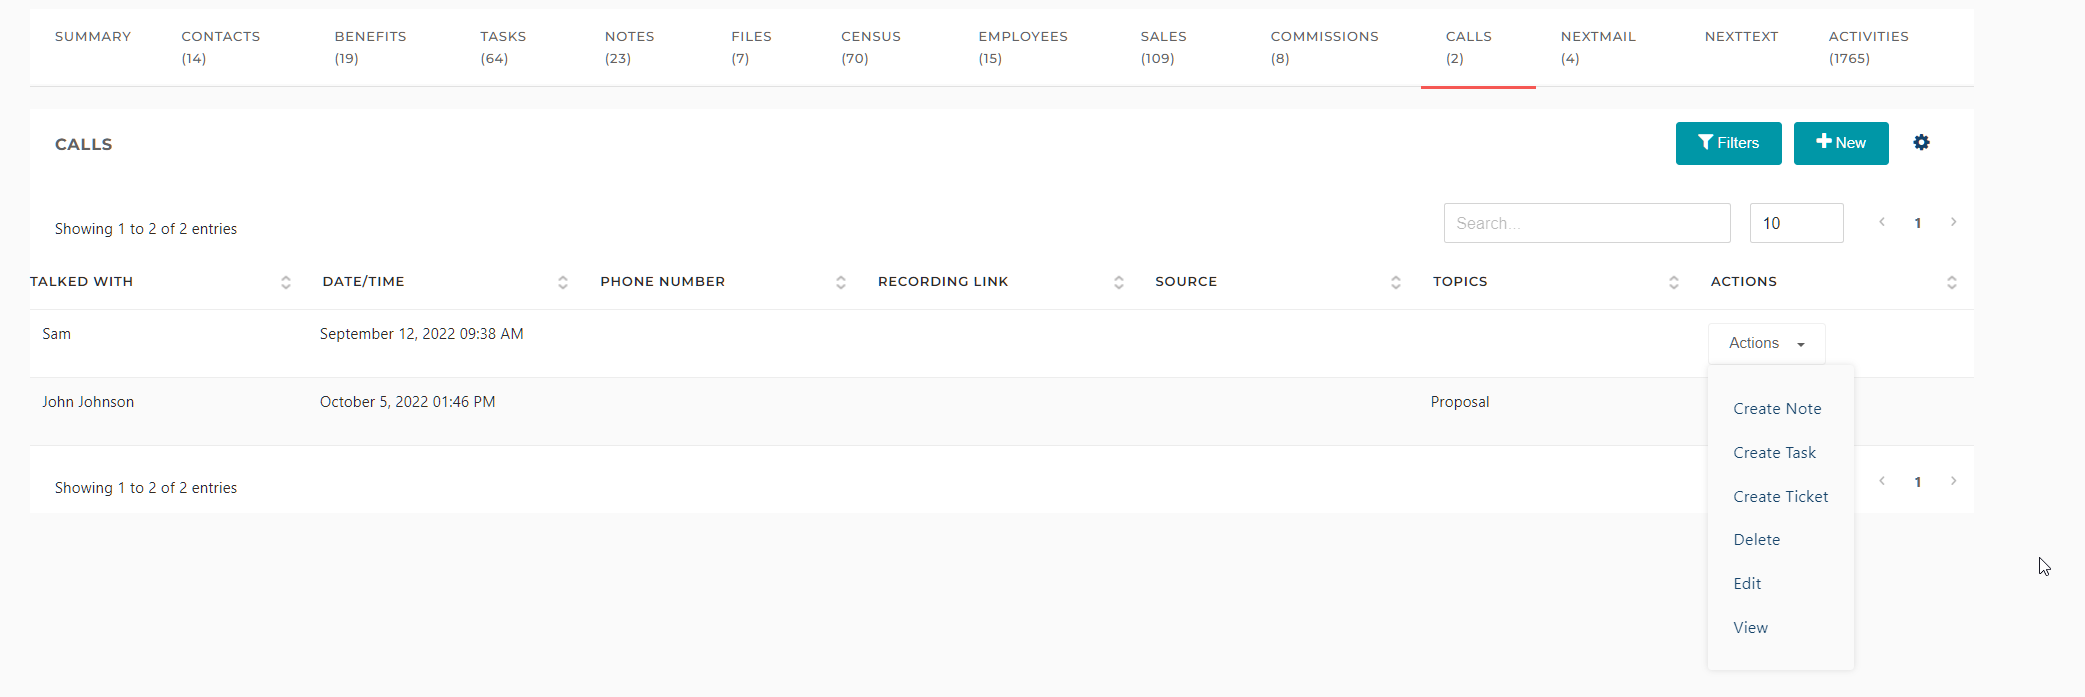
- Calls (All Market Segments) - Add and edit Calls to include uploading the recording or linking the recording for each of your cases. You can also create Tasks and Notes associated with each call.
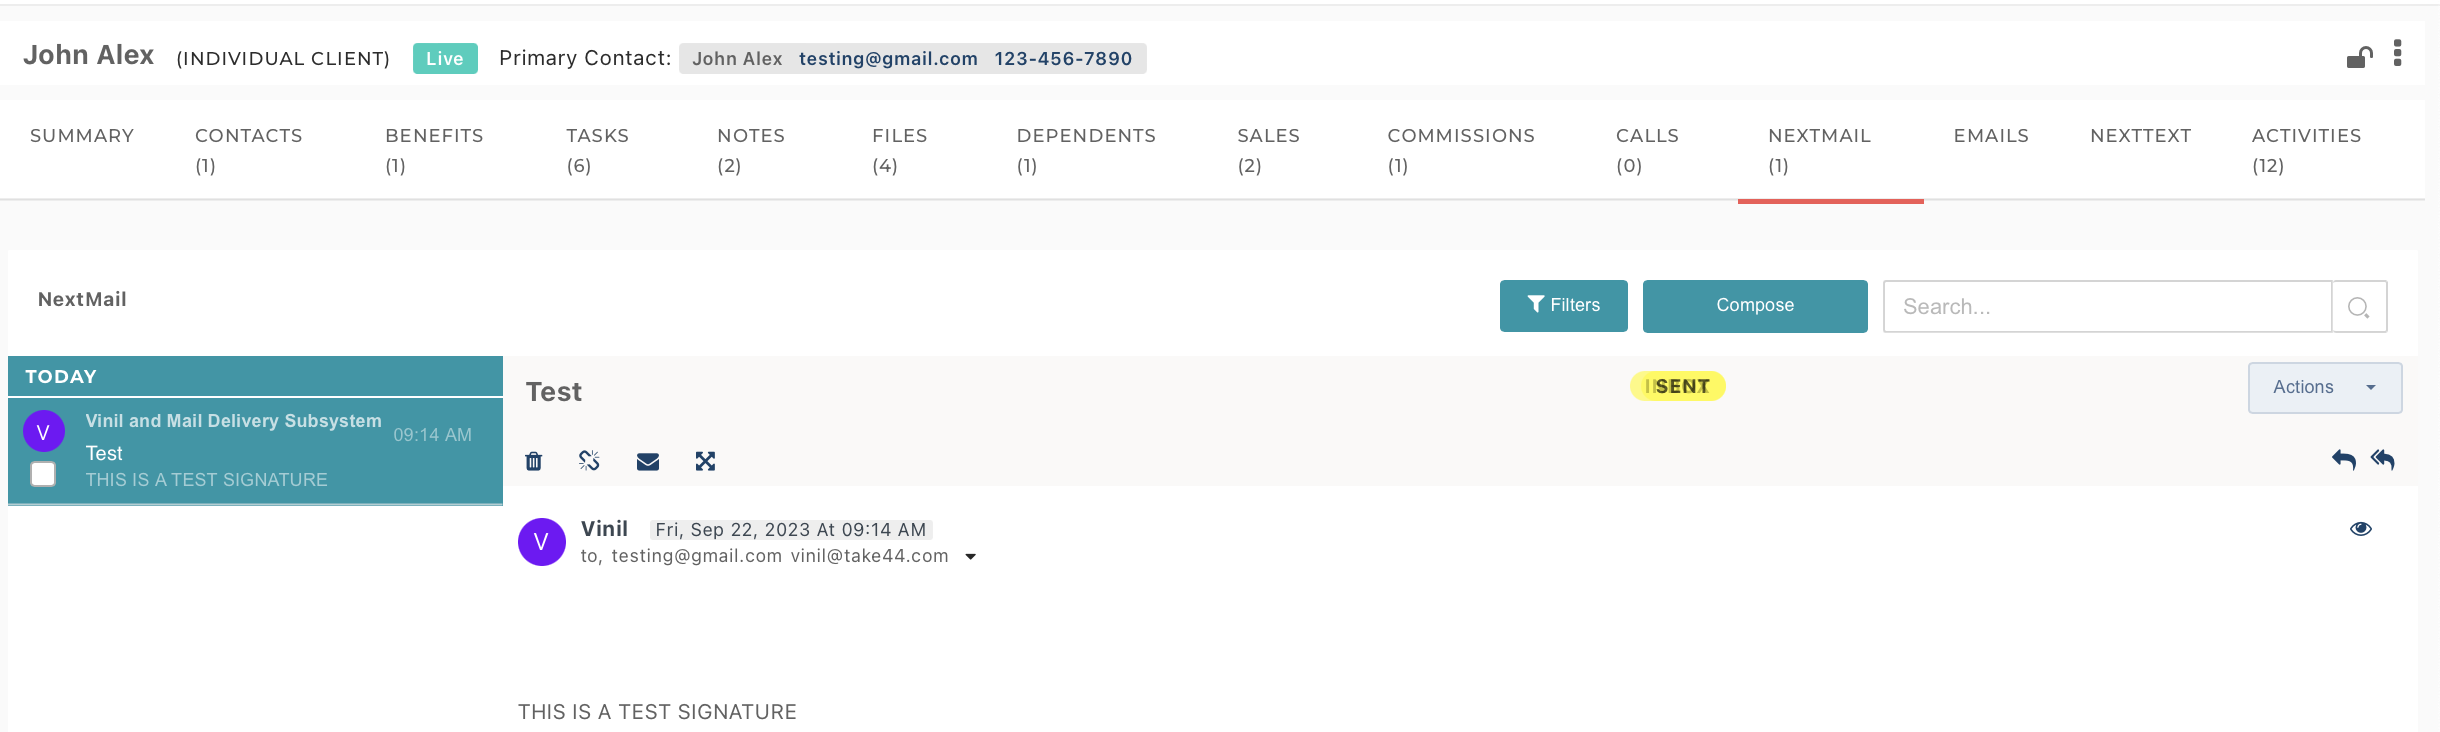
- NextMail (All Market Segments) - If you've chosen to sync your email account with NextAgency, the NextMail tab will display communications related to the case, including emails sent to or from contacts defined within the case.
- Emails (All Market Segments)- Emails assigned to cases from within the Outlook add-on are displayed in the Email tab of case records. By default, this tab is hidden. To display the tab, go to Settings > Agency Settings > Preferences. Click on the Personal sub-tab and then toggle on the 'Need Emails tab in Cases' option. Click the 'Save' button.
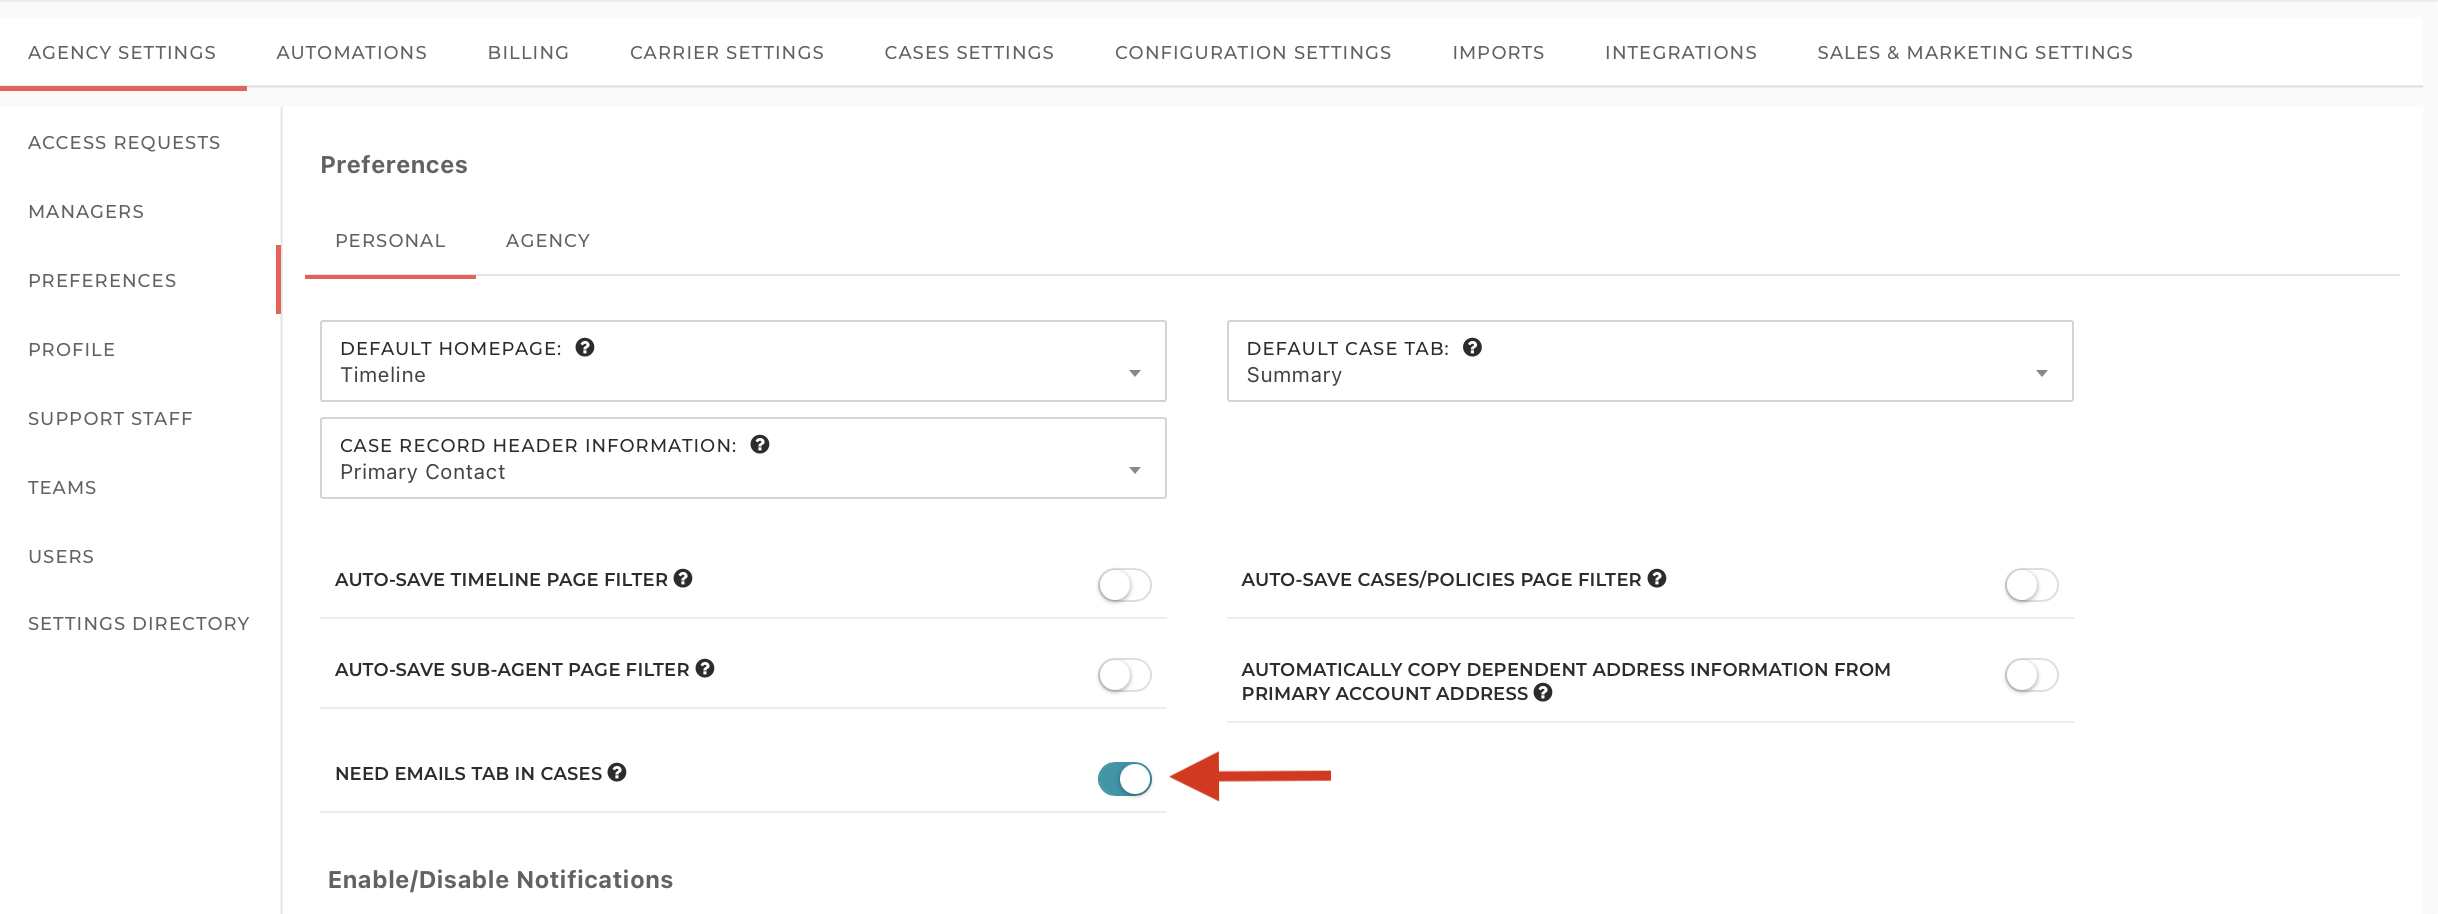
All the attached Outlook emails can be viewed from the 'Emails' tab.

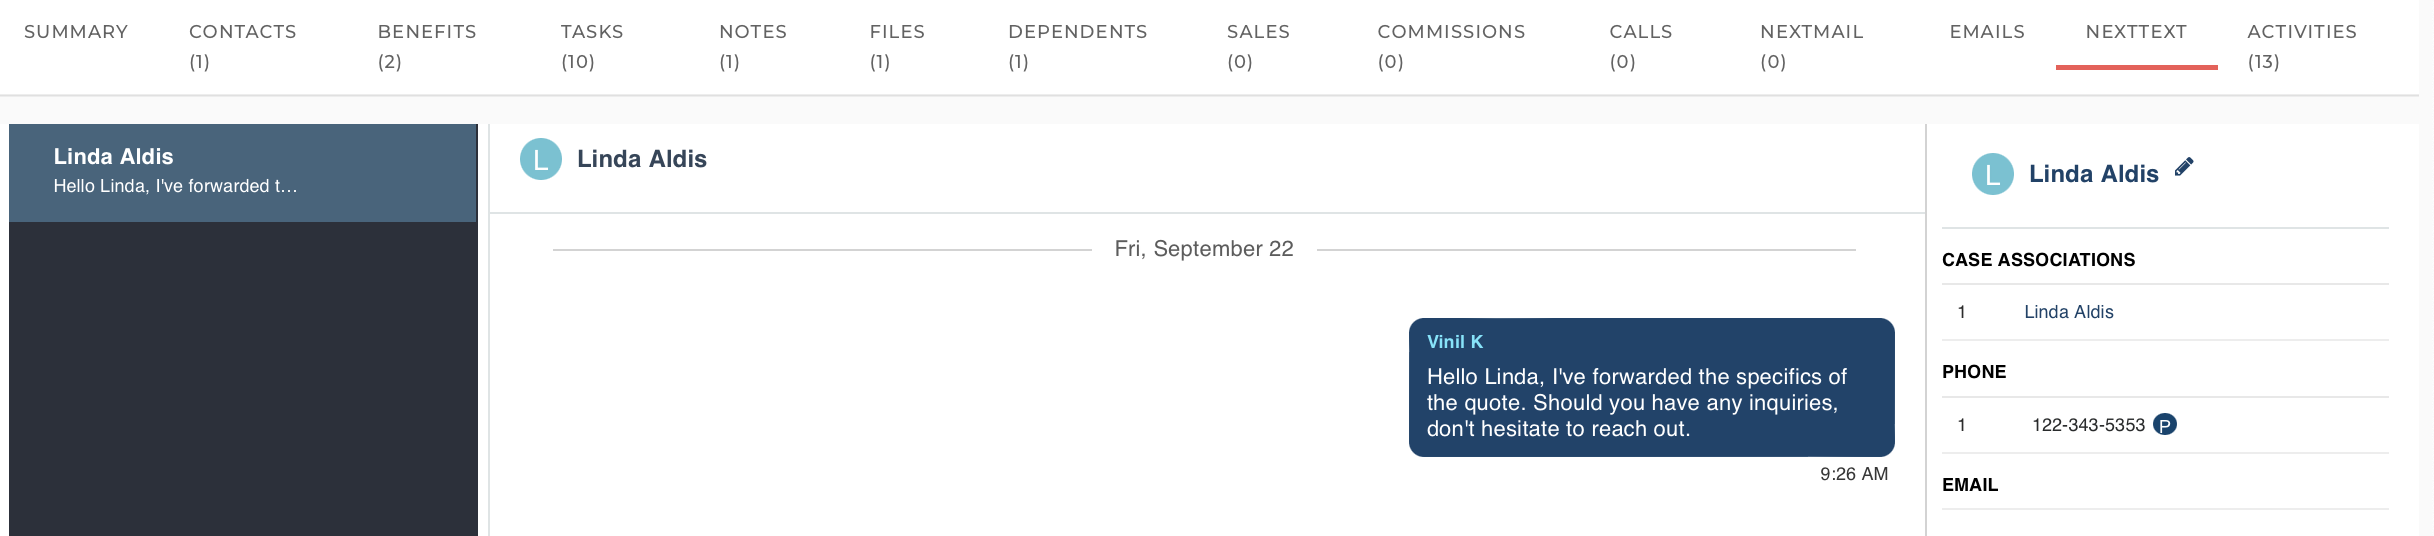
- NextText (All Market Segments) - If you've chosen to use NextText, all communication via SMS that you have had with the client will be displayed here, including the contact details, date and time stamps, and of course messages. You are also able to send messages to your contact via SMS here as well.
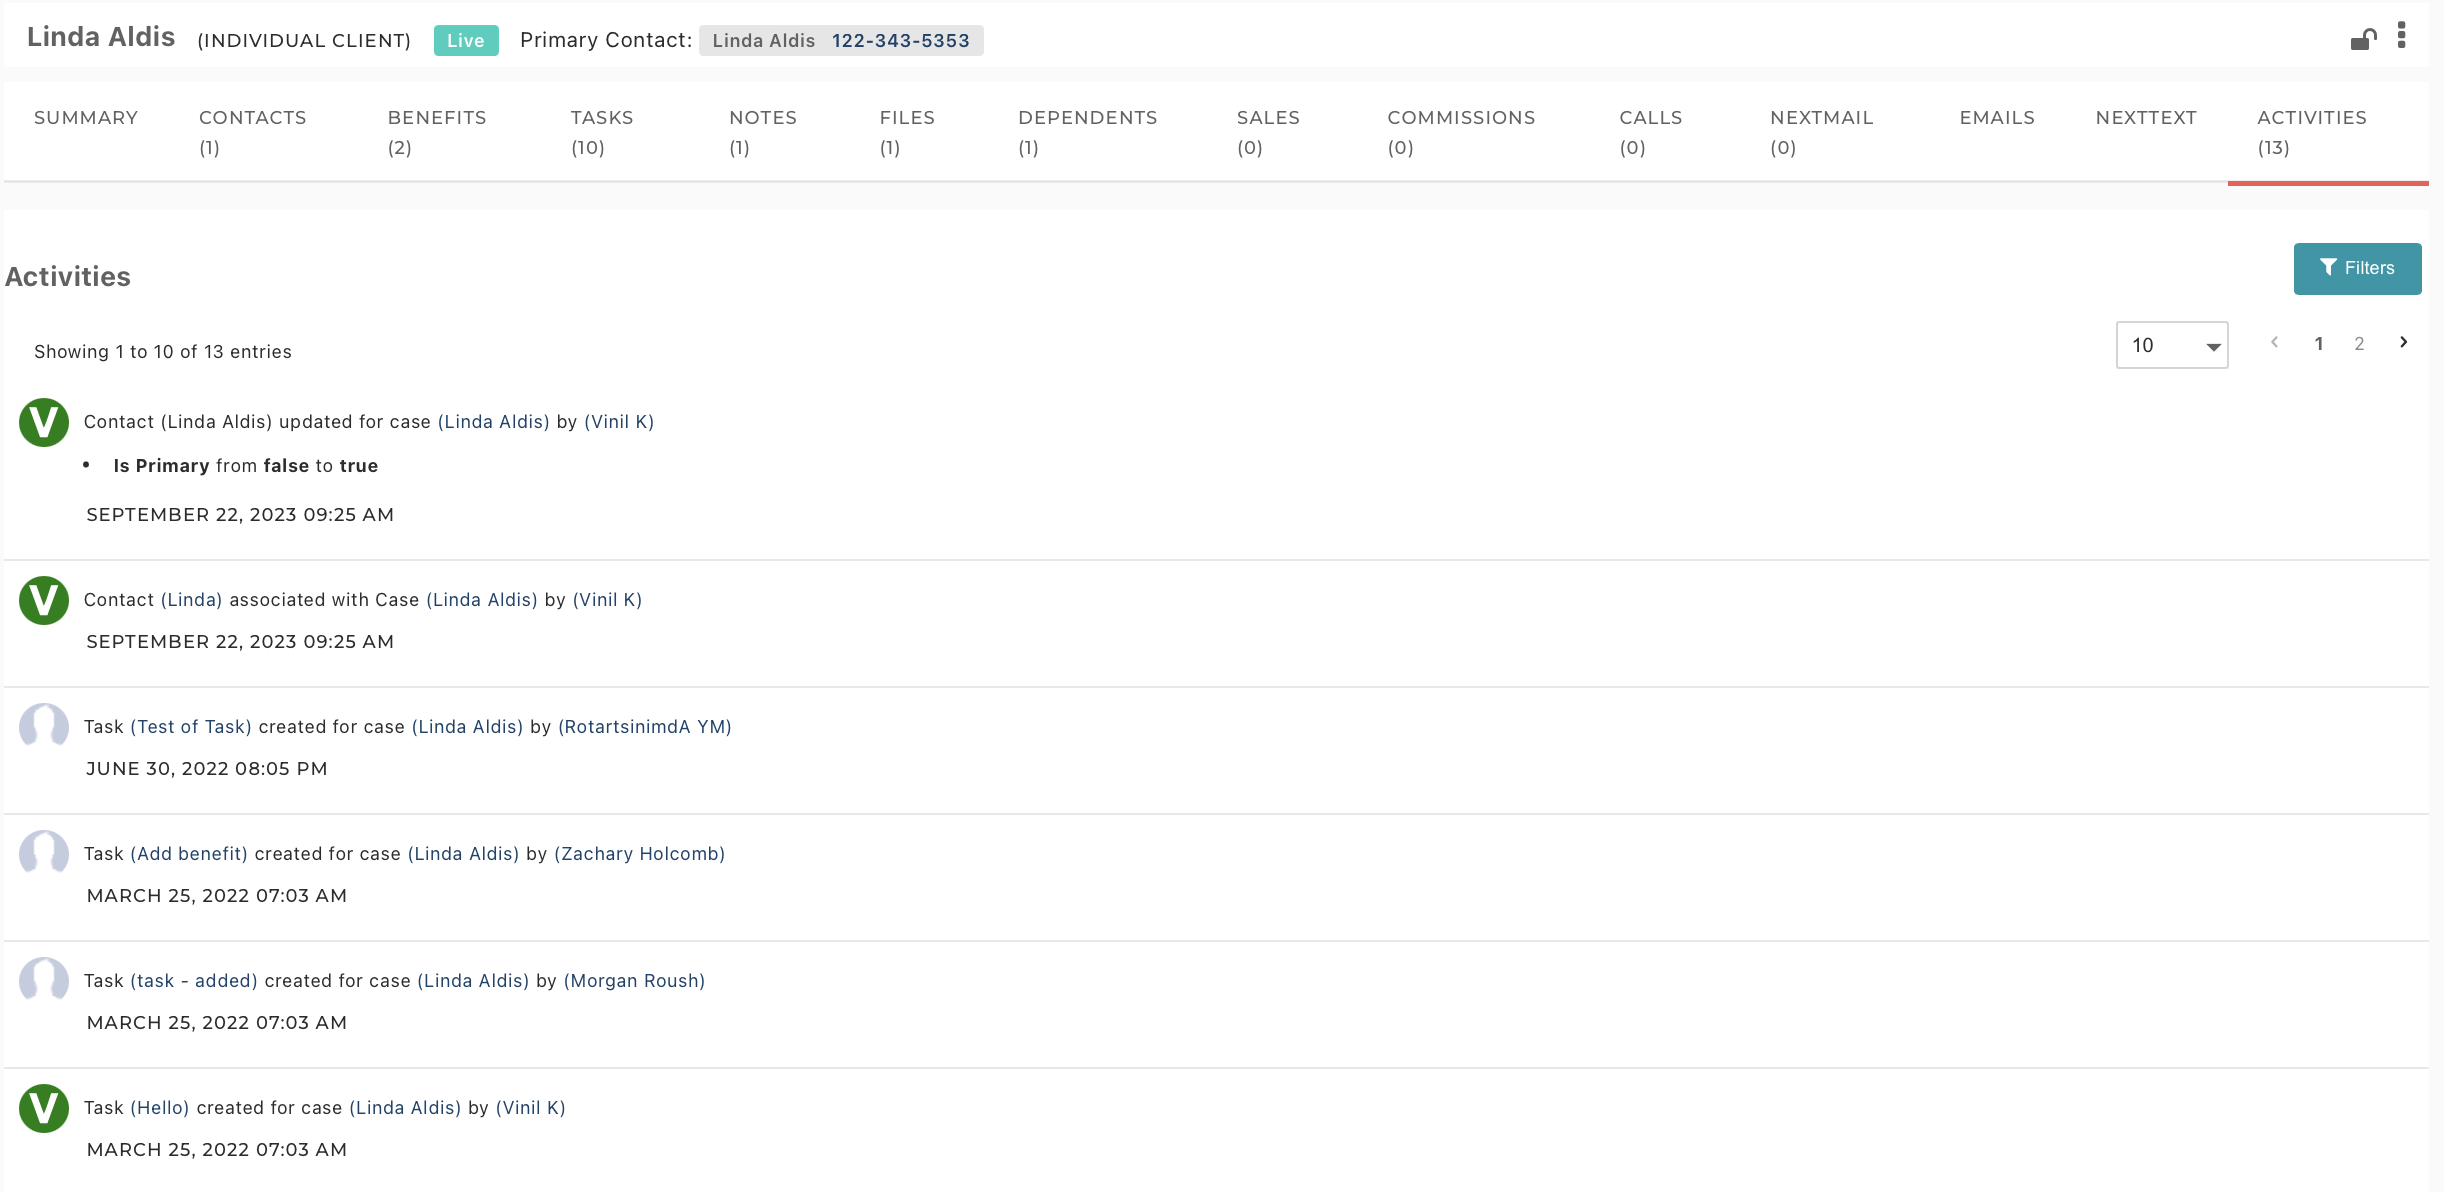
- Activities (All Market Segments) - Log of activities related to the case.
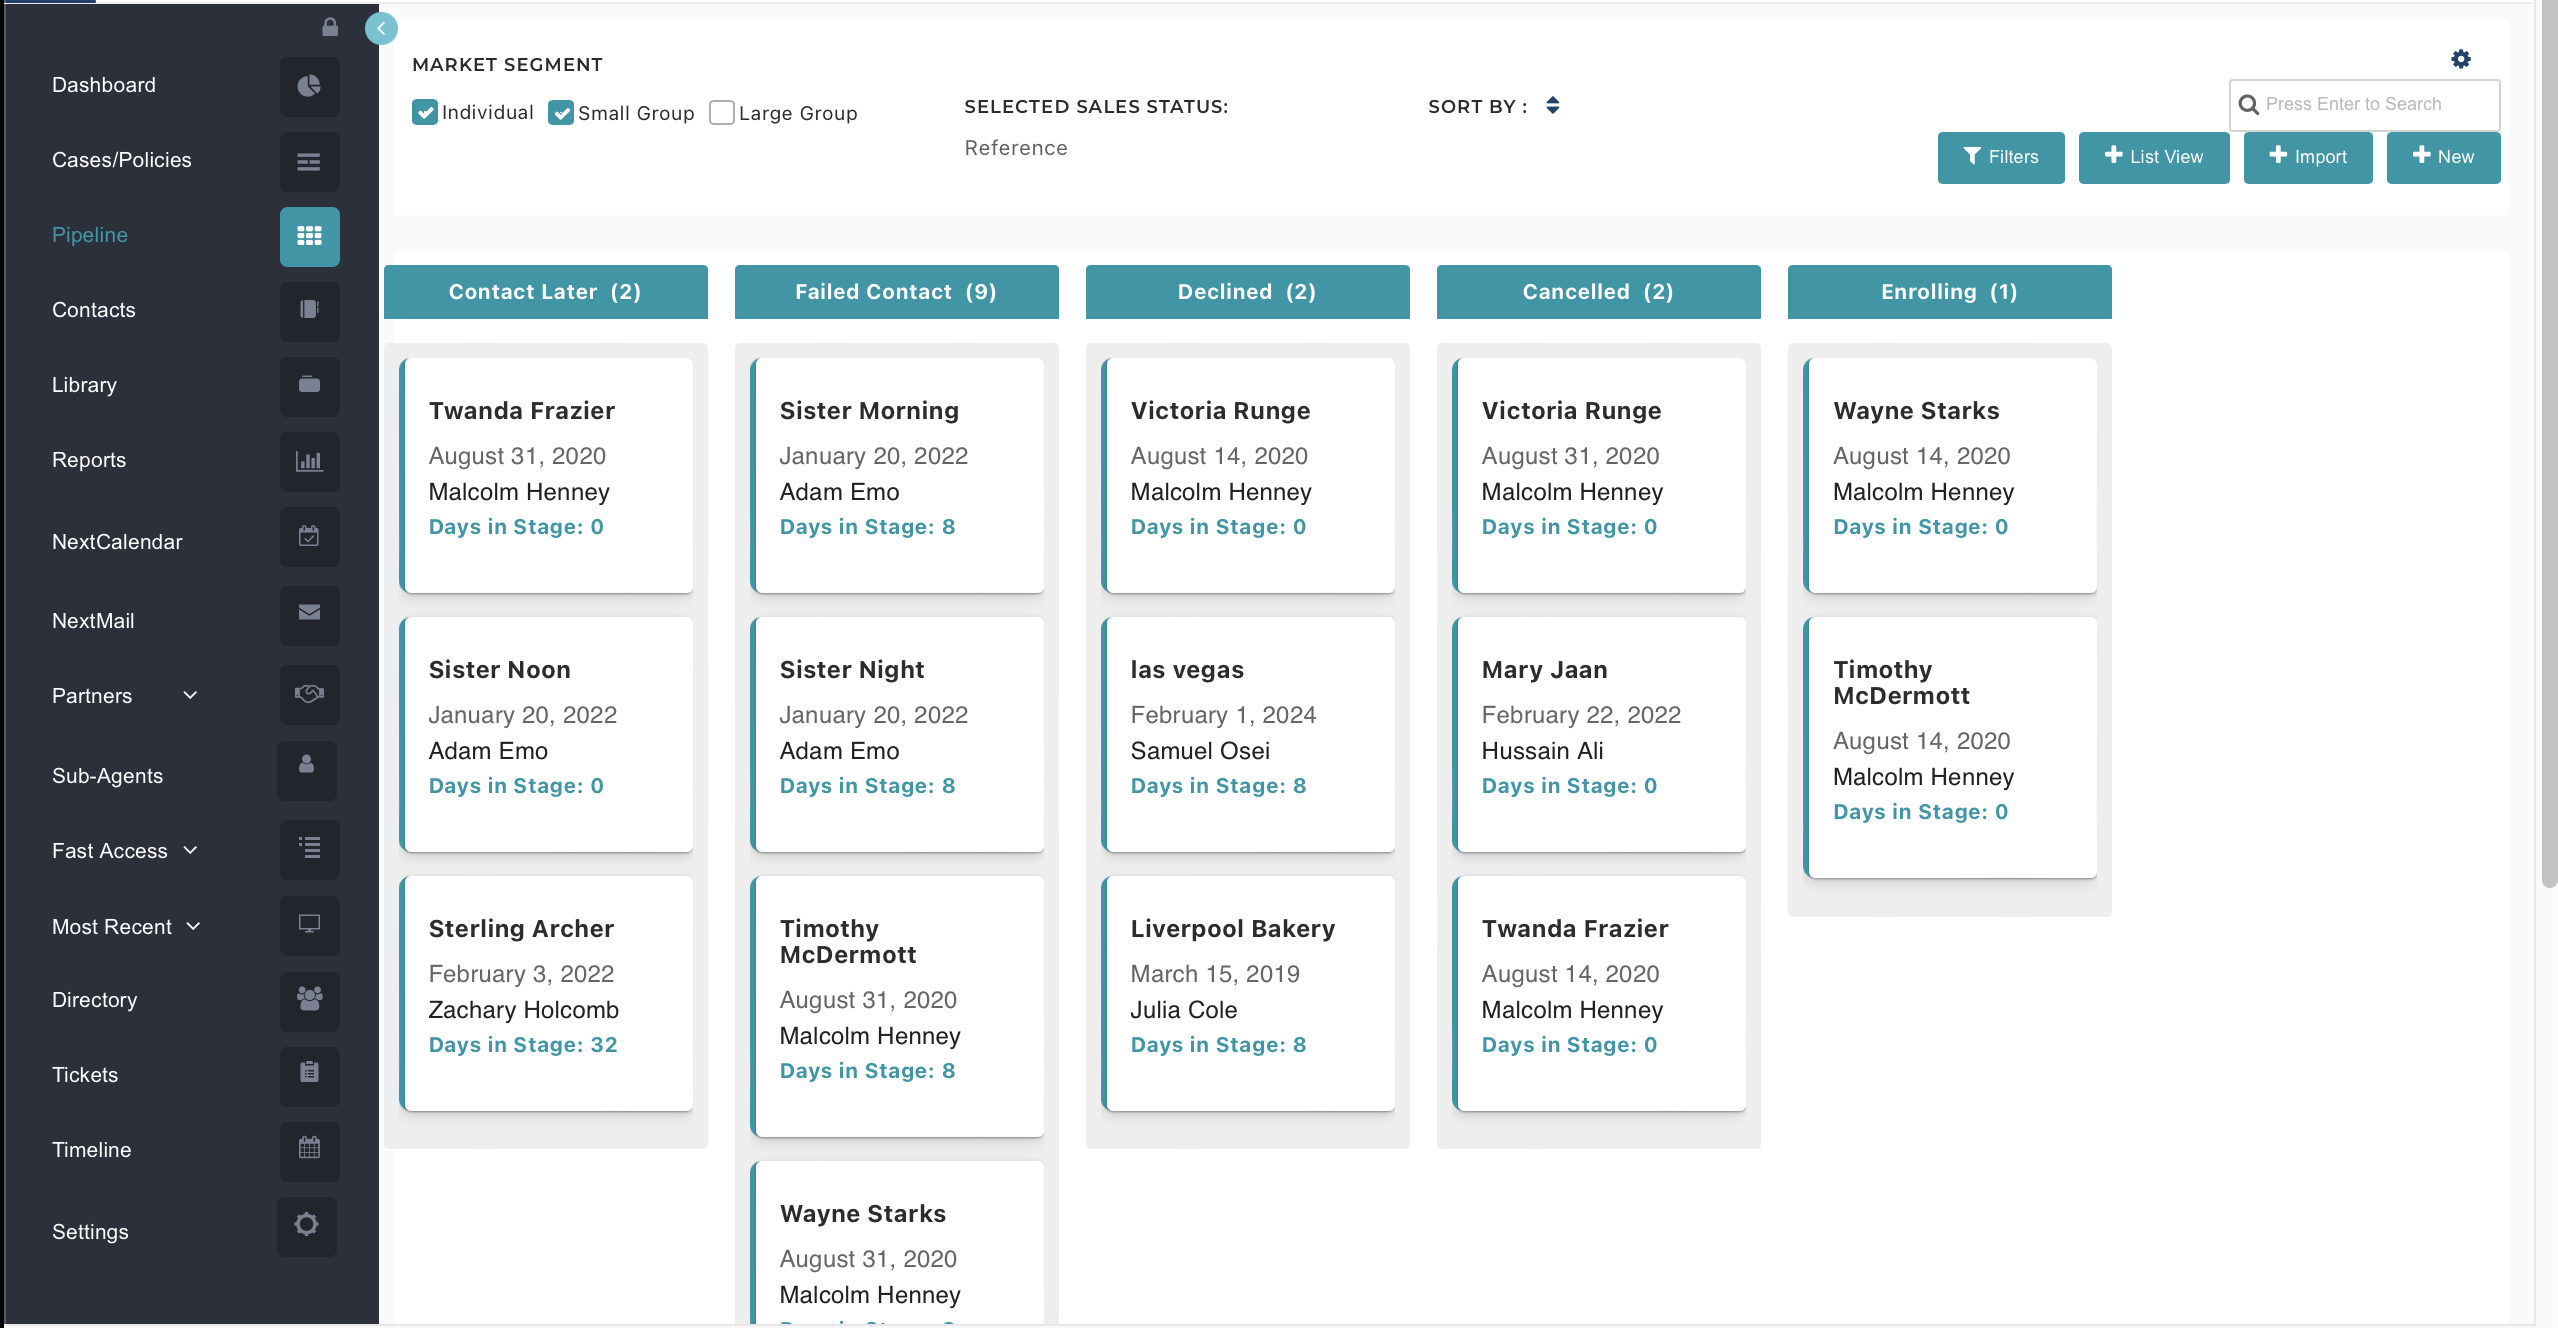
Pipeline
Explore your case records conveniently arranged by their sales status and stages. Choose a sales status and select up to 10 stages for the Pipeline view.
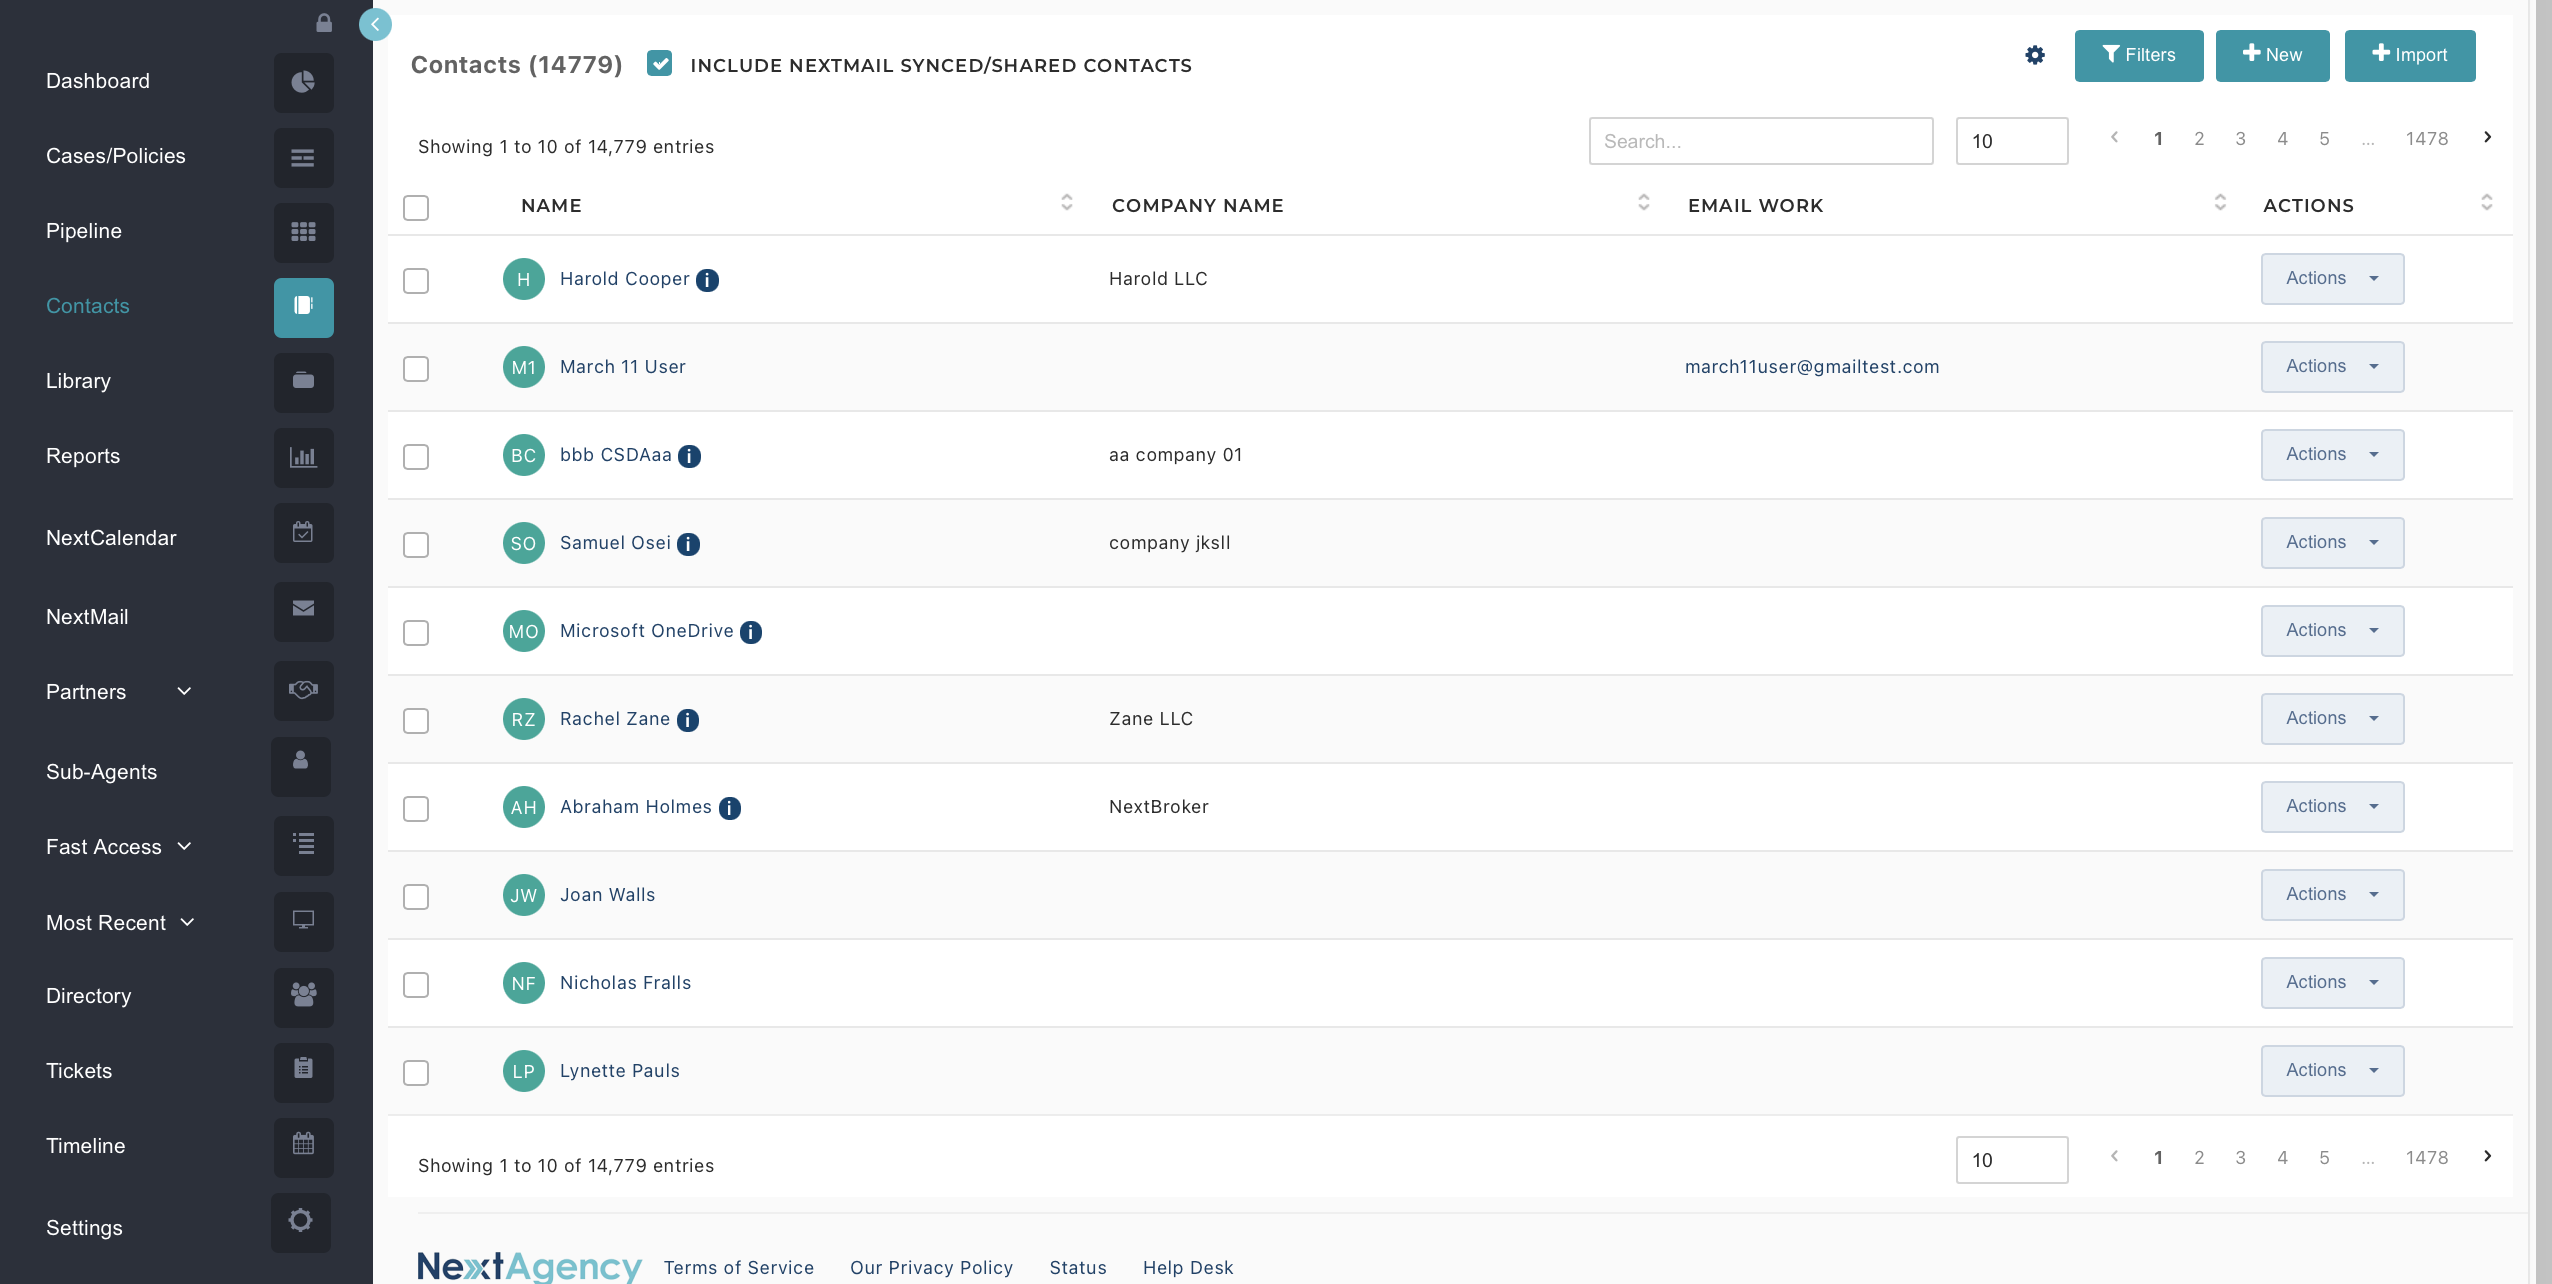
Contacts
In this section, you'll find all of your contacts within NextAgency. This includes contacts that have been created within a case, within this Contacts page, and/or imported from an Excel spreadsheet. You may also choose to include contacts that have been synced from your NextMail email (if applicable).
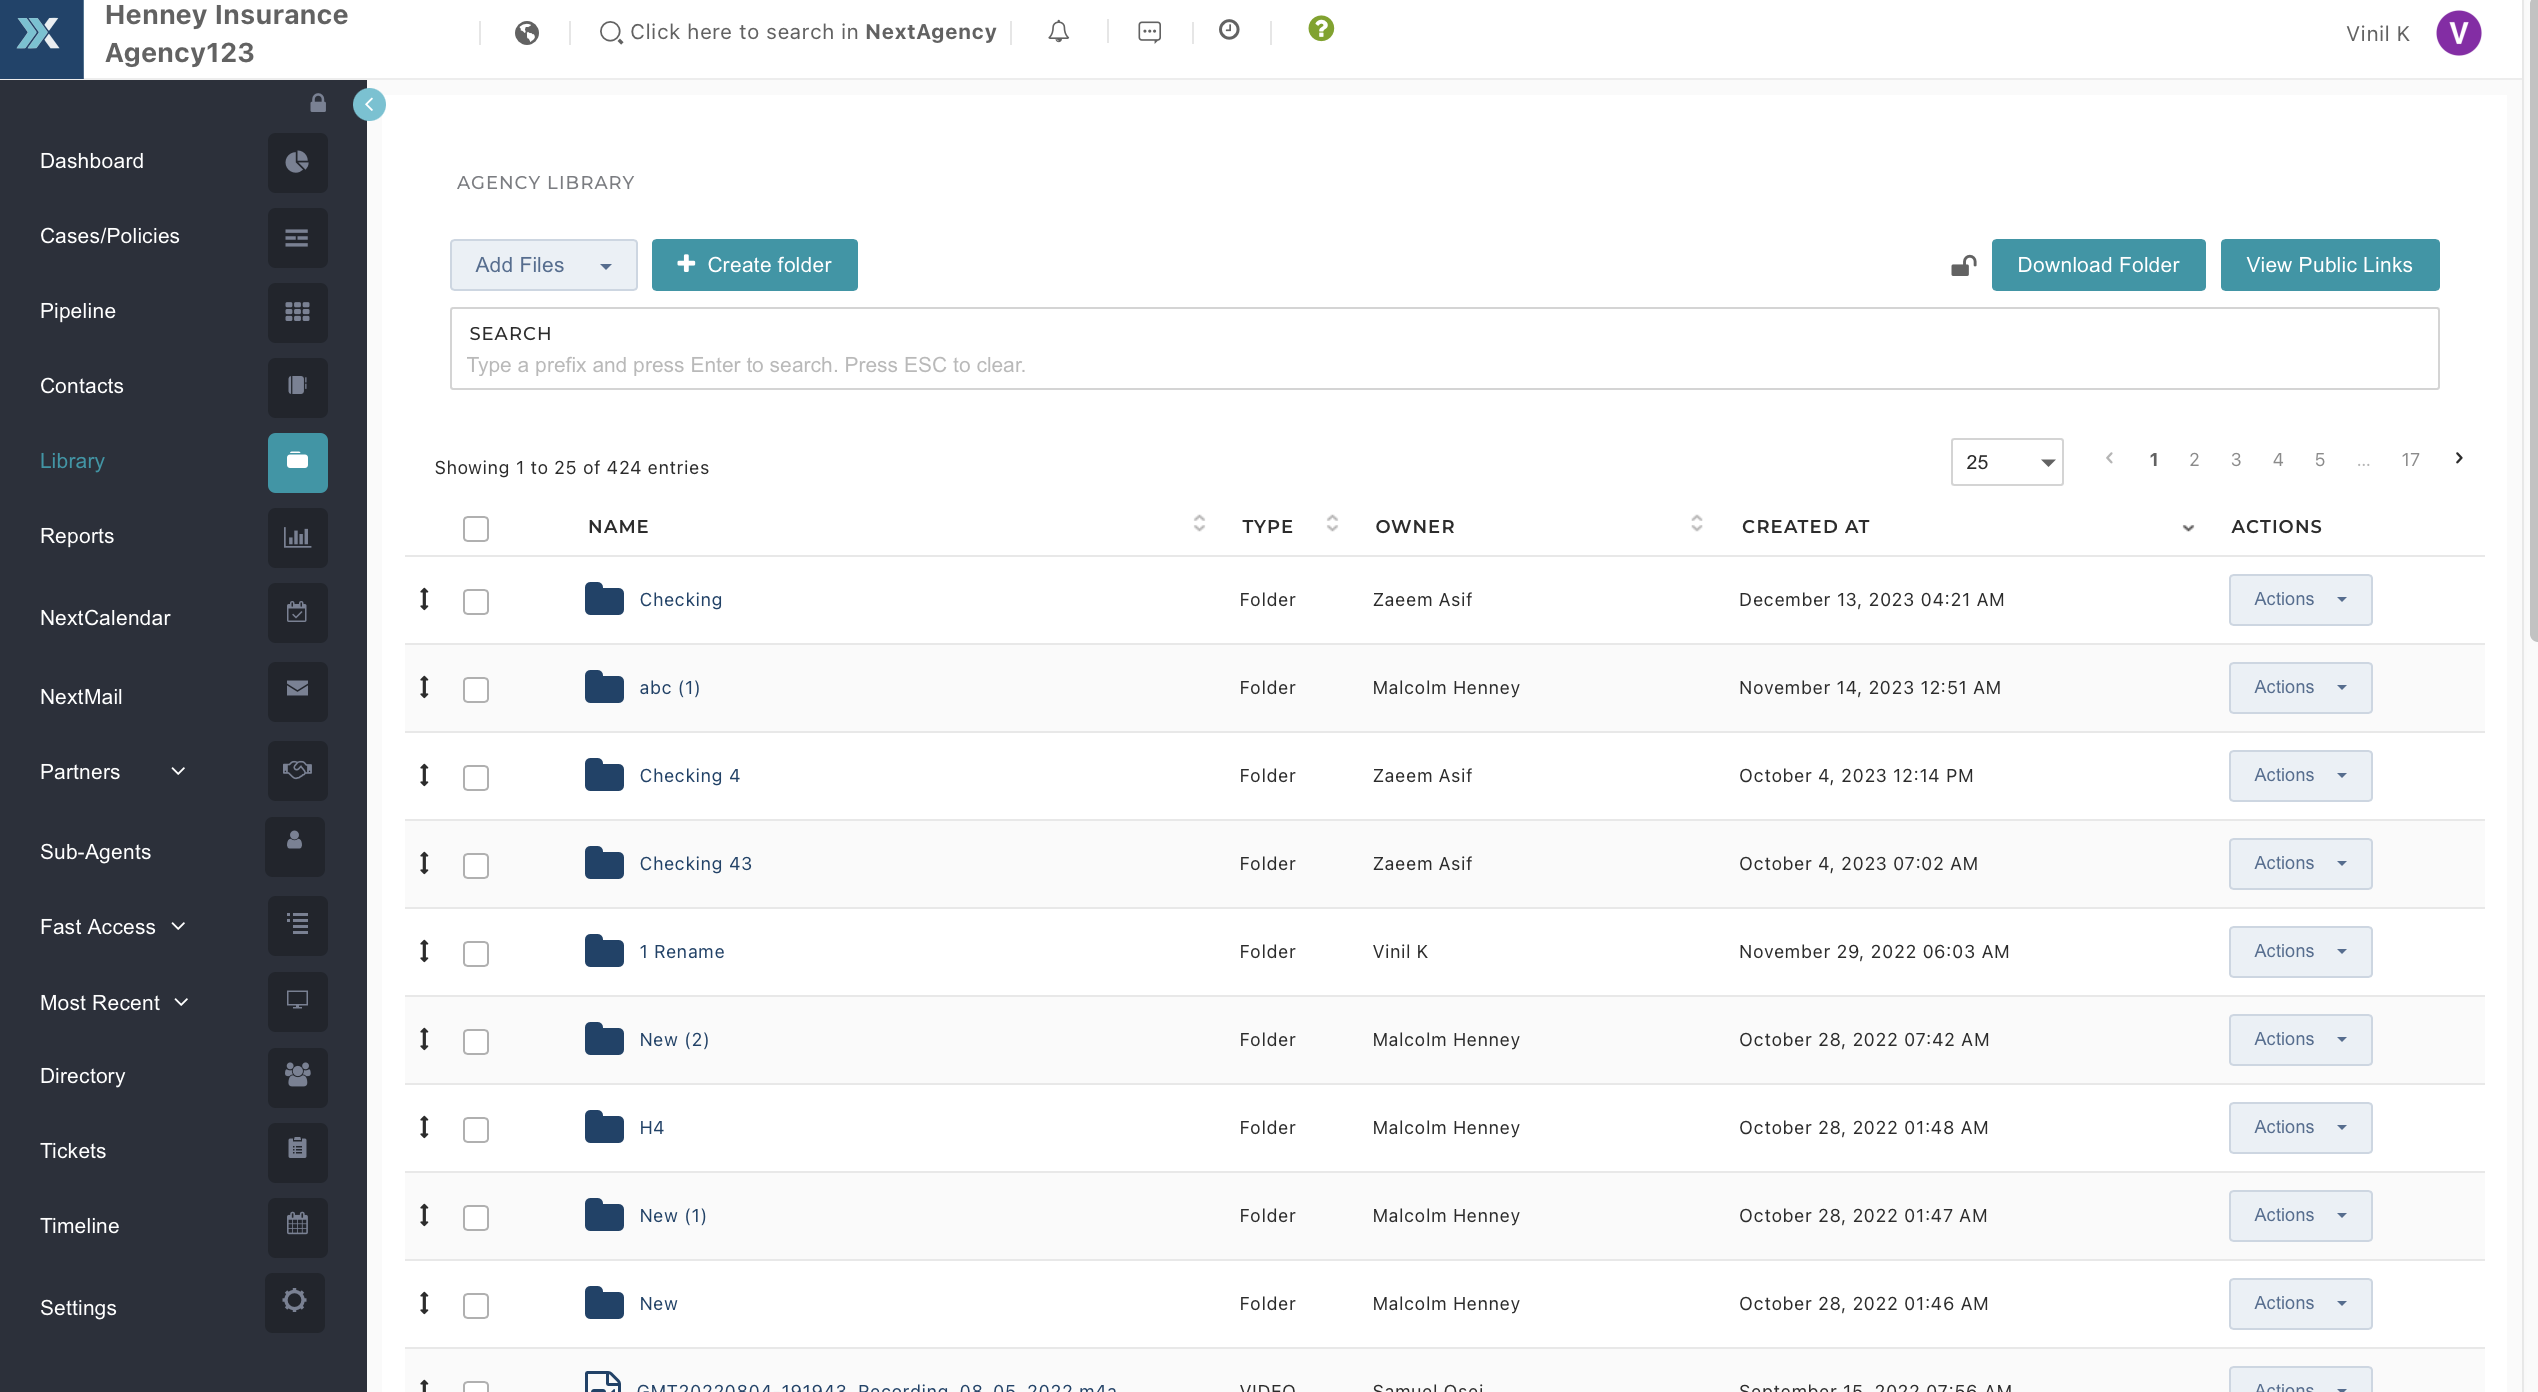
Library
The Library is your agency's file repository. It contains all files that have been uploaded into NextAgency. You may create a folder structure to organize your files. The Library is where an agency would typically store blank applications and documents, whereas, Case specific (completed) applications and documents would be stored within a Case record.
Reports
The Reports allows you to create reports for many different data sets. Most fields within NextAgency can be used to generate reports, including your agency's custom fields. Any reports that have been saved will be listed here, under the appropriate report category. To generate a new report for a template that has already been saved, select the category, find the report, and within the Actions menu, select "Run".
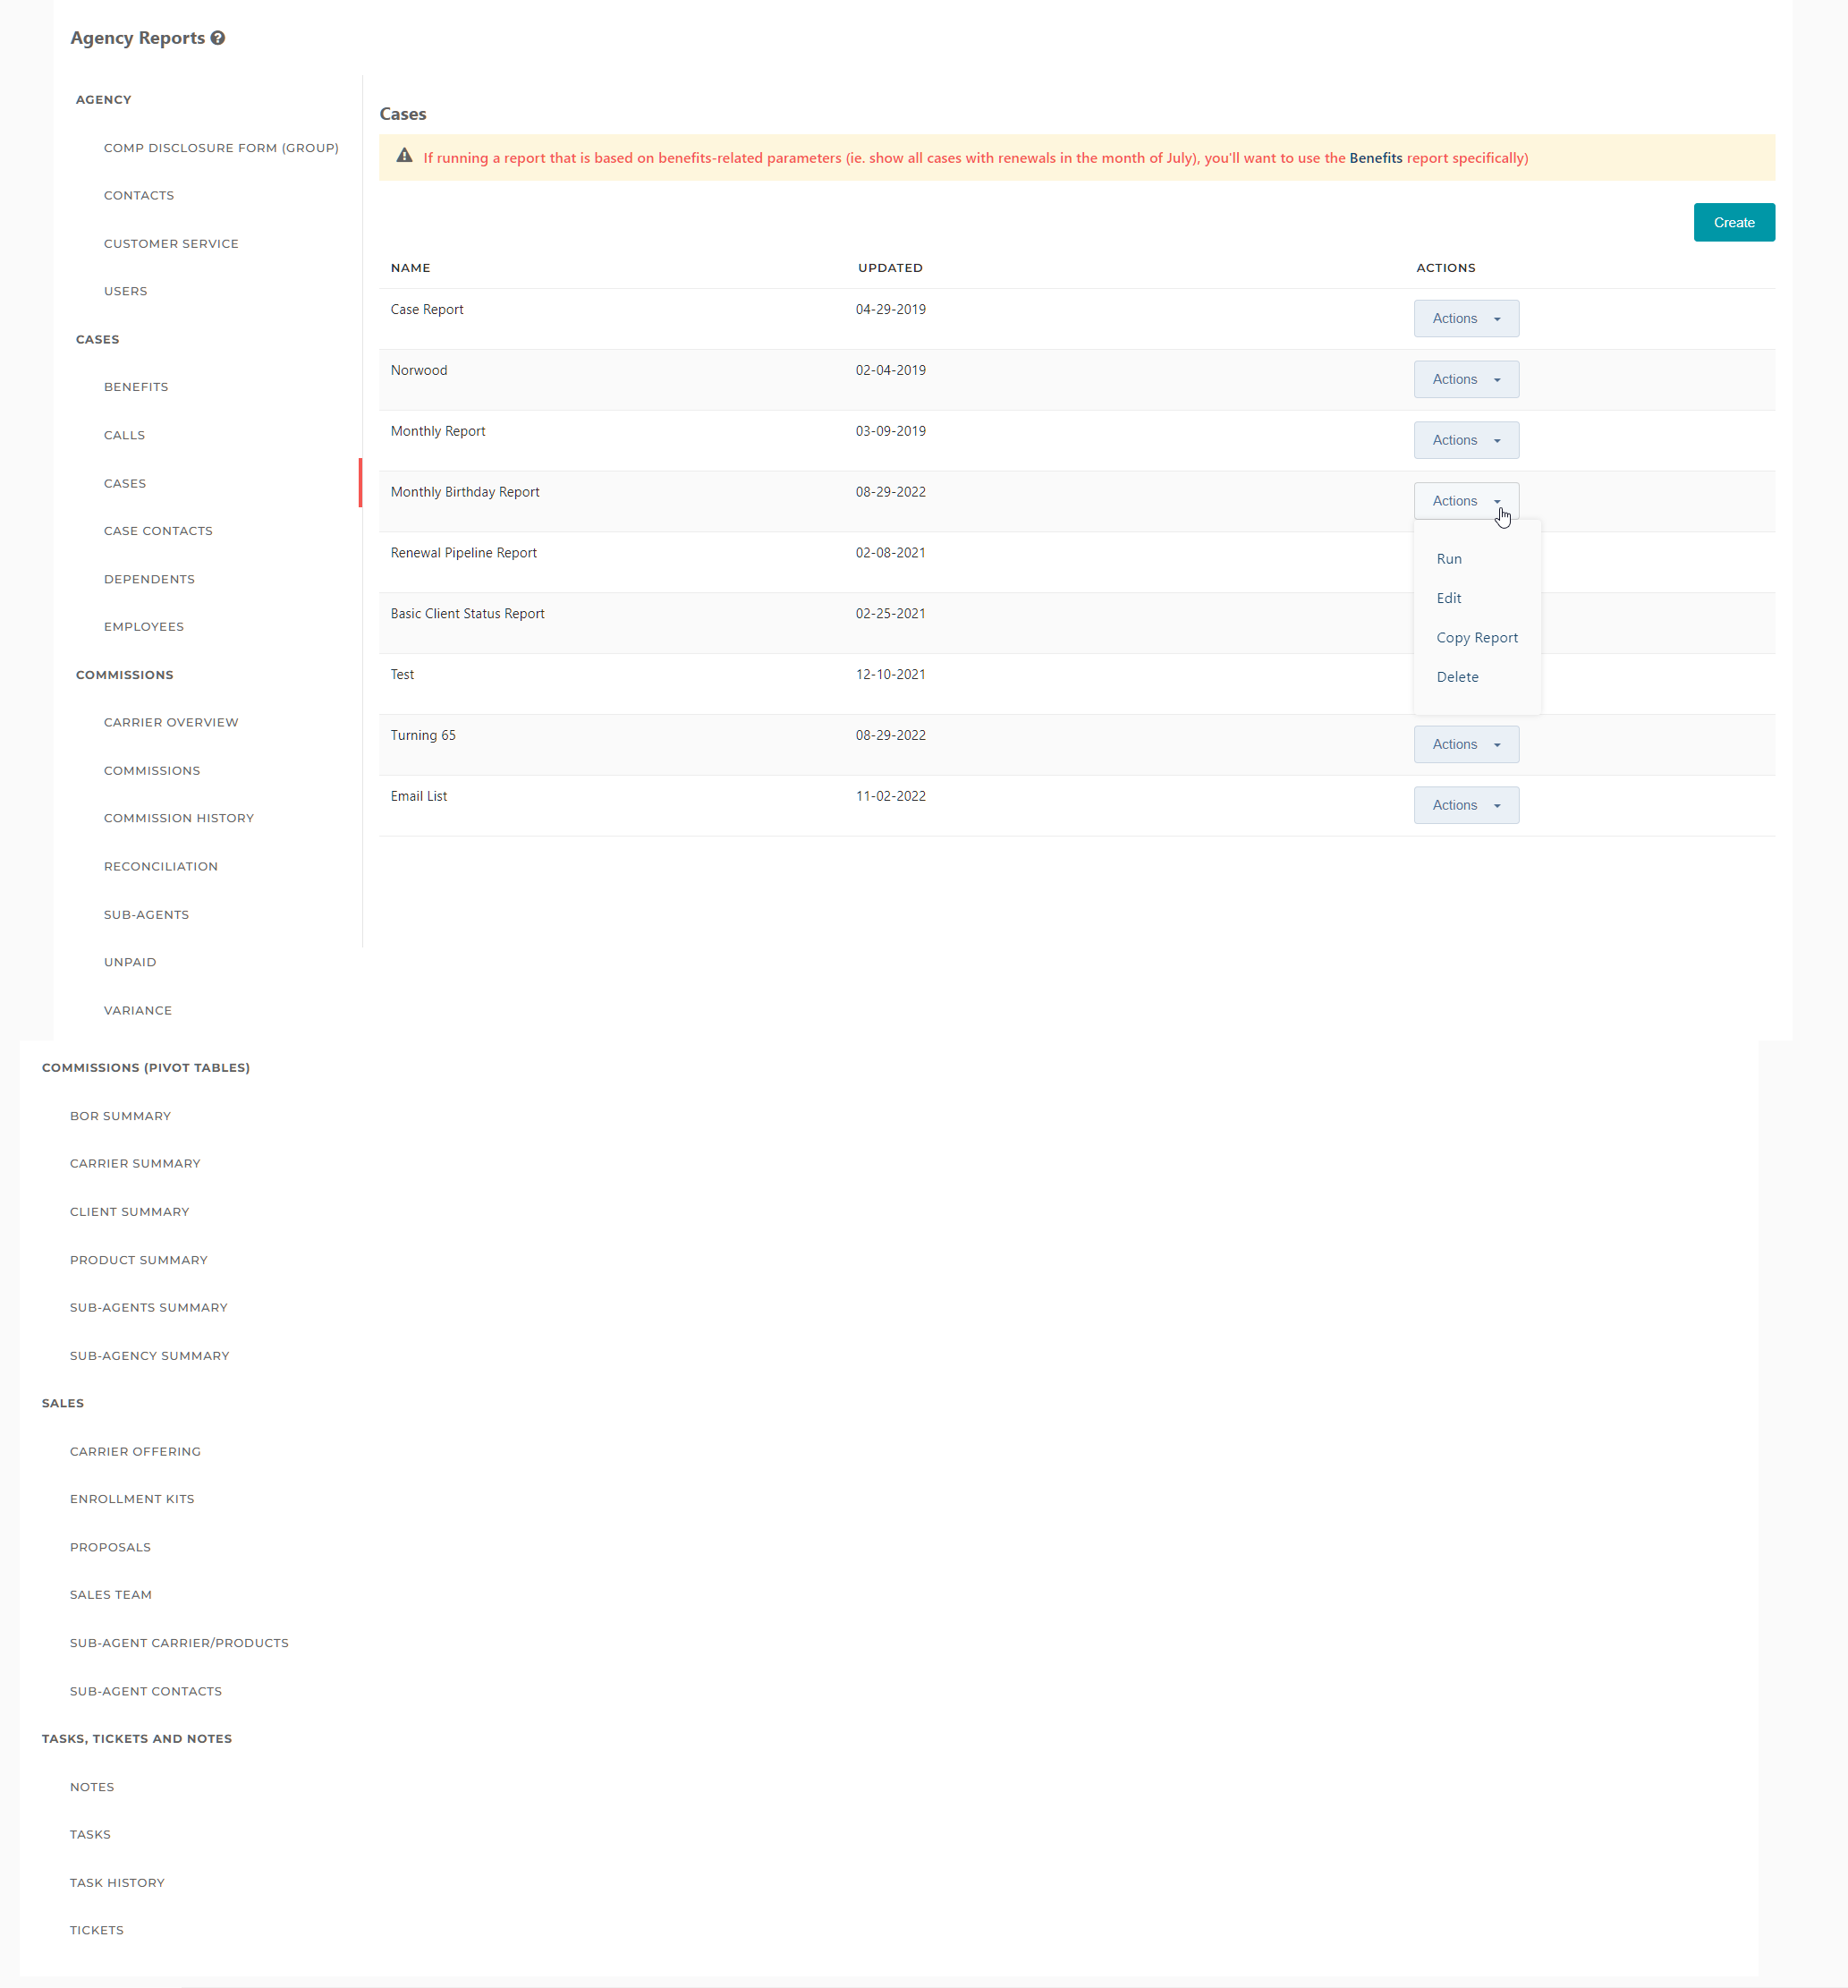
To create a new report, select the category of the report, and click "Create". You'll be taken to a screen where you can select the fields that are relevant for that type of report. Select the fields you'd like to be included. If you'd like to save the report for future use, select "Save As Template".
Once you are ready to generate the report, click "Run".

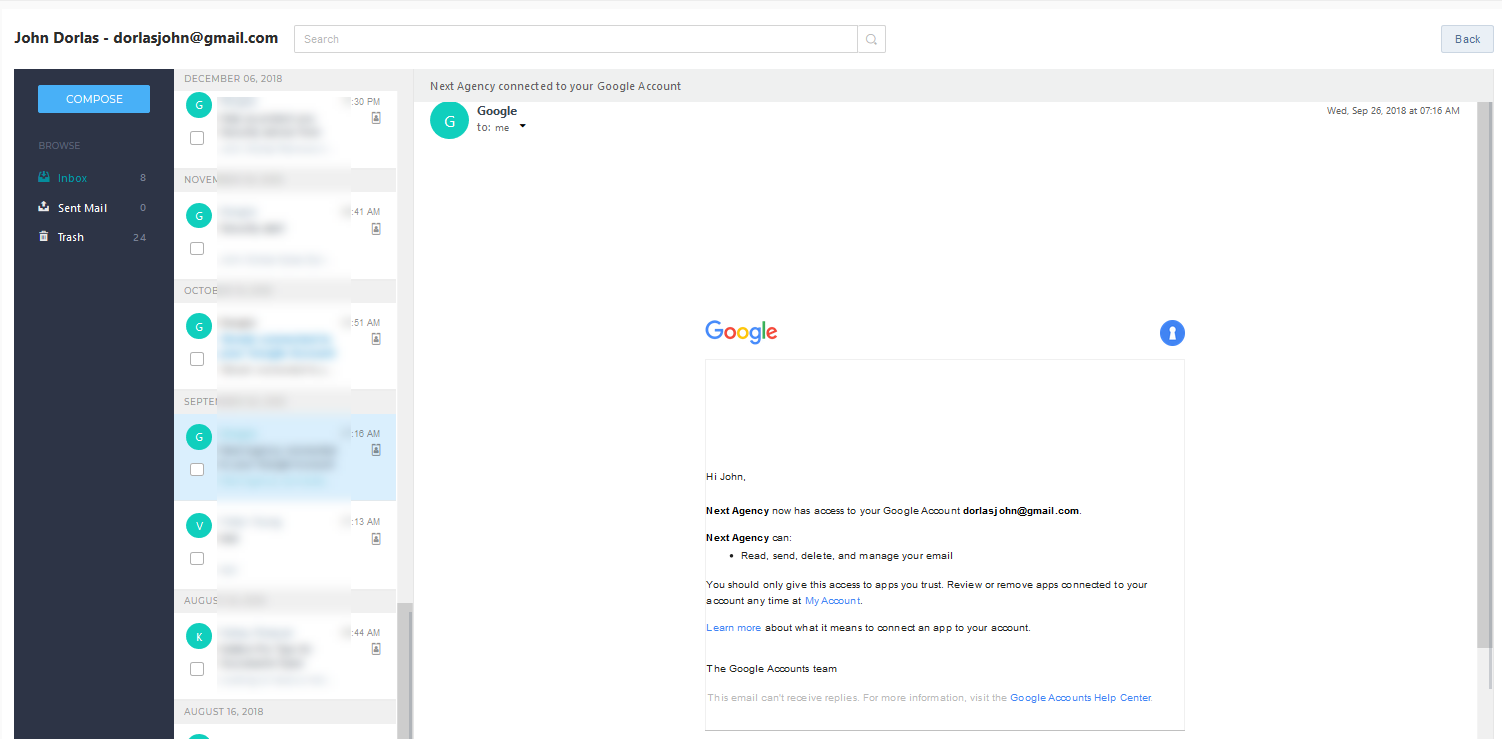
NextMail
The NextMail page gives you access to NextAgency's mail client, if you've chosen to utilize this integration. For more information, see NextAgency: NextMail.
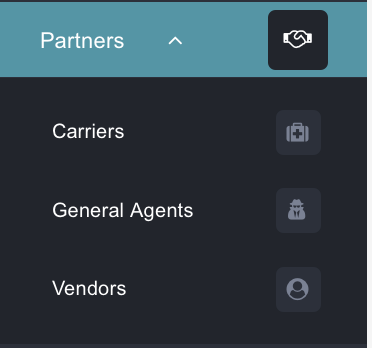
Partners
The "Partners" dropdown menu grants you access to the information regarding Carriers, General Agents, and Vendors that have been entered into your agency's database.
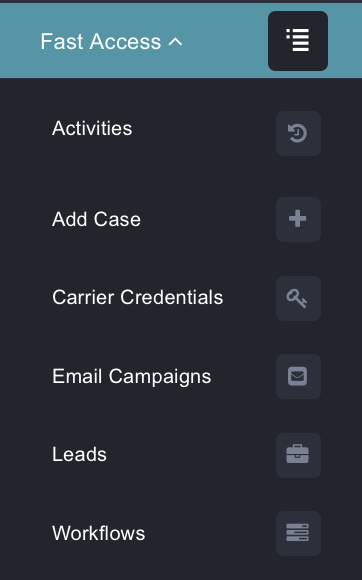
Fast Access
The Fast Access menu gives you quick access to many features within NextAgency.
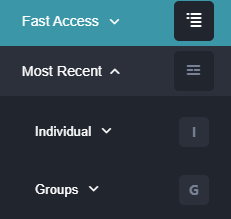
Most Recent
The Most Recent menu provides quick access to the most recent cases you've visited, sorted by Individual and Group cases.
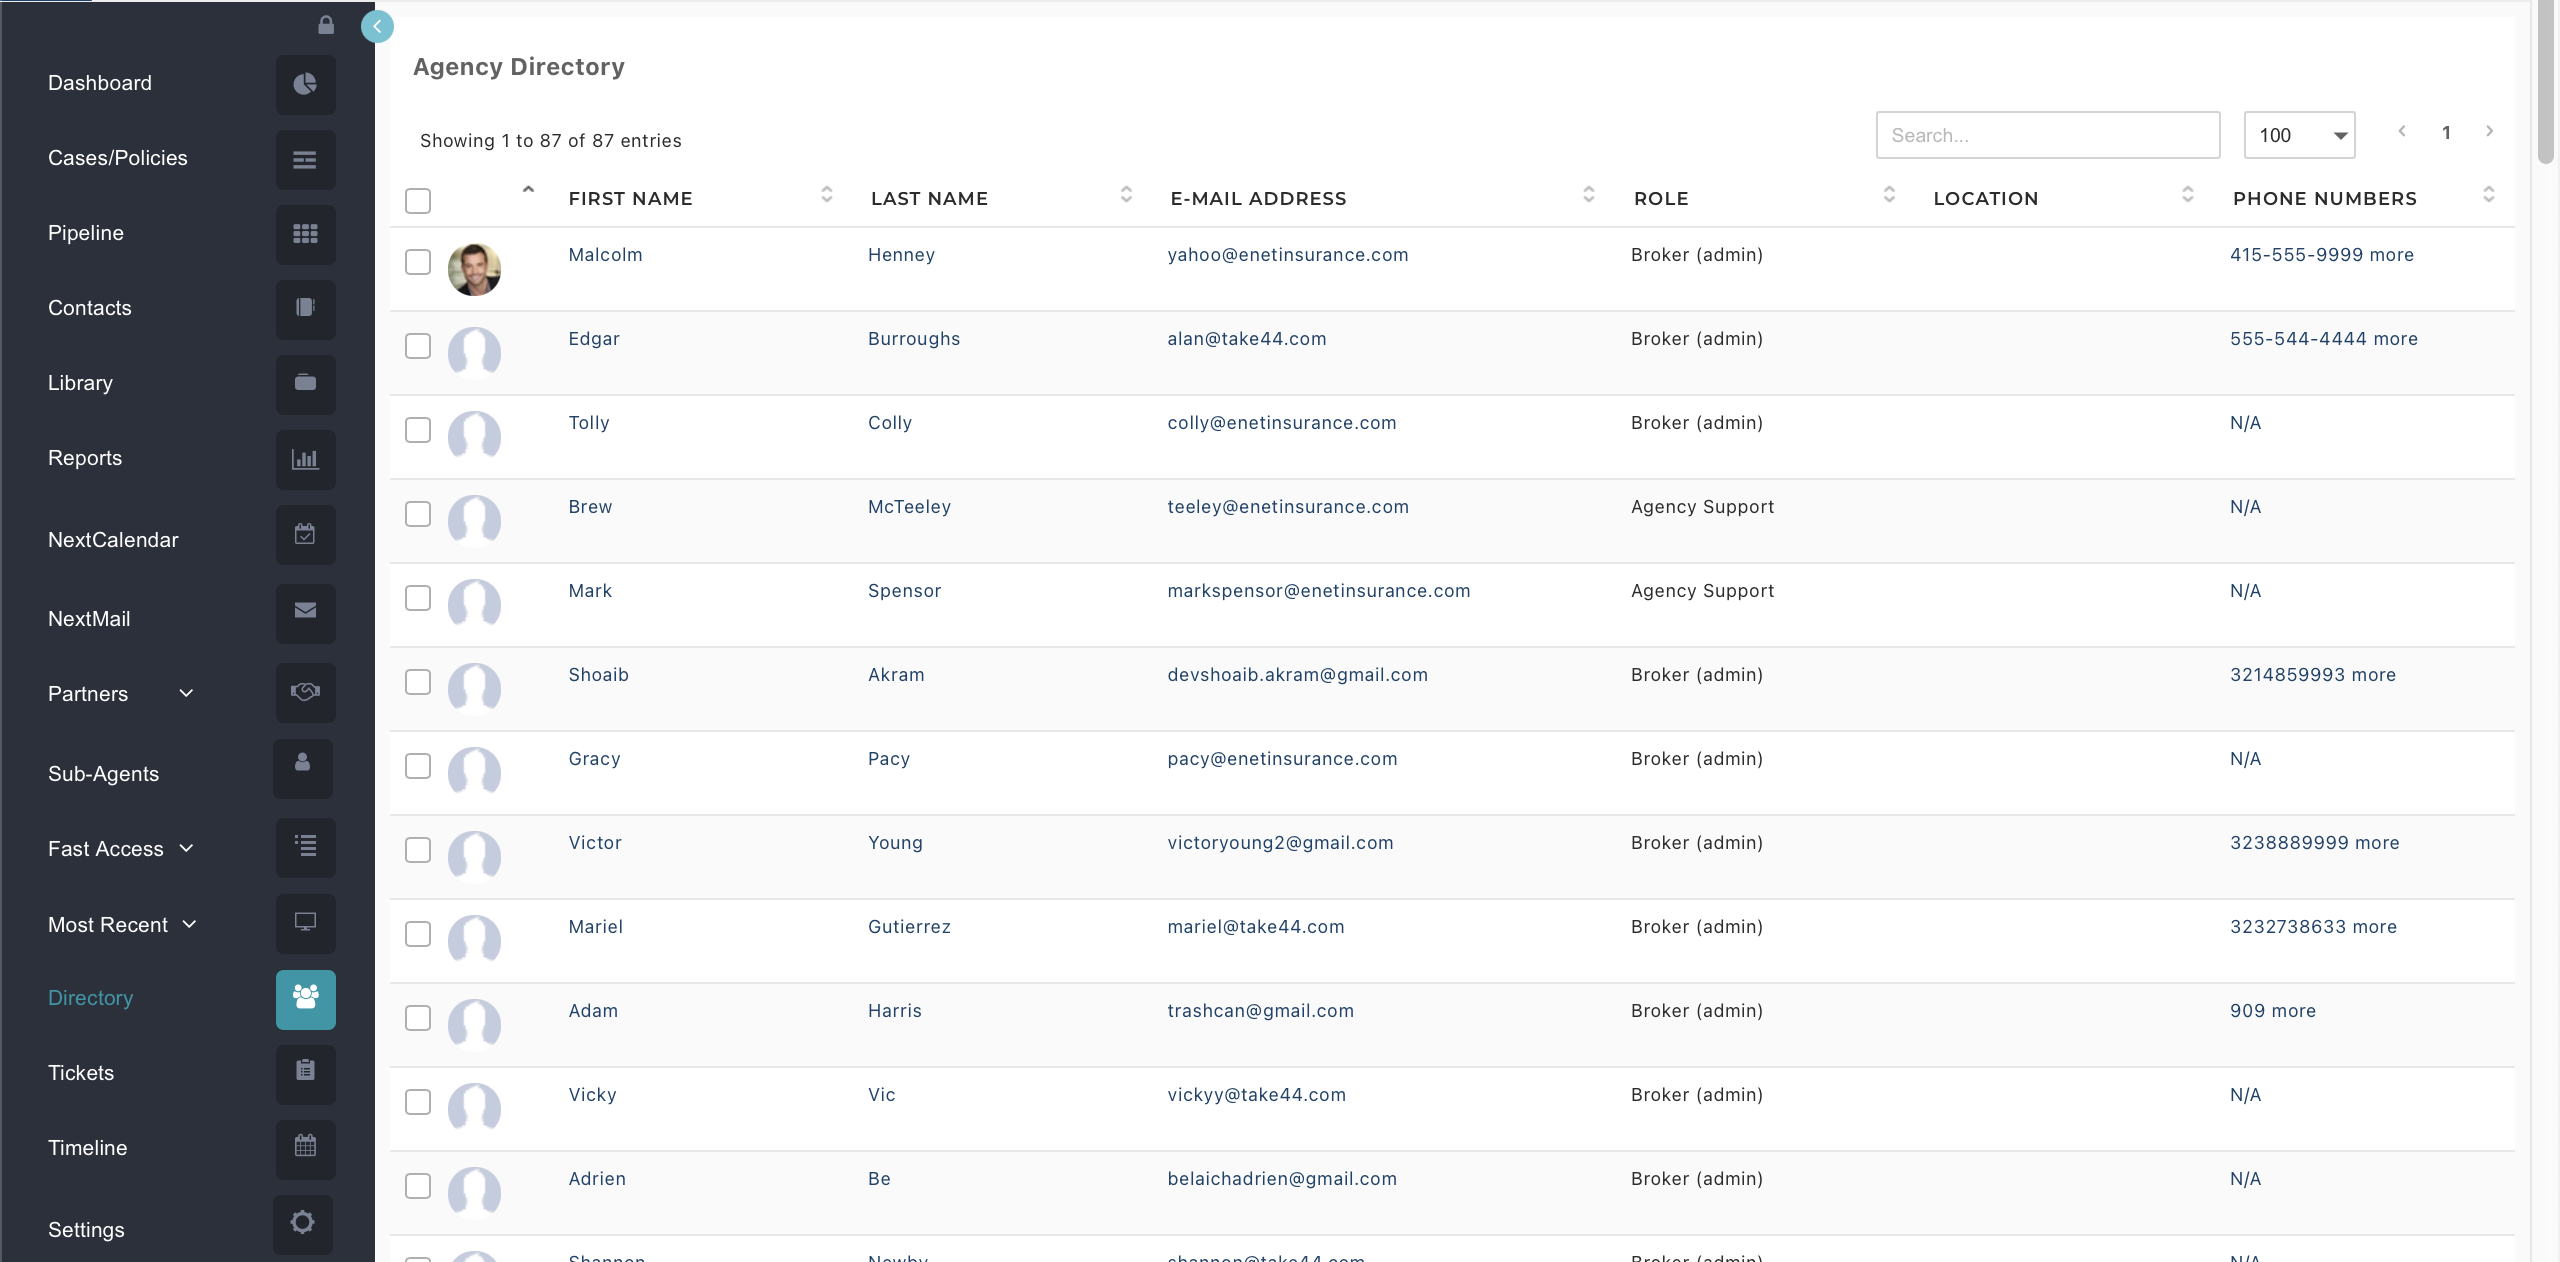
Directory
The Directory page contains a list with records of all agency brokers and their details.
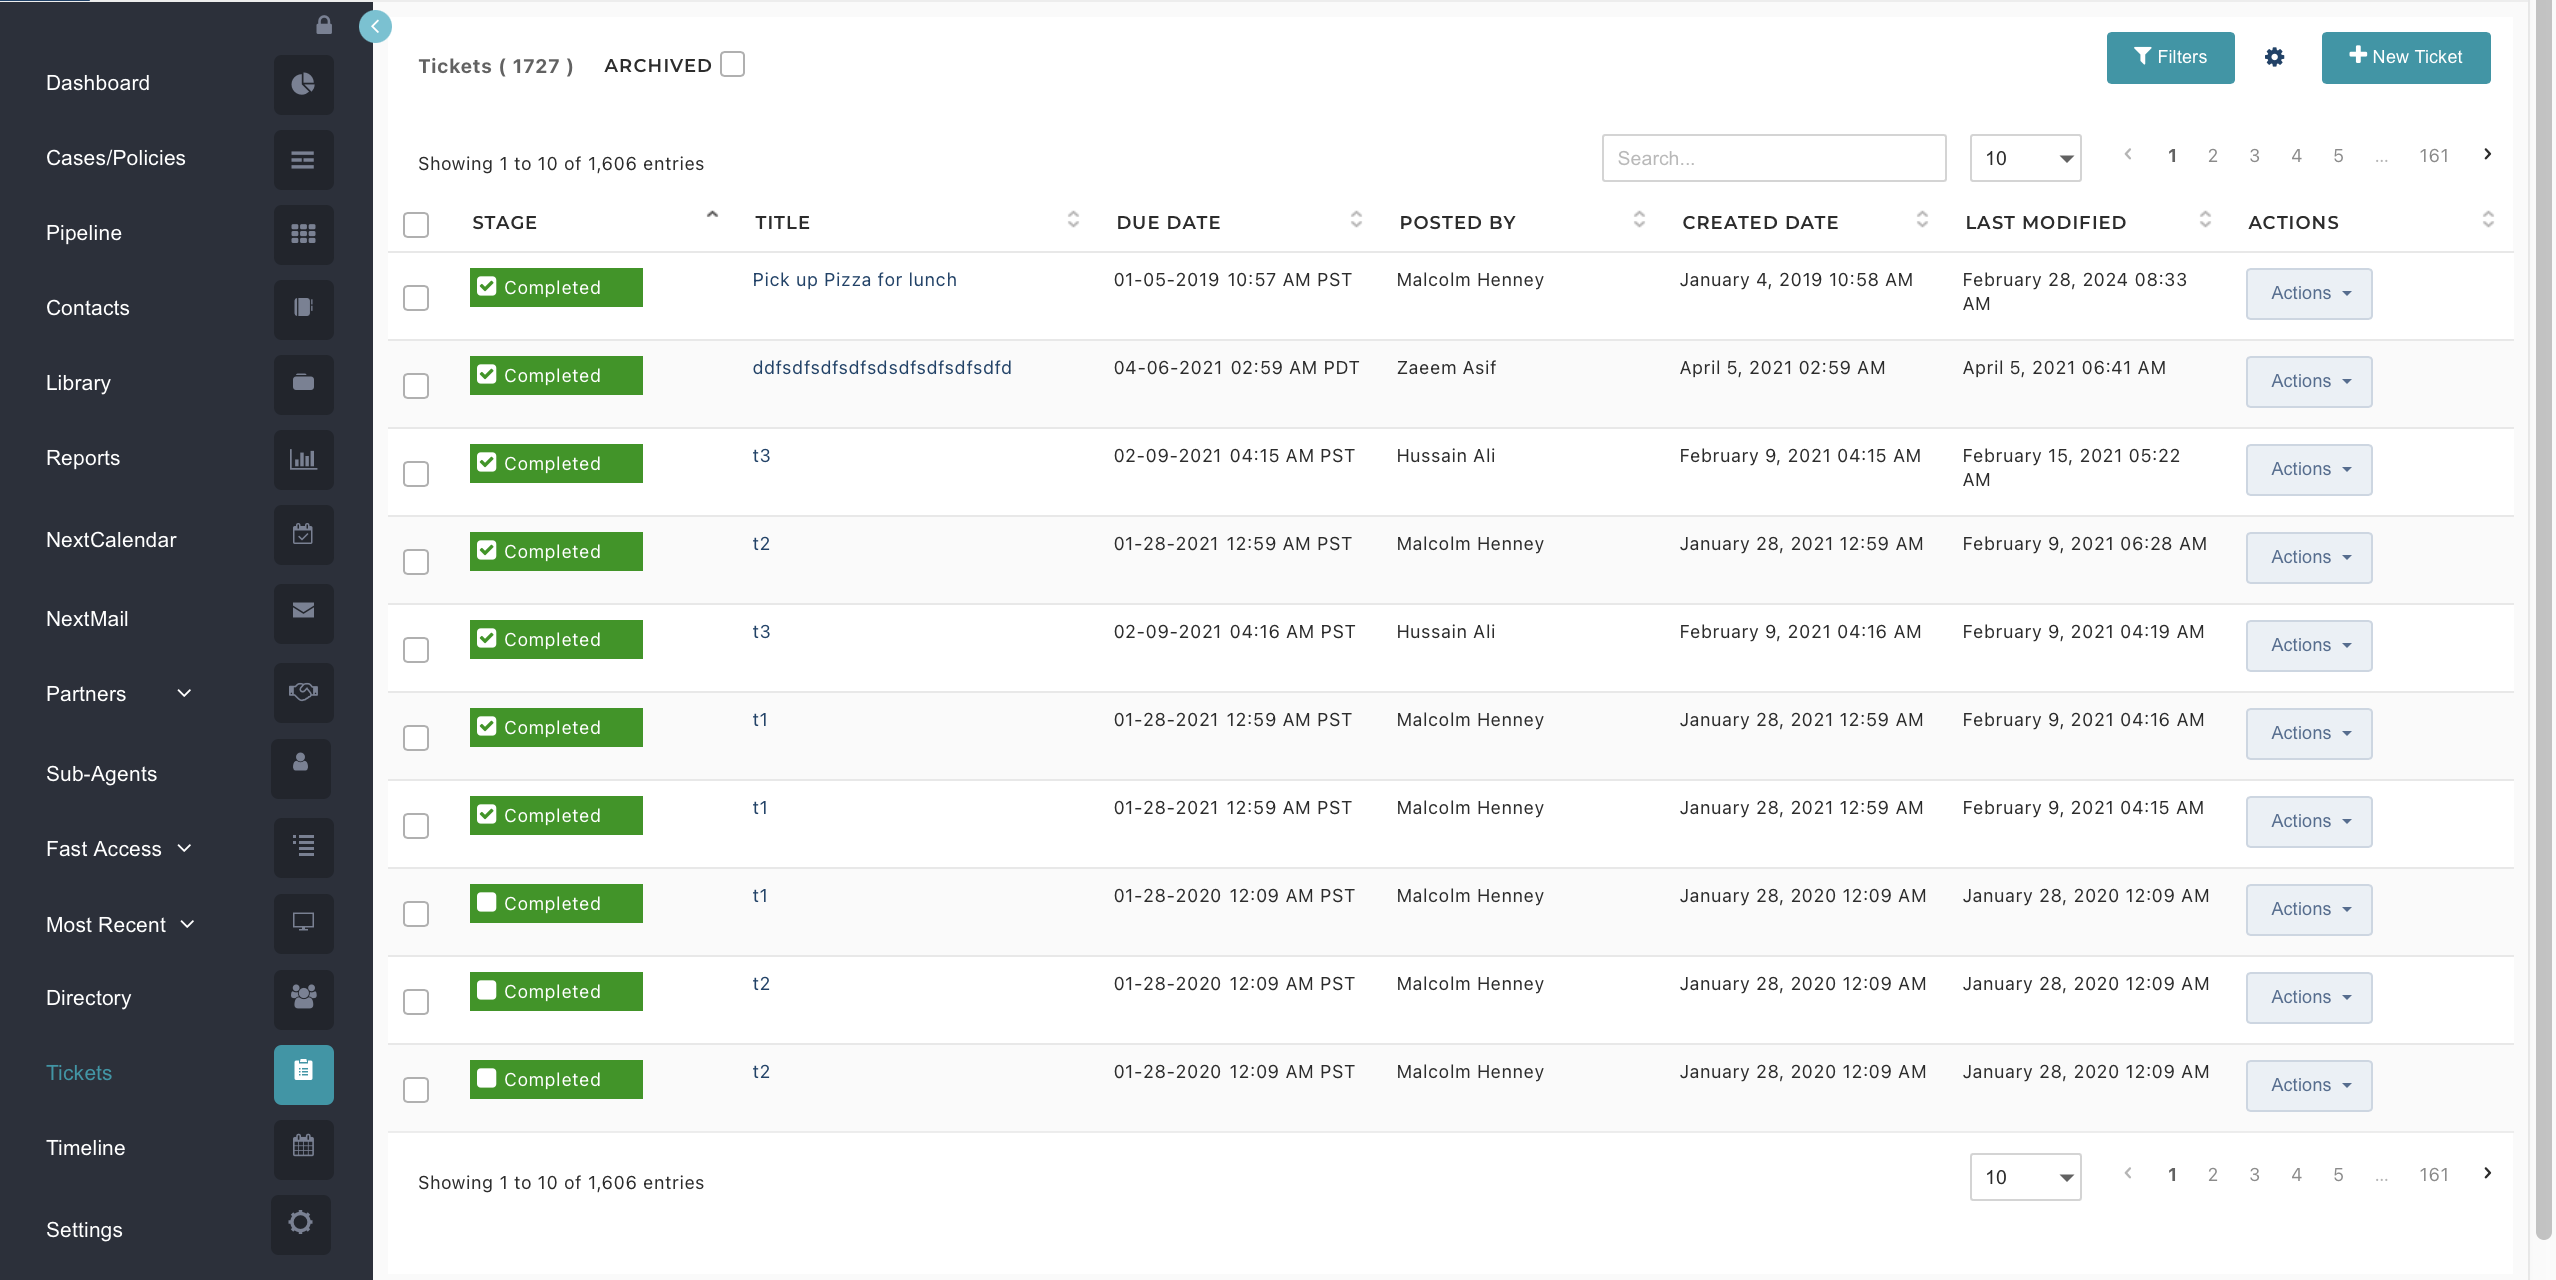
Tickets
The Tickets page contains all tickets that have been created by your Agency. Tickets are typically used for tracking and assignment of an agency's internal actions.
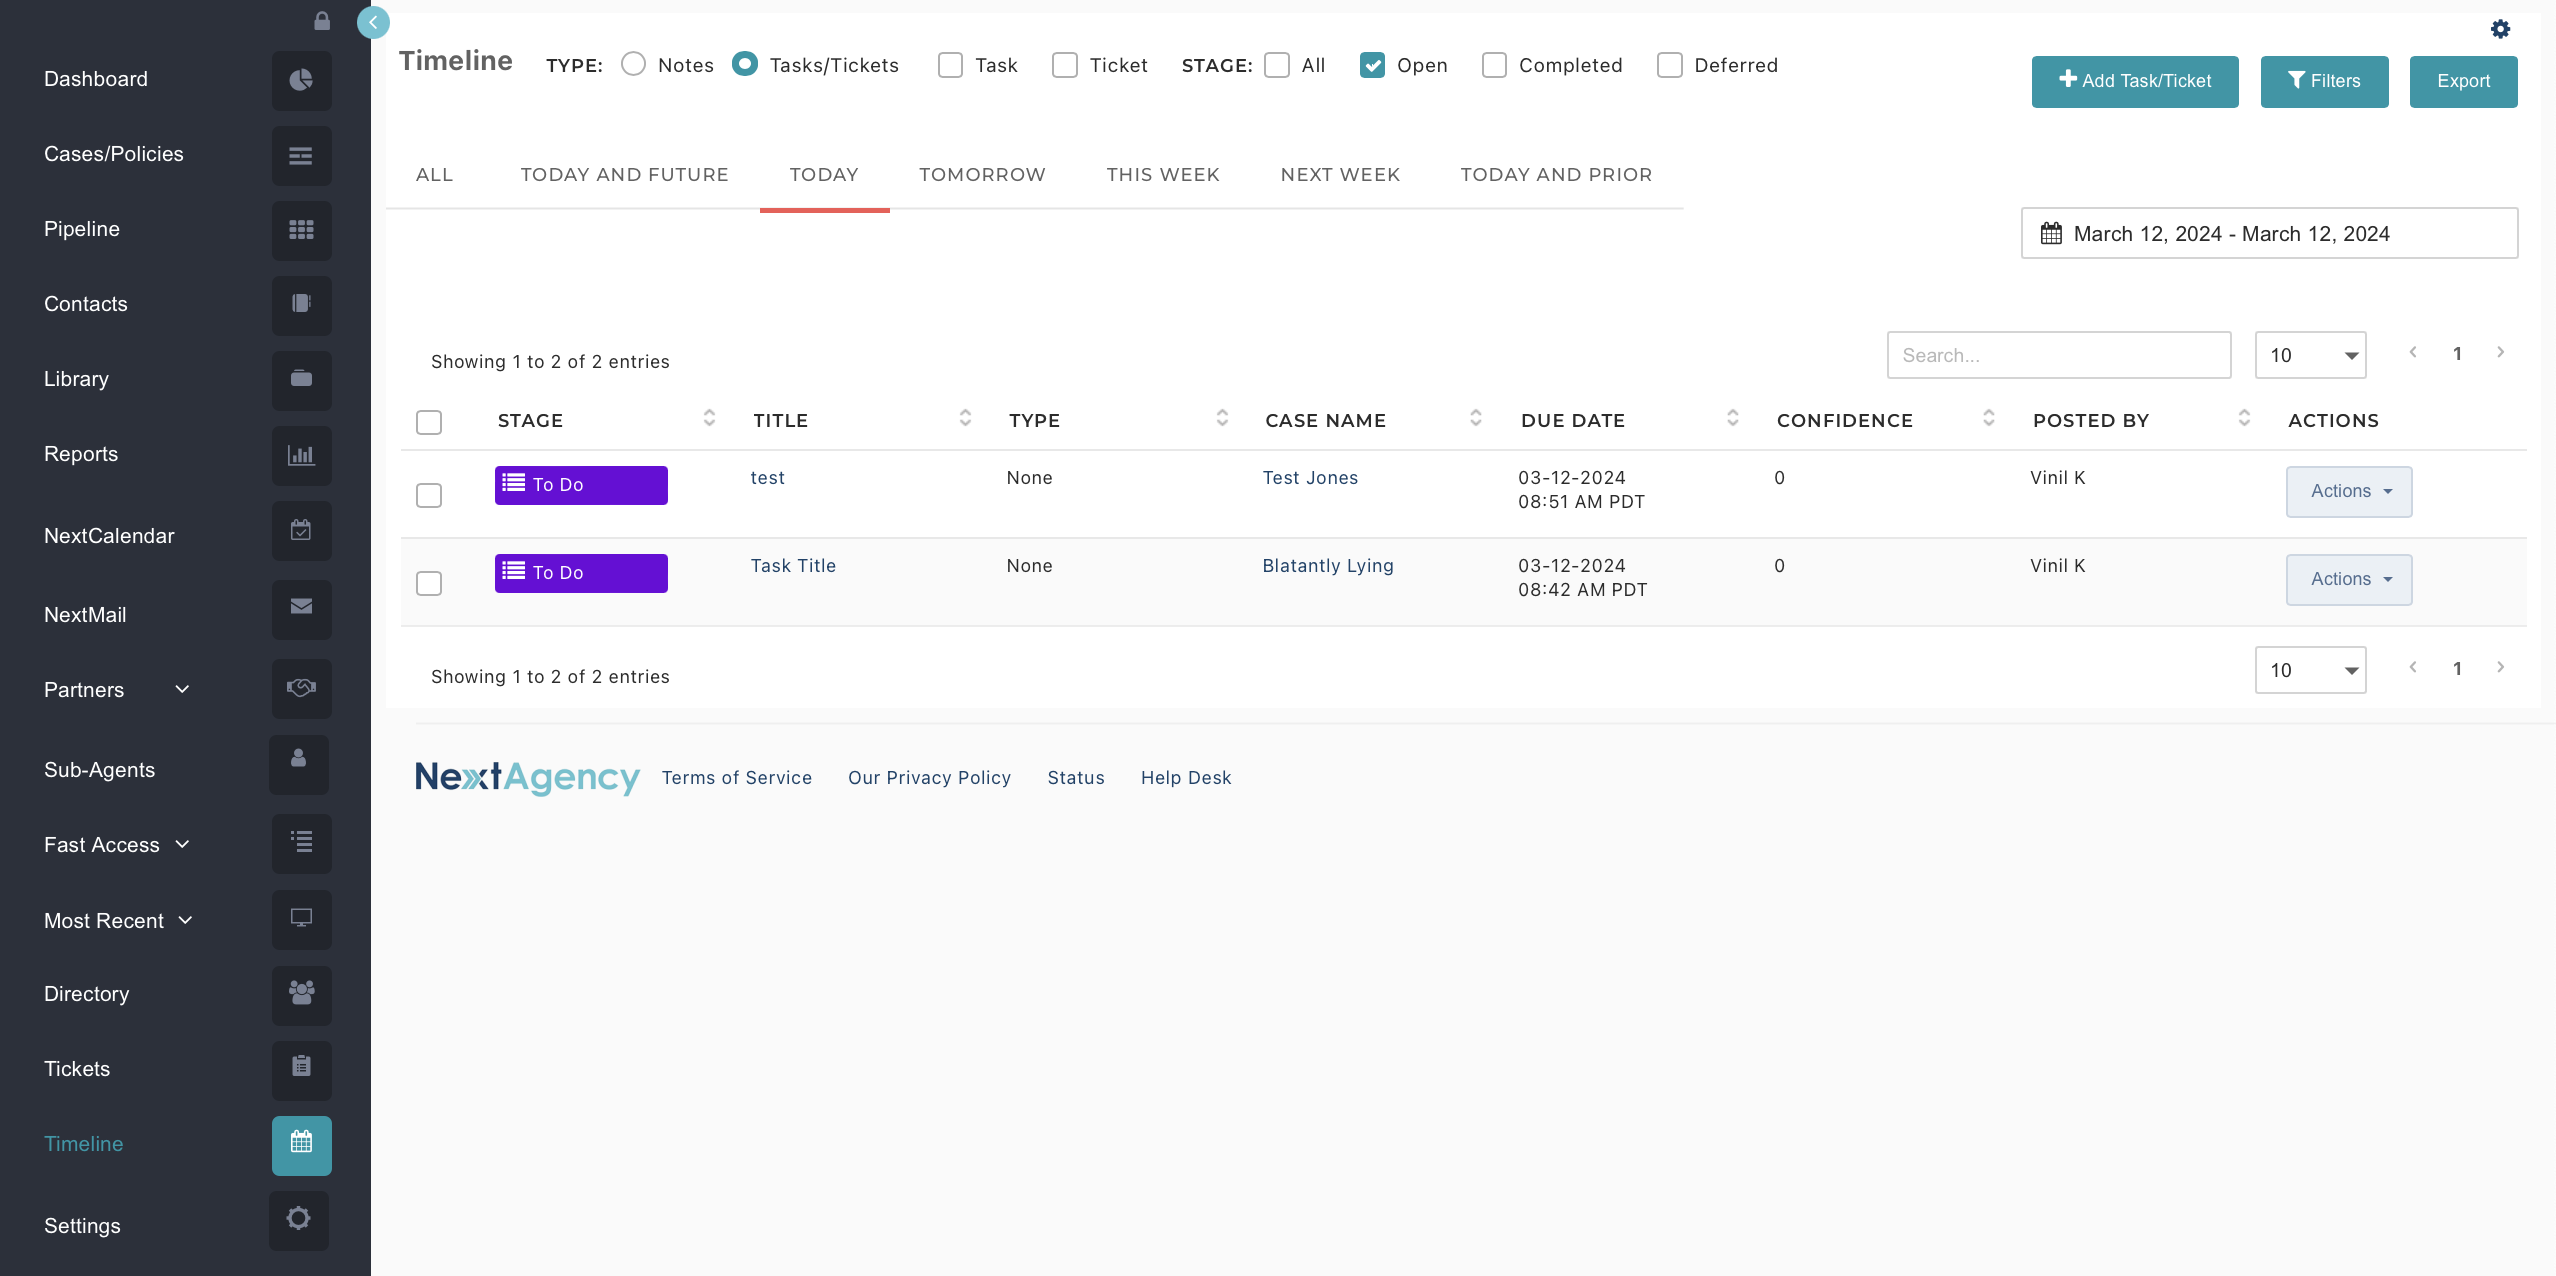
Timeline
The Timeline page provides you with several options for viewing all tasks, tickets, and notes that you or other users have created within NextAgency. This feature is useful to help your Agency manage and organize your work. Current options for viewing include:
- All
- Today and Future
- Today
- Tomorrow
- This Week
- Next Week
- Prior to Today
It is also possible to add filters, sort the records to view only their specific types, as well as export and add new tasks and tickets.
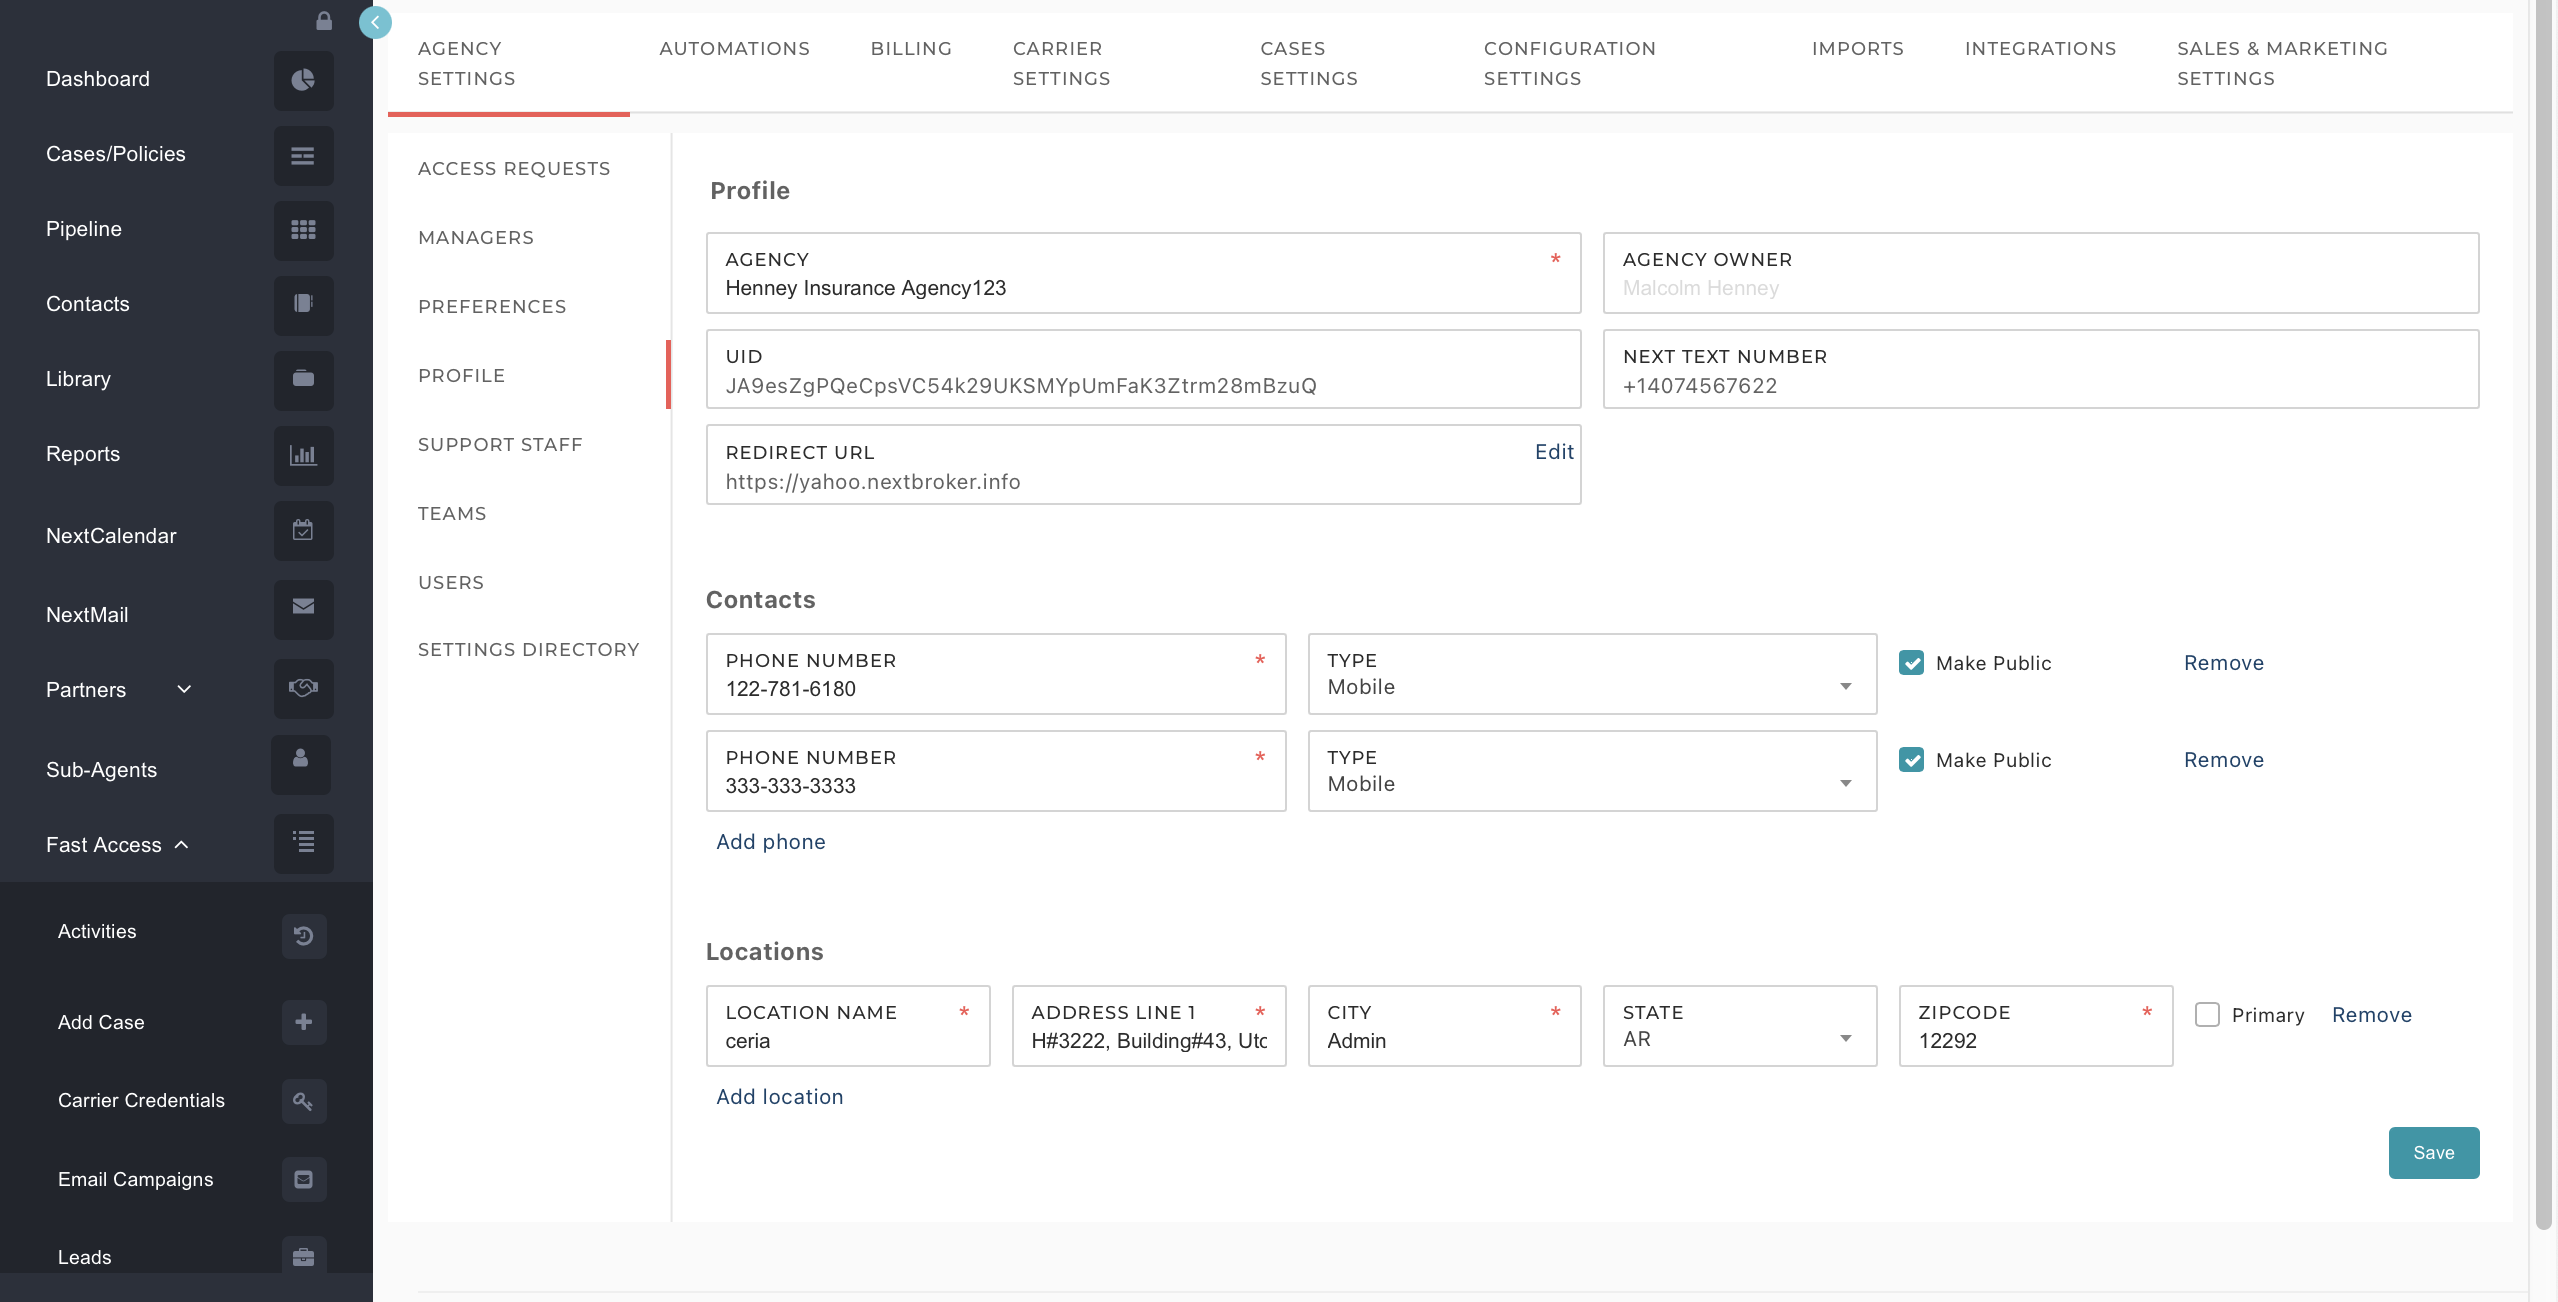
Settings
On the Settings page, you can manage information that is relevant to your NextAgency account and access the most important functionalities of NextAgency with just a couple of clicks. For a more comprehensive understanding of all the available setting options, you can explore the detailed information provided on this page.
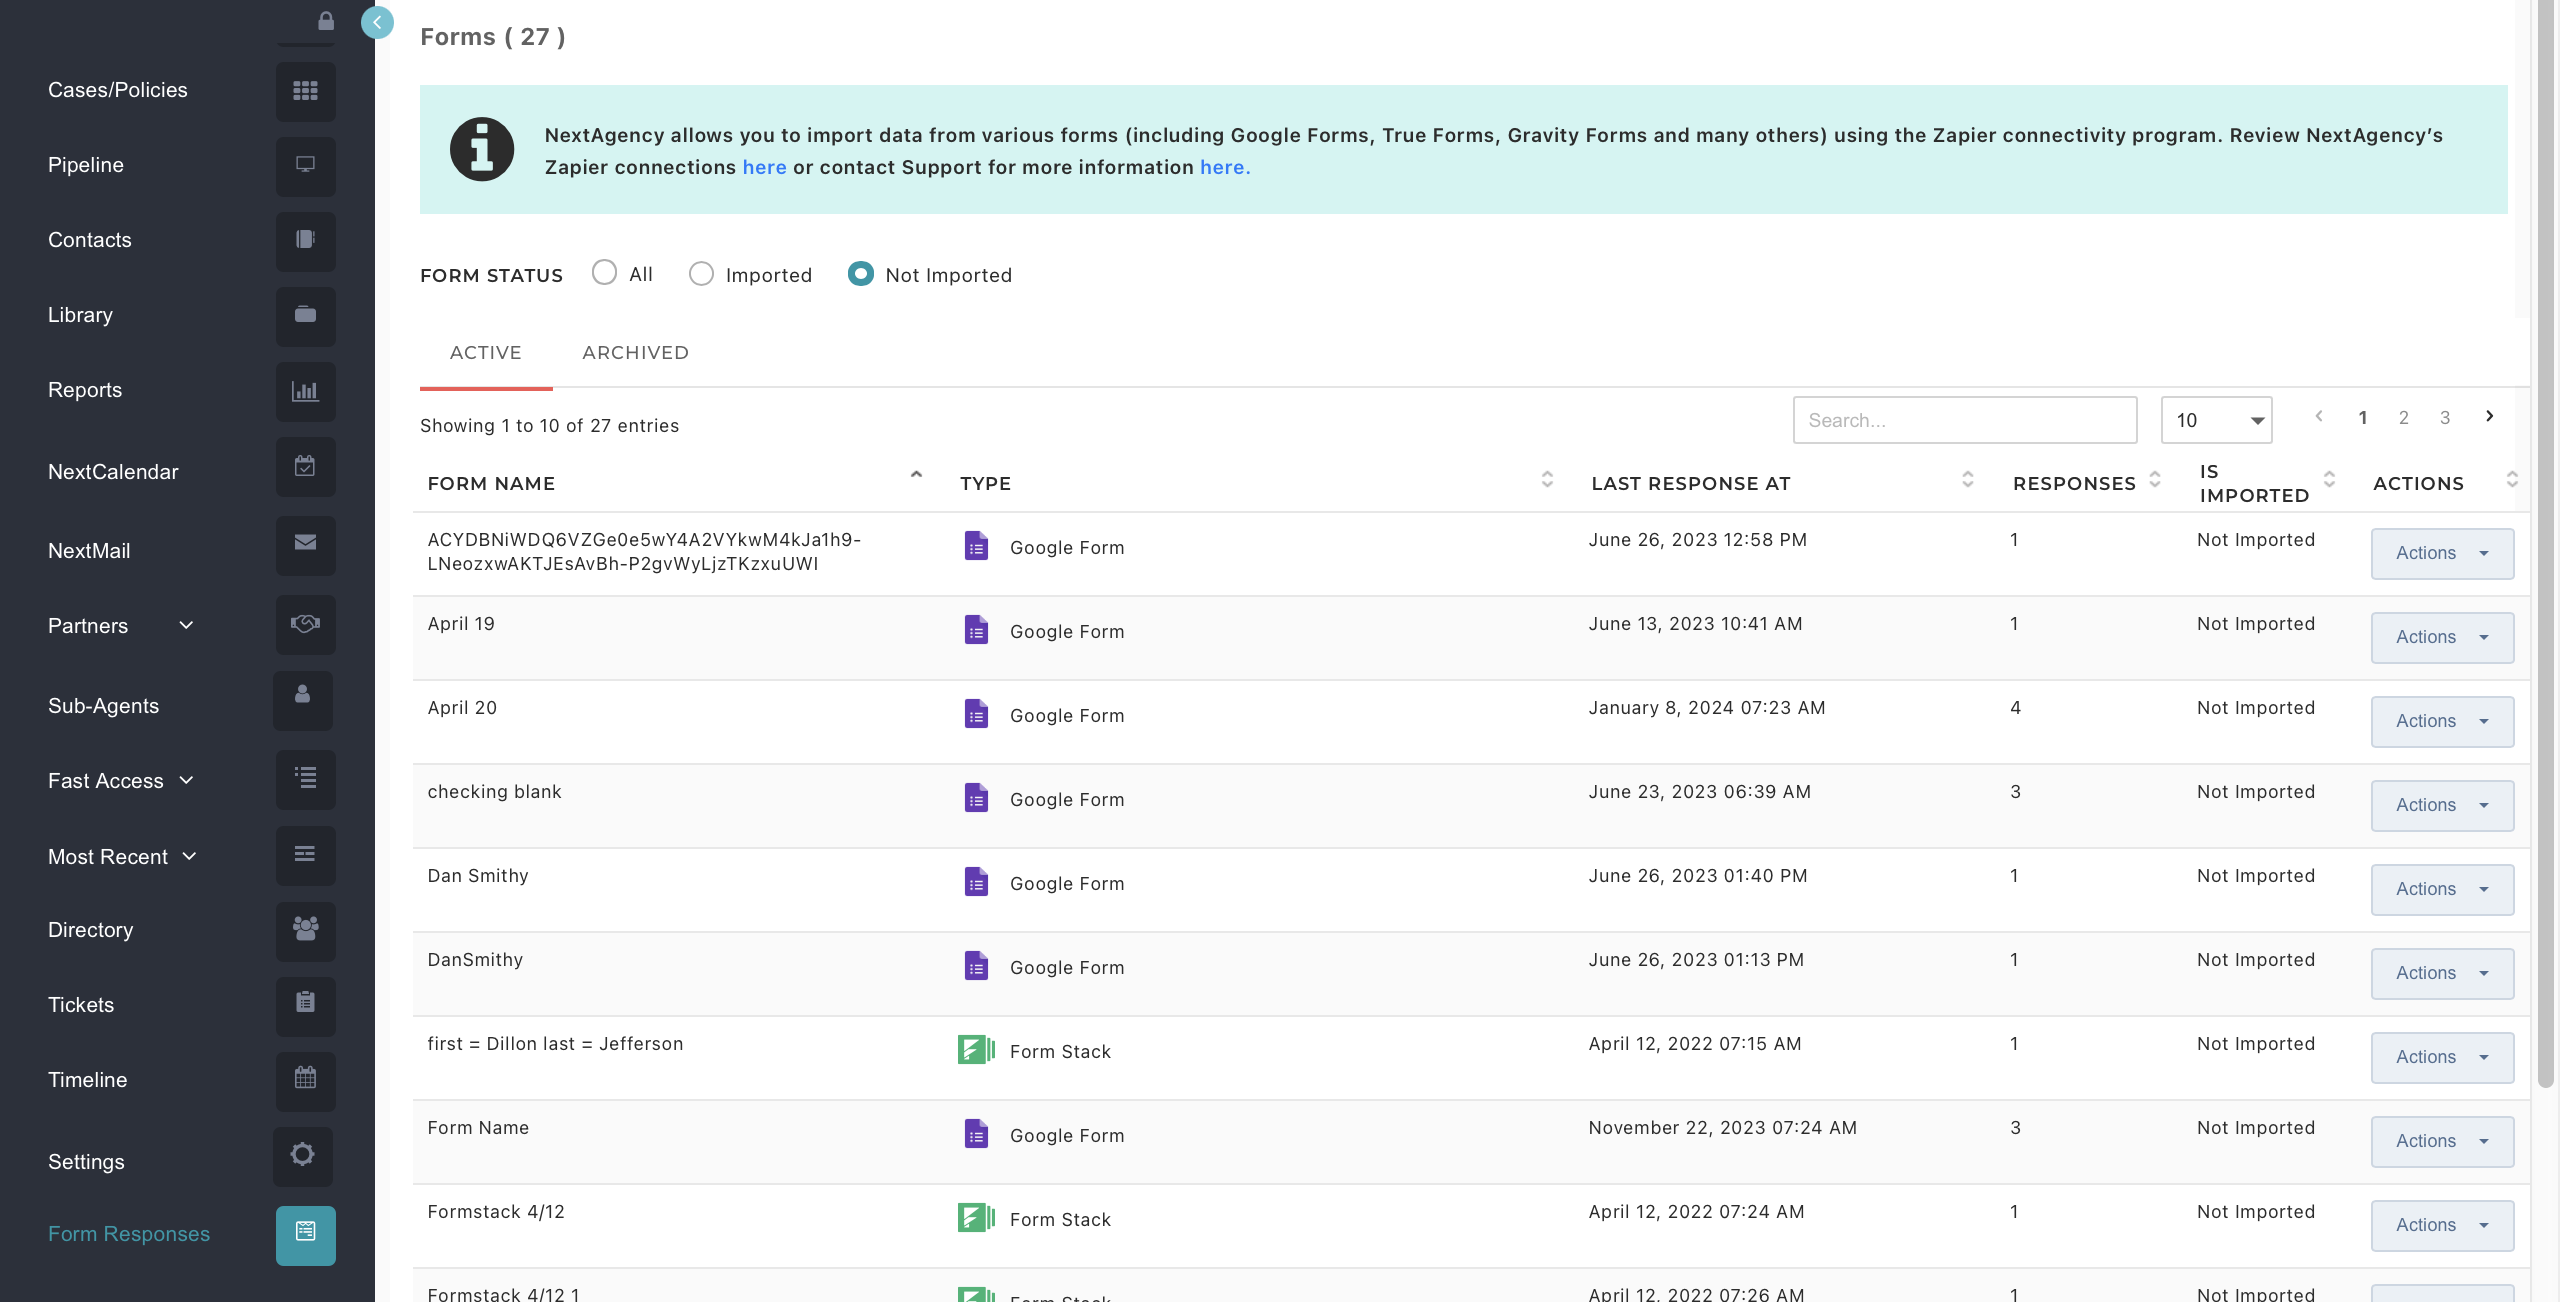
Form Responses
This is where you'll find all the automated form responses originating from web widgets or Zapier integrations. You can also import the case records information into NextAgency directly from here.
If you find yourself with any questions or in need of support, please don't hesitate to reach out to our support team.